8-10
K65C/K75C/K95C
8-10
K65C/K75C/K95C
(3) Screw in the plugs for the axle
arch (8-16/2) and the distribution
gear (8-17/2) again.
(4) Fill in oil via the plug bore in the
distribution gear (8-17/1) until the
oil level reaches the opening.
NOTE
- Details regarding the amount of
oil required are given in the
maintenance plan (page 8-1).
- After a few minutes, when the oil
level has lowered, top up the oil
until the oil level reaches the
marked level and remains stable.
(5) Screw in the plug for the
distribution gear (8-17/1) again.
(6) Fill in oil via the plug bore in the
axle arch (8-16/1) until the oil level
reaches the opening.
NOTE
- Details regarding the amount of
oil required are given in the
maintenance plan (page 8-1).
- After a few minutes, when the oil
level has lowered, top up the oil
until the oil level reaches the
marked level and remains stable.
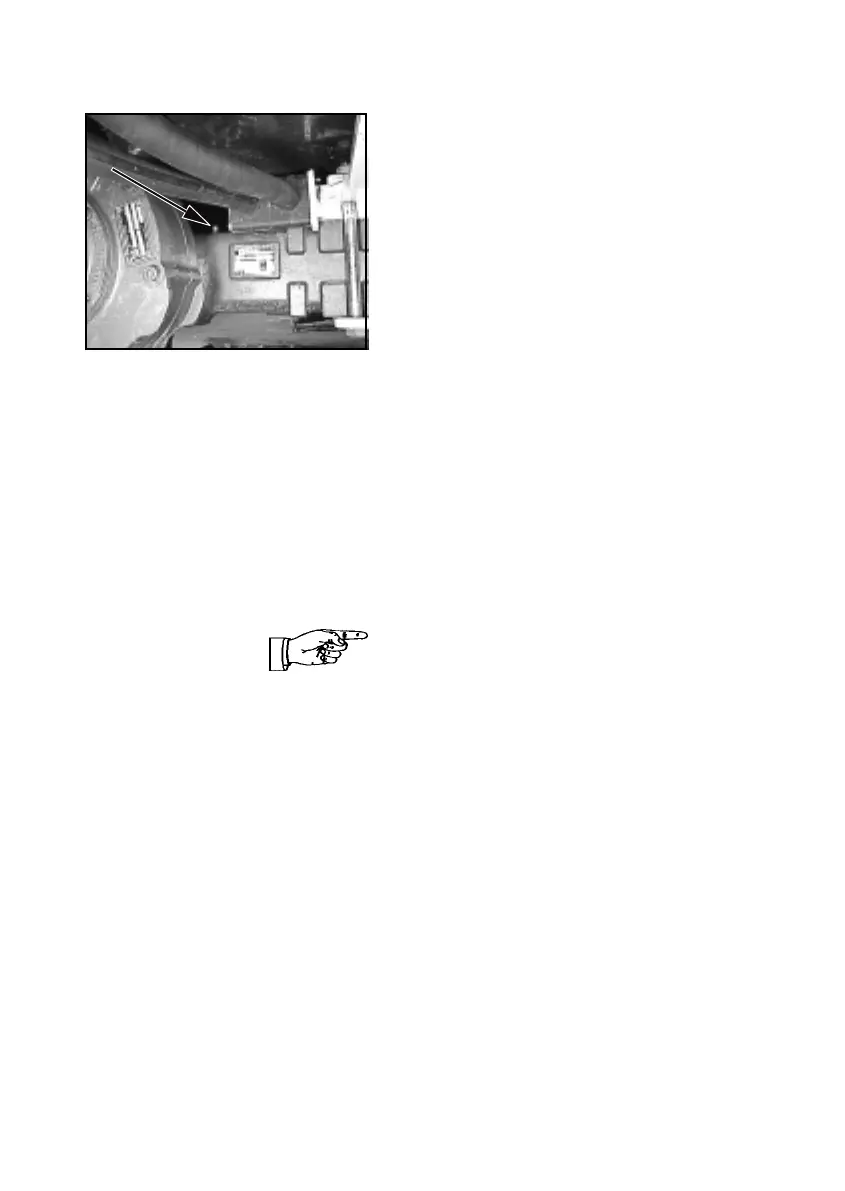
- The vent valve of the axle (8-18/
arrow) must be free from dirt.
(7) Screw in the plug for the axle
arch (8-16/1) again.
Figure 8-18
(3) Screw in the plugs for the axle
arch (8-16/2) and the distribution
gear (8-17/2) again.
(4) Fill in oil via the plug bore in the
distribution gear (8-17/1) until the
oil level reaches the opening.
NOTE
- Details regarding the amount of
oil required are given in the
maintenance plan (page 8-1).
- After a few minutes, when the oil
level has lowered, top up the oil
until the oil level reaches the
marked level and remains stable.
(5) Screw in the plug for the
distribution gear (8-17/1) again.
(6) Fill in oil via the plug bore in the
axle arch (8-16/1) until the oil level
reaches the opening.
NOTE
- Details regarding the amount of
oil required are given in the
maintenance plan (page 8-1).
- After a few minutes, when the oil
level has lowered, top up the oil
until the oil level reaches the
marked level and remains stable.
- The vent valve of the axle (8-18/
arrow) must be free from dirt.
(7) Screw in the plug for the axle
arch (8-16/1) again.
Figure 8-18
 Loading...