30
5.3 Step Sequencer
The Step Sequencer is used to create or edit clips by using the pad matrix as
“step buttons,” simulating the experience of a traditional step-sequencer-style
drum machine.
To enter Step Sequencer mode, press the STEP SEQ button.
Use the Track Select 1–8 buttons to select one of the eight available Step
Sequence tracks. You can also switch between tracks using the left and right
cursors. The Track Select button for the current track will be brightly lit in
white.
Step Sequence tracks are internal to APC64 and do not correspond with Ableton Live tracks as shown in Session
View. This means you can send any of the eight Step Sequence tracks to any available track in Ableton Live.
By default, Ableton Live monitors and records MIDI on all available MIDI channels at once. To send specific Step
Sequencer tracks to specific Ableton Live tracks for recording, use the track-specific 5.3.1 Configuration menu
described in the following section to set the Step Sequencer tracks to individual MIDI channels (for instance,
Channels 4, 5, and 6). Then, set the MIDI From of desired tracks in Ableton Live to Channels 4, 5, and 6. Each
channel will now receive the correct MIDI data from the corresponding Step Sequencer track.
5.3.1 Configuration
The Step Sequencer has two Configuration modes: a Global Configuration mode for setting defaults across all
tracks, and a Track Configuration mode for setting parameters on specific tracks.
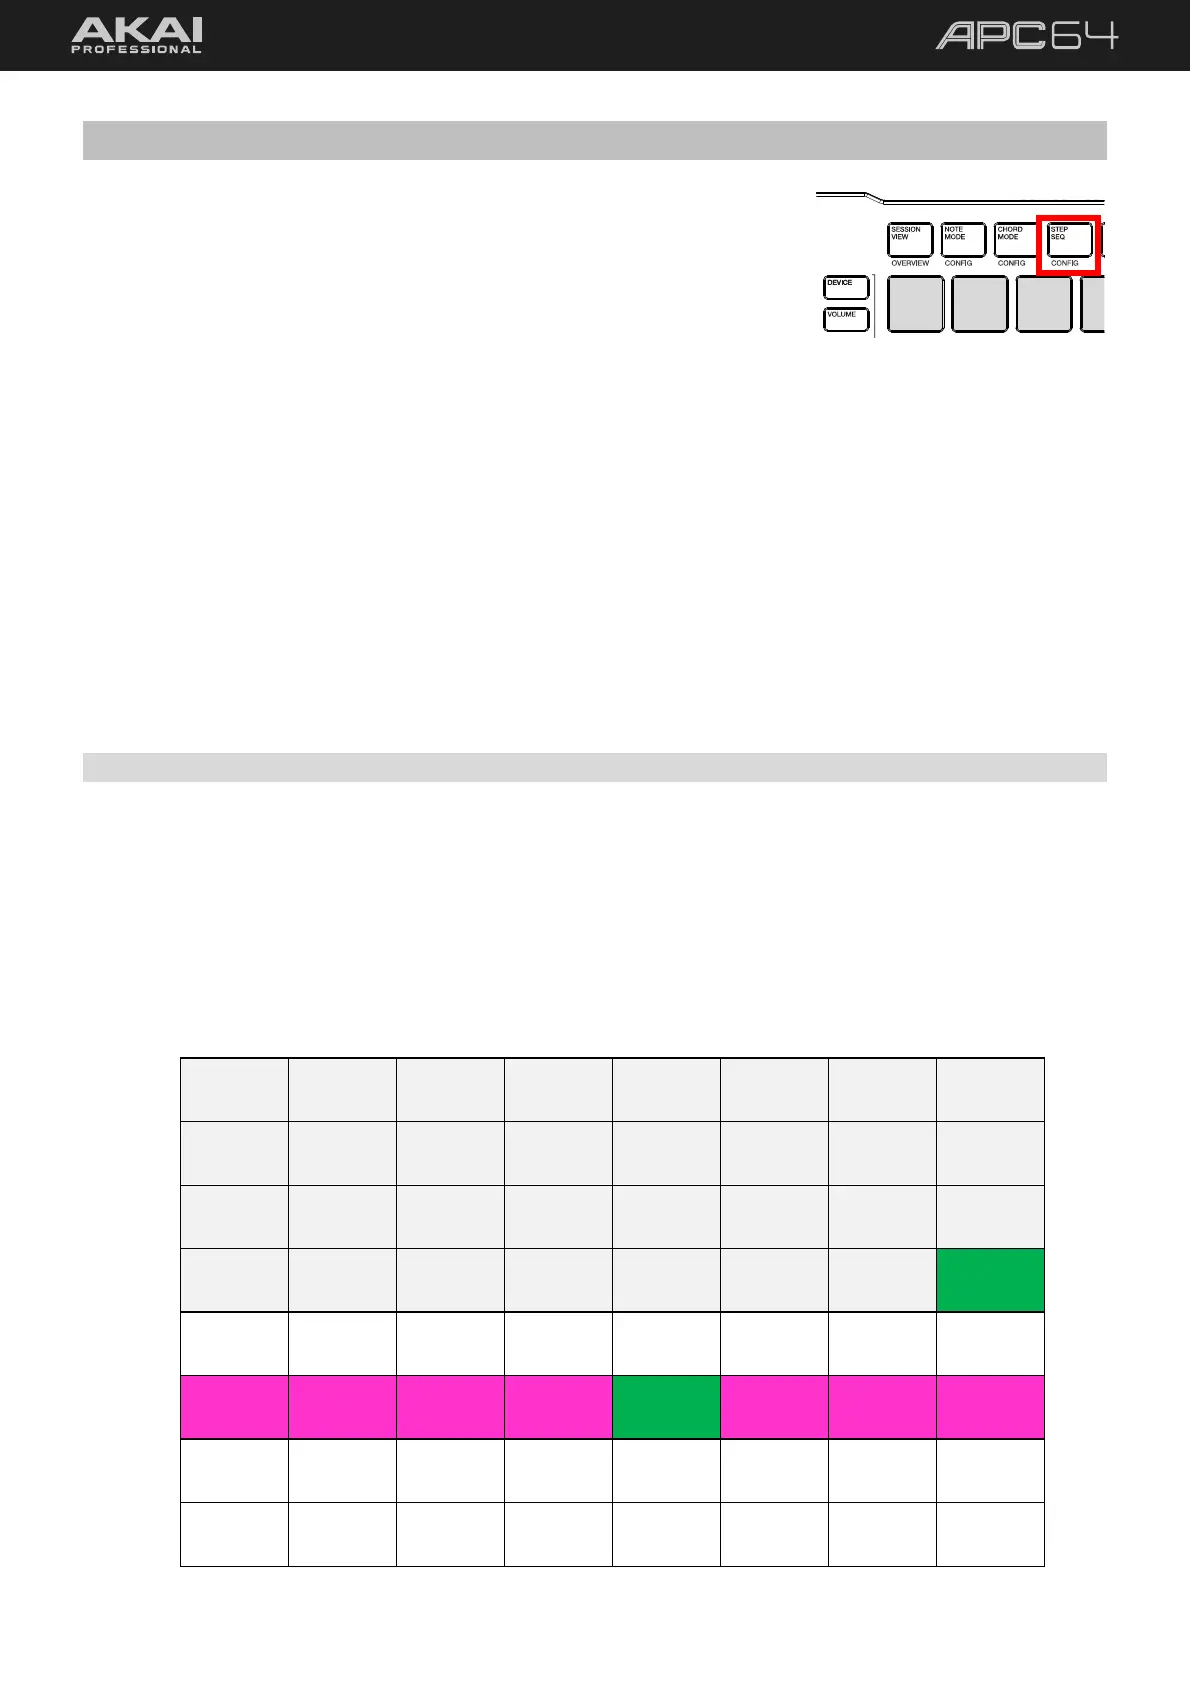
To configure the global Step Sequencer settings, press the STEP SEQ button a second time while in Step
Sequencer mode, or press and hold SHIFT and press STEP SEQ. You can also momentarily access the
Configuration view by pressing and holding the STEP SEQ button while in Step Sequencer mode. When you
release the button, you will return to Step Sequence mode.
From here, you can adjust the following settings directly from the pads:
C1 C2 C3 C4 C5 C6 C7 C8
R1
Step 1 Step 2 Step 3 Step 4 Step 5 Step 6 Step 7 Step 8
R2
Step 9 Step 10 Step 11 Step 12 Step 13 Step 14 Step 15 Step 16
R3
Step 17 Step 18 Step 19 Step 20 Step 21 Step 22 Step 23 Step 24
R4
Step 25 Step 26 Step 27 Step 28 Step 29 Step 30 Step 31 Step 32
R5
R6
Time Div:
1/4
Time Div:
1/4T
Time Div:
1/8
Time Div:
1/8T
Time Div:
1/16
Time Div:
1/16T
Time Div:
1/32
Time Div:
1/32T
R7
R8