32
Use Rows 1–4 to set the total length of the track’s sequence in steps. The pad for the value of the last step in the
sequence will be lit green. This will be set to the global Step Sequence length by default, but can be set to a
different value per track.
Use the Track Type pads (R5,C1–2) to set the type of track controlled by the step sequencer. Use Note type for
melodic tracks, and Drum type for drum tracks. The pad for the selected type will be lit green.
Use the Swing Enable pad (R5,C4) to turn swing timing On or Off when using the Step Sequencer. When
enabled, this pad will be lit green. The swing value can be set by pressing and holding the SHIFT and TEMPO
buttons, and then using the encoder to adjust the value between 50% (no swing) and 75% (heavy swing).
Use the Send To pads (R5,C6–8) to select where the track’s step sequencer data is sent: To USB (to a computer
connected to the USB Port), To MIDI (to devices connected to the MIDI Outputs), and/or To CV (to devices
connected to the CV Outputs). When enabled, the selected pad will be lit green.
Use Row 6 to set the Time Division for the the track’s step sequencer. This determines the note length of each
step:
1/4 1/8 1/16 1/32
1/4T 1/8T 1/16T 1/32T
This will be set to the global Time Division by default, but can be set to a different value per track.
Use Rows 8–9 to select the MIDI Channel that the track’s Step Sequencer data is sent on when connected to USB
or MIDI, from 1–16.
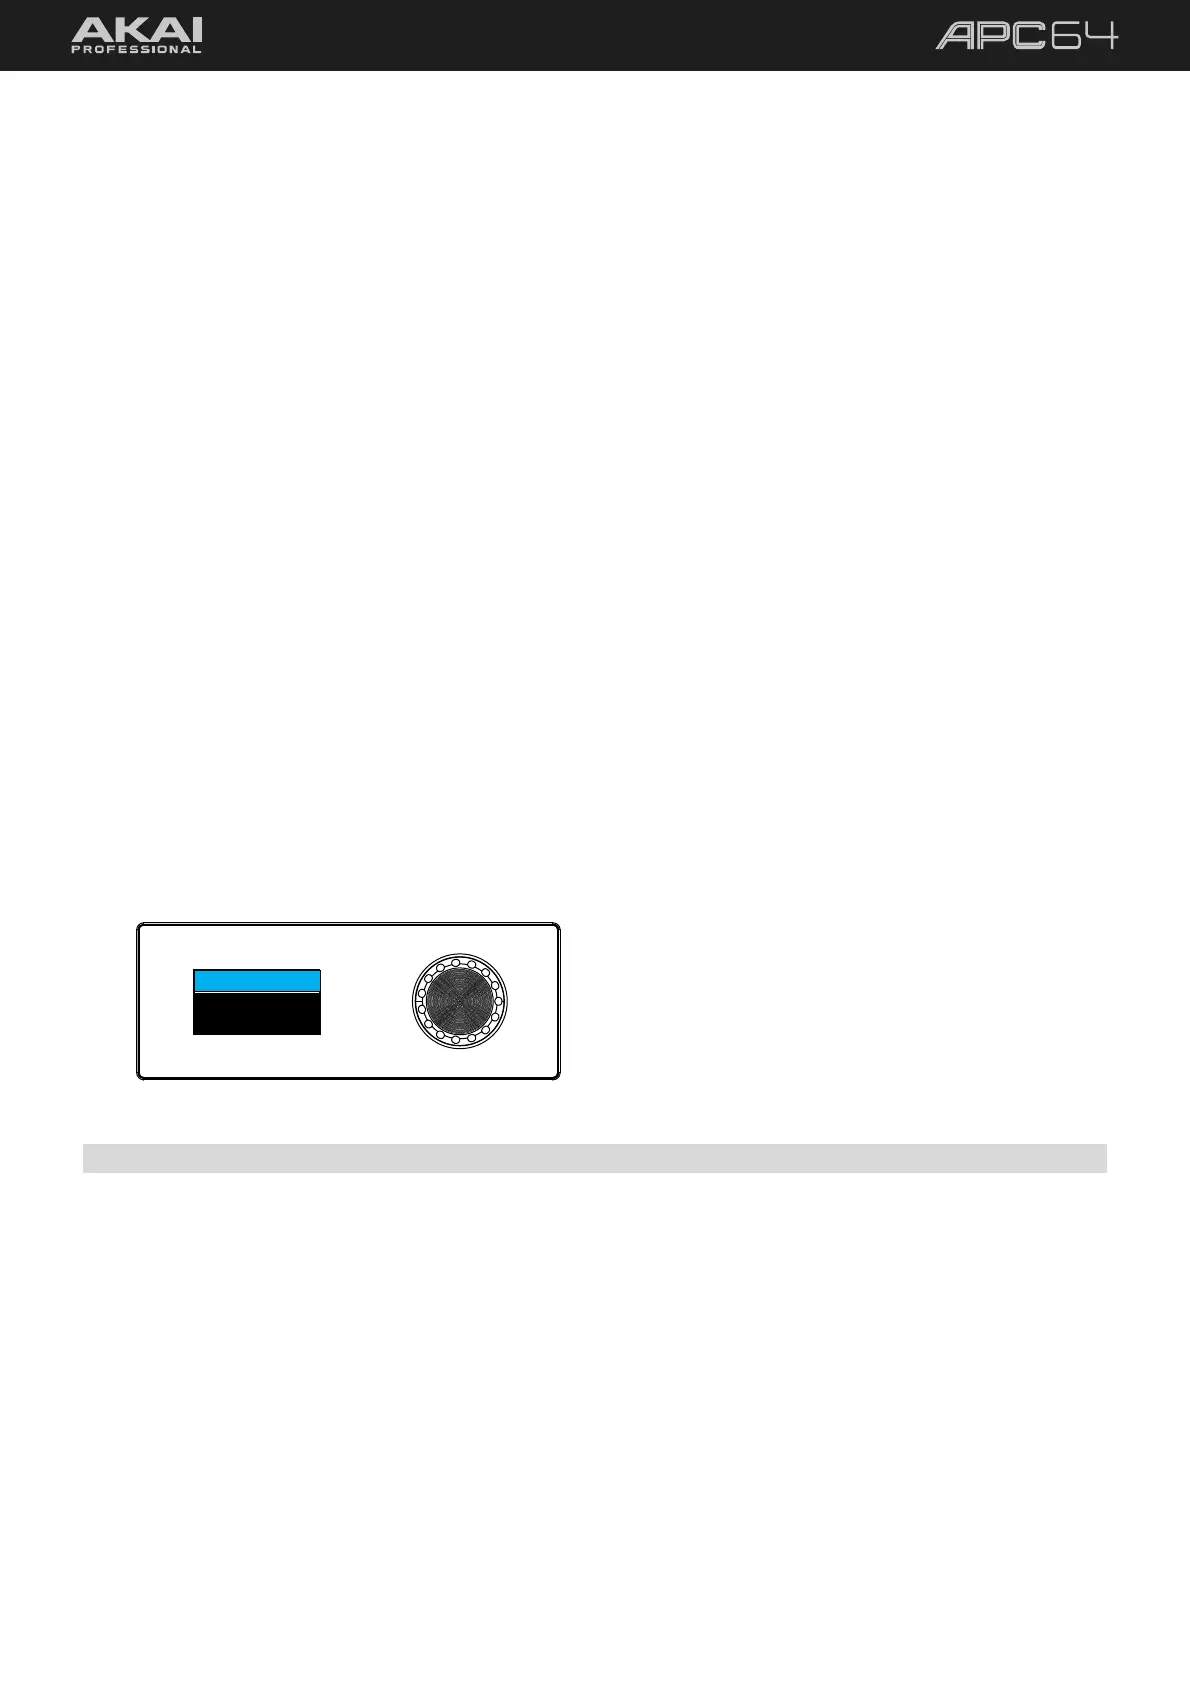
You can also use the encoder to change these values as shown on the display. Turn the encoder to browse each
Step Sequencer category. Press the encoder to open it, and then turn the encoder to browse the available
options. When you are finished, press the encoder again to confirm your selection.
StepSeq Config
1. Last Step
32
5.3.2 Note Input Pads
The bottom-left quadrant of pads can be used to input notes. The function of these pads depends on the mode
selected:
• Drum Mode: In Drum Mode, the bottom-left quadrant of pads is used like a traditional 4x4 drum pad
layout. You can adjust the MIDI note assignments for these pads in the 5.6 Global Menu.
• Note Mode: In Note Mode, the bottom-left quadrant of pads represents notes in a scale. The root note
of the scale will be lit in the color of the selected track. Use the Note and Chord Mode Configuration to
set the root note and scale type. You can also use the up and down cursors to move the starting note
octave.
After selecting a mode, all the pads (in Drum Mode) or the root note pads (in Note Mode) will be lit according to
the selected track’s color. Press a pad to select the note and audition the pad’s sound. Press and hold SHIFT and
then press a pad to silently select it.