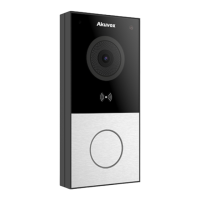
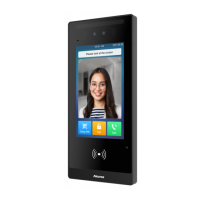
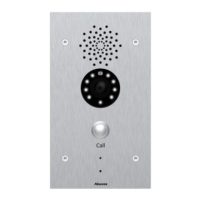
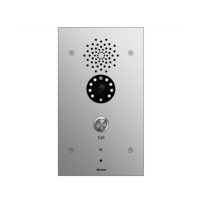
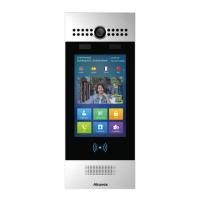
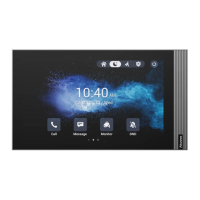
AKUVOX SMART INTERCOM www.akuvox.com
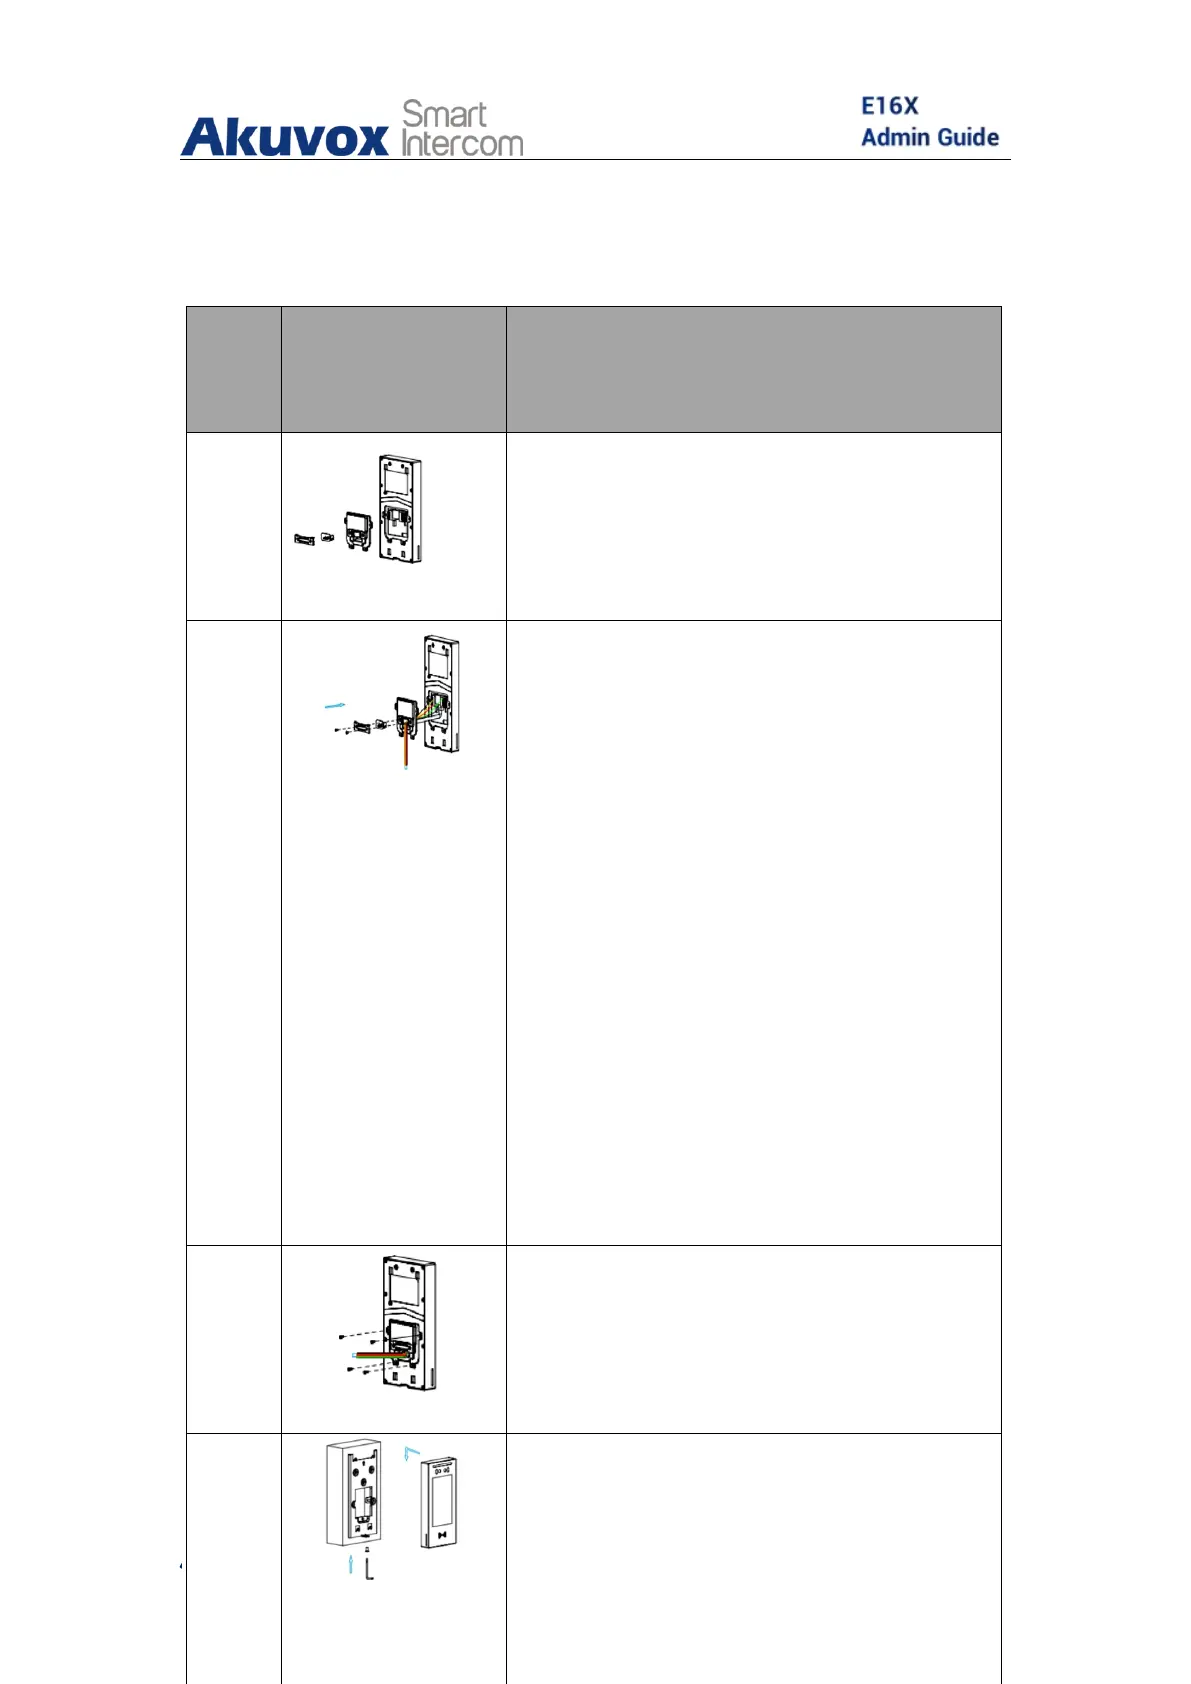
Device Installation without Digital Temperature Detector
Take out the device along with the
back cover, cable locking plate , rubber
plug and corresponding screws.
Lead the wires from the wall-mount
bracket and the module through the
square hole on the back cover,
connecting them to the corresponding
interface of the main board.
Select a suitable size rubber plug to push
all the cables into the back cover. Fix
cable locking plate to the back cover
with two M2.5x6 screws using the Allen
wrench attached with.
Fasten the back cover with four M3x6
screws using the Allen wrench attached
with.
Hang the device on to the square hanger
on the wall mounting bracket, pull
down the device to make it fall
completely on to the square hanger on
the wall-mounting bracket, then use
 Loading...