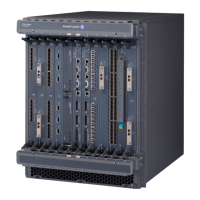
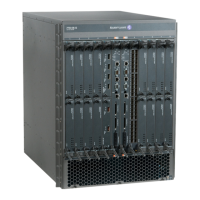
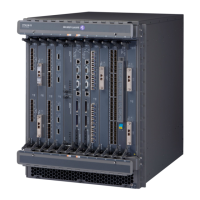
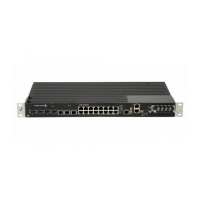
Appendix C: Field-Replaceable Units
7750 SR-a4 and SR-a8 Installation Guide 177
To replace an AC PSU module:
Step 1. Align the PSU module with the chassis guides in power slot (Key 1 in Figure 58
and Figure 59).
Step 2. Grip and hold the handle (Key 2 in Figure 58 and Figure 59) on the PSU with your
hand.
Step 3. Slide the unit into the slot. Firmly press the PSU module all the way into the slot
(Key 4 in Figure 58 and Figure 59). The latch clicks into place to secure the PSU
when the unit is fully inserted.
Step 4. Locate the AC power cord. Verify that the AC power cord meets your regional
requirements. Do not use power cords that do not meet these standards.
Step 5. Reconnect the AC power cord into the inlet on the PSU module.
Step 6. Lower the cord retainer until it fully secures the cord.
Step 7. Reconnect the other end of the power cord to the AC power source receptacle.
Step 8. After the replacement PSU module is installed and energized, check the LED status
on the front of the AC PSU.
7750 SR-a –48 VDC PSU
If you are operating the 7750 SR-a with redundant PSU modules, you can install, remove, or
replace a PSU module without affecting system operation.
Table 89: AC PSU Replacement Features
Key Description
1 Chassis guide
2 PSU handle
3 Spring-loaded latch lock
4 Direction of movement