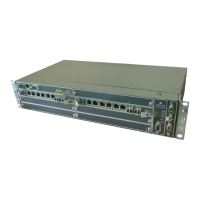
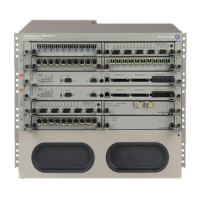
Appendix C: Field-Replaceable Units
7750 SR-a4 and SR-a8 Installation Guide 203
Step 1. Remove the new IOM-a from the packaging and place it on a flat antistatic work
surface. Do not touch the printed circuit board or connector pins. Hold the IOM-a
by the edges.
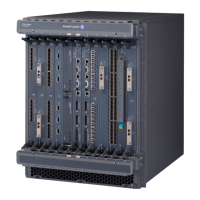
Step 2. Move the ejector levers to the open position (Key 4 in Figure 74).
Step 3. Locate the IOM-a slot (Slot 3) on the chassis, and align the card with the slot guide
(Key 1 in Figure 74).
Step 4. Slide the card inward until the captive screws align with the threaded receptacle in
the chassis (Key 2 in Figure 74), and the connectors are seated in the backplane.
Step 5. Push the ejector levers simultaneously inward to complete the seating and to lock
the connectors and IOM-a in place.
The faceplate must be flush with the front of the chassis. If an ejector lever does not
shift to the locked position, the IOM-a is not seated correctly. Pull the card out,
reinsert it, then shift the levers to the locked position.
Step 6. Use a torque driver to tighten the captive screws (Key 3 in Figure 74). Torque to 4
to 5 lbf-in (0.45 to 0.56 N
.
m). Do not over-tighten. The ejector levers must remain
in the locked position while the card is installed in the chassis.