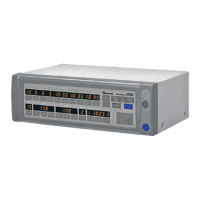
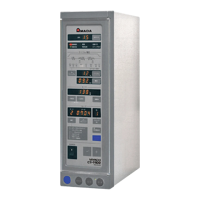
IS-200A
4. How to Operate Screens
4-8
(g) PAGE DOWN
When the cursor is at , moving the cursor down will change the display to the
screen shown below.
(m)
(a)
(h)
(i)
(j)
-SCHEDULE #001 PAGE UP
PULSATION 01 GAIN (1-9) 1
VALVE # 1 TURN RATIO 001.0
TRANS # 1
WELD ON/OFF OFF
(k)
(l)
(f)
(h) PULSATION
Set the number of repetitions in the field for weld time in the COOL1 and WELD2.
(See the figure below.)
Timing chart obtained when PULSATION is set to “3”
(Note) PULSATION
When performing a welding with the setting PULSATION to 2 or more and
COOL1 (cooling time) to 0, set the control system to the primary
constant-current effective value control or the primary constant-current peak
value control. If a welding is performed with the other controls, control and
monitored value may not function correctly.
When performing a welding with the setting PULSATION to 2 or more, only
the last welding data is displayed as the monitored value of WELD2 after
completion of sequence. In the timing chart above, the data of the third time
is displayed. (See (4) MONITOR Screen.) Also, if the current gets out of the
range of upper/lower limit judgment during repeated PULSATION operation,
a caution signal is output after completion of welding. (See (5) MONITOR
SET Screen.)
SQD
SQZ
WELD1
COOL1
WELD2
COOL2
WELD3
HOLD
Valve output
1st time 2nd time
Welding current
3rd time
HEAT2 HEAT2 HEAT2 HEAT3HEAT1
2ND STAGE
DELAY-START SET time