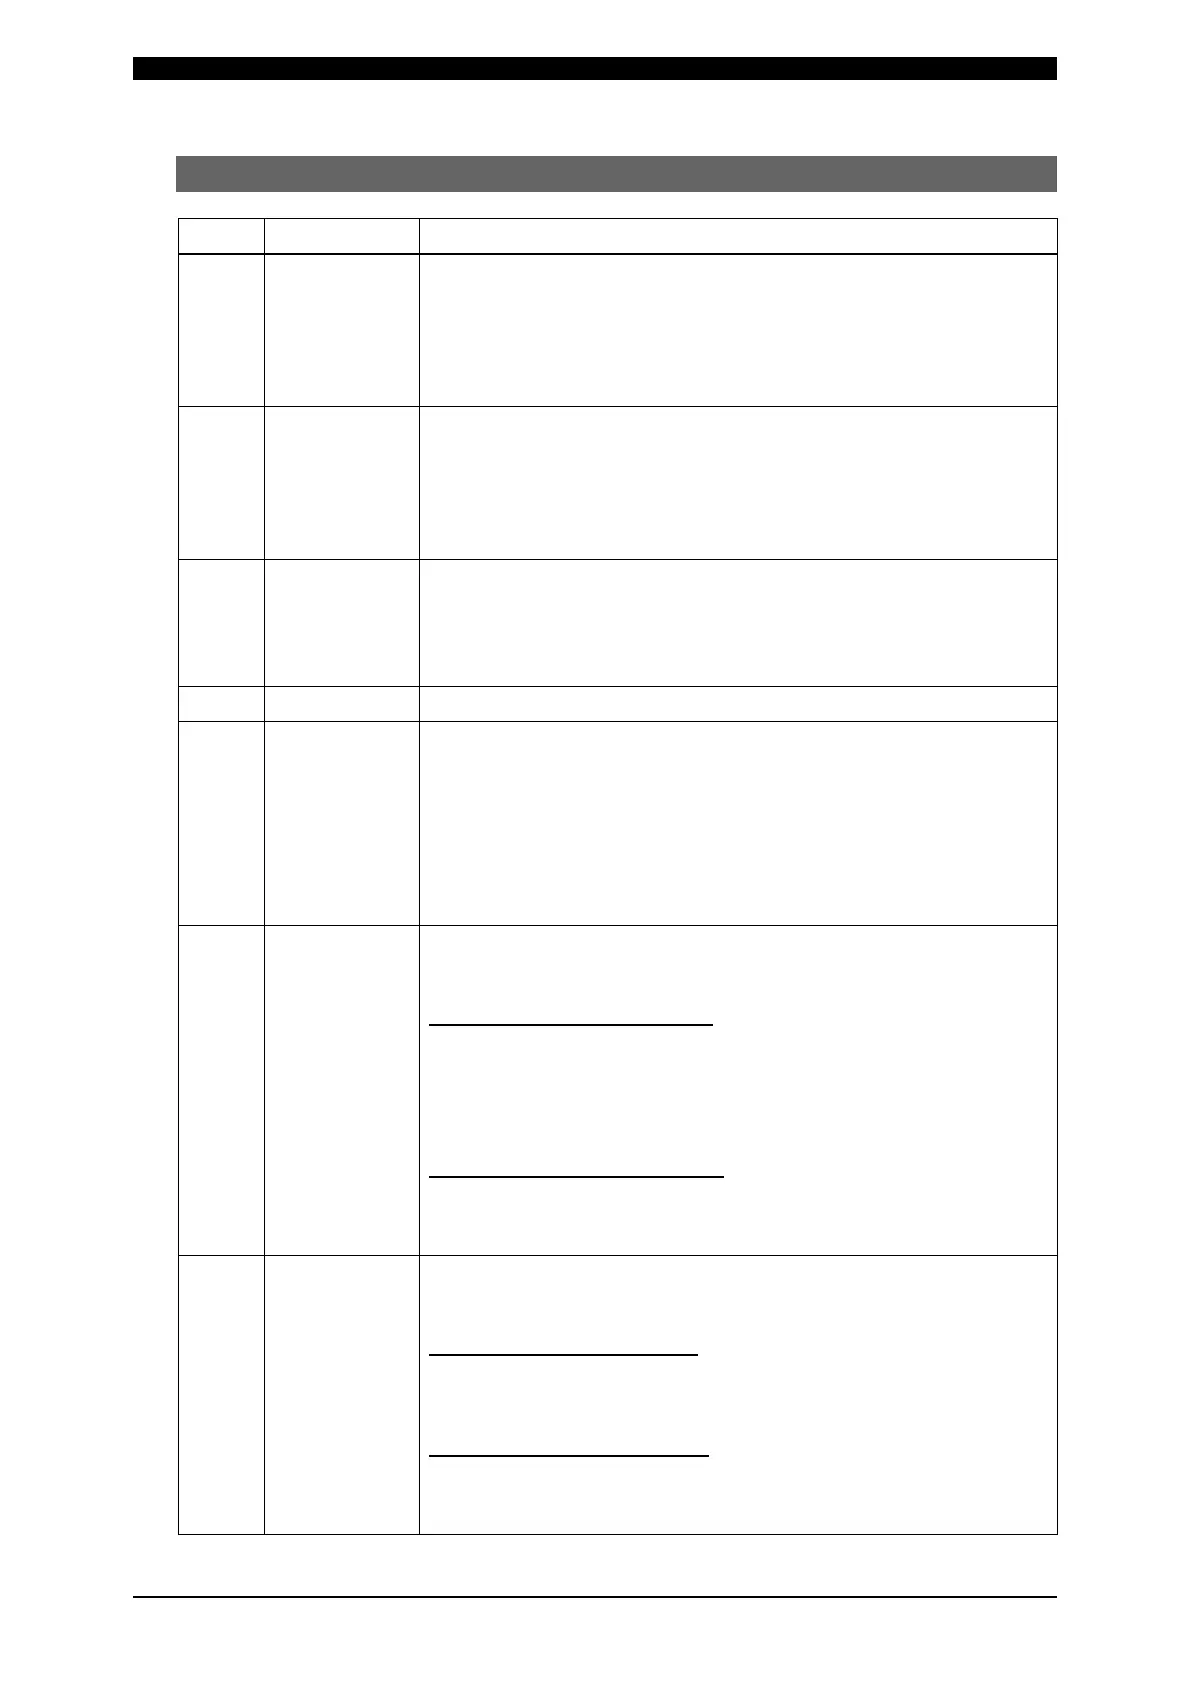
IS-200A
6. Interface
6-3
(2) Description of External I/O Signals
Pin No. Name Description
1
INT.24V
24
V DC present.
When using a contact, open collector (sink type), or PLC
(programmable logic controller) as an input signal (e.g., for
startup or schedule selection), connect pins 1 and 2.
Note: Do not use pin 1 unless connecting it to pin 2 or 3. Failure
to observe this precaution will result in malfunction.
2
EXT.COM
When using a contact, open collector (sink type), or PLC
(programmable logic controller) as an input signal (e.g., for
startup or schedule selection), connect pins 1 and 2.
When using an external power supply as input signal, open pin
1 and connect pin 2 and the positive pin of the DC power supply
or the COM pin.
3
STOP
Normally, connect pins 3 and 1.
Opening this pin will cause an error message to appear,
stopping operation.
Open this pin when you wish to stop the sequence halfway
through when using starting signal self-hold input.
4
COM COM pin. This pin is internally connected to the GND chassis.
5
6
7
8
9
10
11
12
SCH 1
SCH 2
SCH 4
SCH 8
SCH16
SCH32
SCH64
SCH128
Schedule input pins.
5: Schedule 1; 6: Schedule 2; 7: Schedule 4; 8: Schedule 8;
9: Schedule 16; 10: Schedule 32; 11: Schedule 64;
12: Schedule 128
(See 4. (7) (e) Schedule Nos. and Schedule Selection Pins.)
13
WE1 STOP/
PARITY
Parity input or WE1 stop input pin.
Switch between functions via the settings on the (7) MODE
SELECT screen described in Chapter 4.
When PARITY CHECK = ON
This pin serves as the parity input pin, and allows for detection
of failure resulting from a wire break in the schedule selection
signal lines. Be sure that the total number of closed schedule
selection and parity signal lines is always odd. (See 4. (7) (e)
Schedule Nos. and Schedule Selection Pins.)
When PARITY CHECK = OFF
This pin serves as the WE1 stop pin. The sequence will switch
to COOL1 if this signal is closed during the WE1 sequence
operation.
14
WE2 STOP/
WELD COUNT
Weld count input or WE2 stop input pin.
Switch between functions via the settings on the (7) MODE
SELECT screen described in Chapter 4.
When WELD COUNT = ON
This pin serves as the weld count input pin. This pin allows you
to determine whether or not the number of deposited welds has
reached the WELD COUNT setting.
When WELD COUNT = OFF
This pin serves as the WE2 stop input pin. The sequence will
switch to COOL2 if this signal is closed during the WELD2
sequence operation.