Step 3: Attach mount brackets to the wall.
(For two columns only) Step 4: Install conduits.
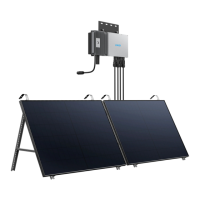
Step 5: Mount modules onto the brackets.
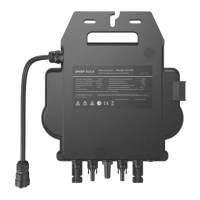
6. Electrical Connections
6.1 Internal Connections
Connect One Column of Modules
Connect Two Columns of Modules
6.2 External Connections
Connect to the Internet
Connect to the Grid and Backup Loads
Connect to Power Sensors
Single-Phase Connection
Three-Phase Connection
Connect to the Demand Response Enabling Device (DRED)
Adjust DIP Switches
Reinstall the Wiring Compartment Cover
6.3 Complete Connections
7. Commissioning the System
7.1 Verify Hardware Installation
7.2 Power On the System
7.3 Use the Anker SOLIX Professional App
Download and Install the App
Build System
Step 1: Collect Owner Details
Step 2: Select System Type
Configure Storage
Step 1: Connect Device
Step 2: Configure System Network
Step 3: Add Devices
Step 4: Update System
Step 5: Configure Meter
Step 6: Power On System
Configure System
Step 1: Advanced Configuration
Step 2: Perform System Test
Post Commissioning