11Get Started
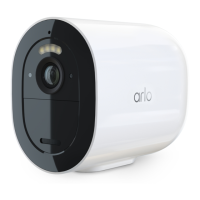
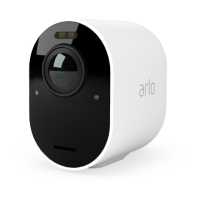
Arlo Go 2 LTE/WiFi Security Camera
User Manual
4. Follow the Arlo app instructions to add your Arlo Go 2 Camera.
During the setup process, the Arlo app:
• Detects the activated SIM card in your camera and attempts to access the mobile
network associated with the SIM card.
• Prompts you to scan one or more QR codes displayed in the app with your Go 2
Camera.
• Discovers your camera and oers you the option to connect to a 2.4 GHz WiFi network.
Use this option when the camera is in range of a WiFi network.
• Guides you through camera positioning.
5. Place your Arlo Go 2 Camera in a location with good mobile network coverage.
Note: If you want your Arlo Go 2 Camera to use only LTE mobile connections aer initial
setup, you can change its settings so that it doesn’t connect to WiFi networks. For more
information, see Control whether your Go 2 Camera connects to mobile or WiFi on page 19.
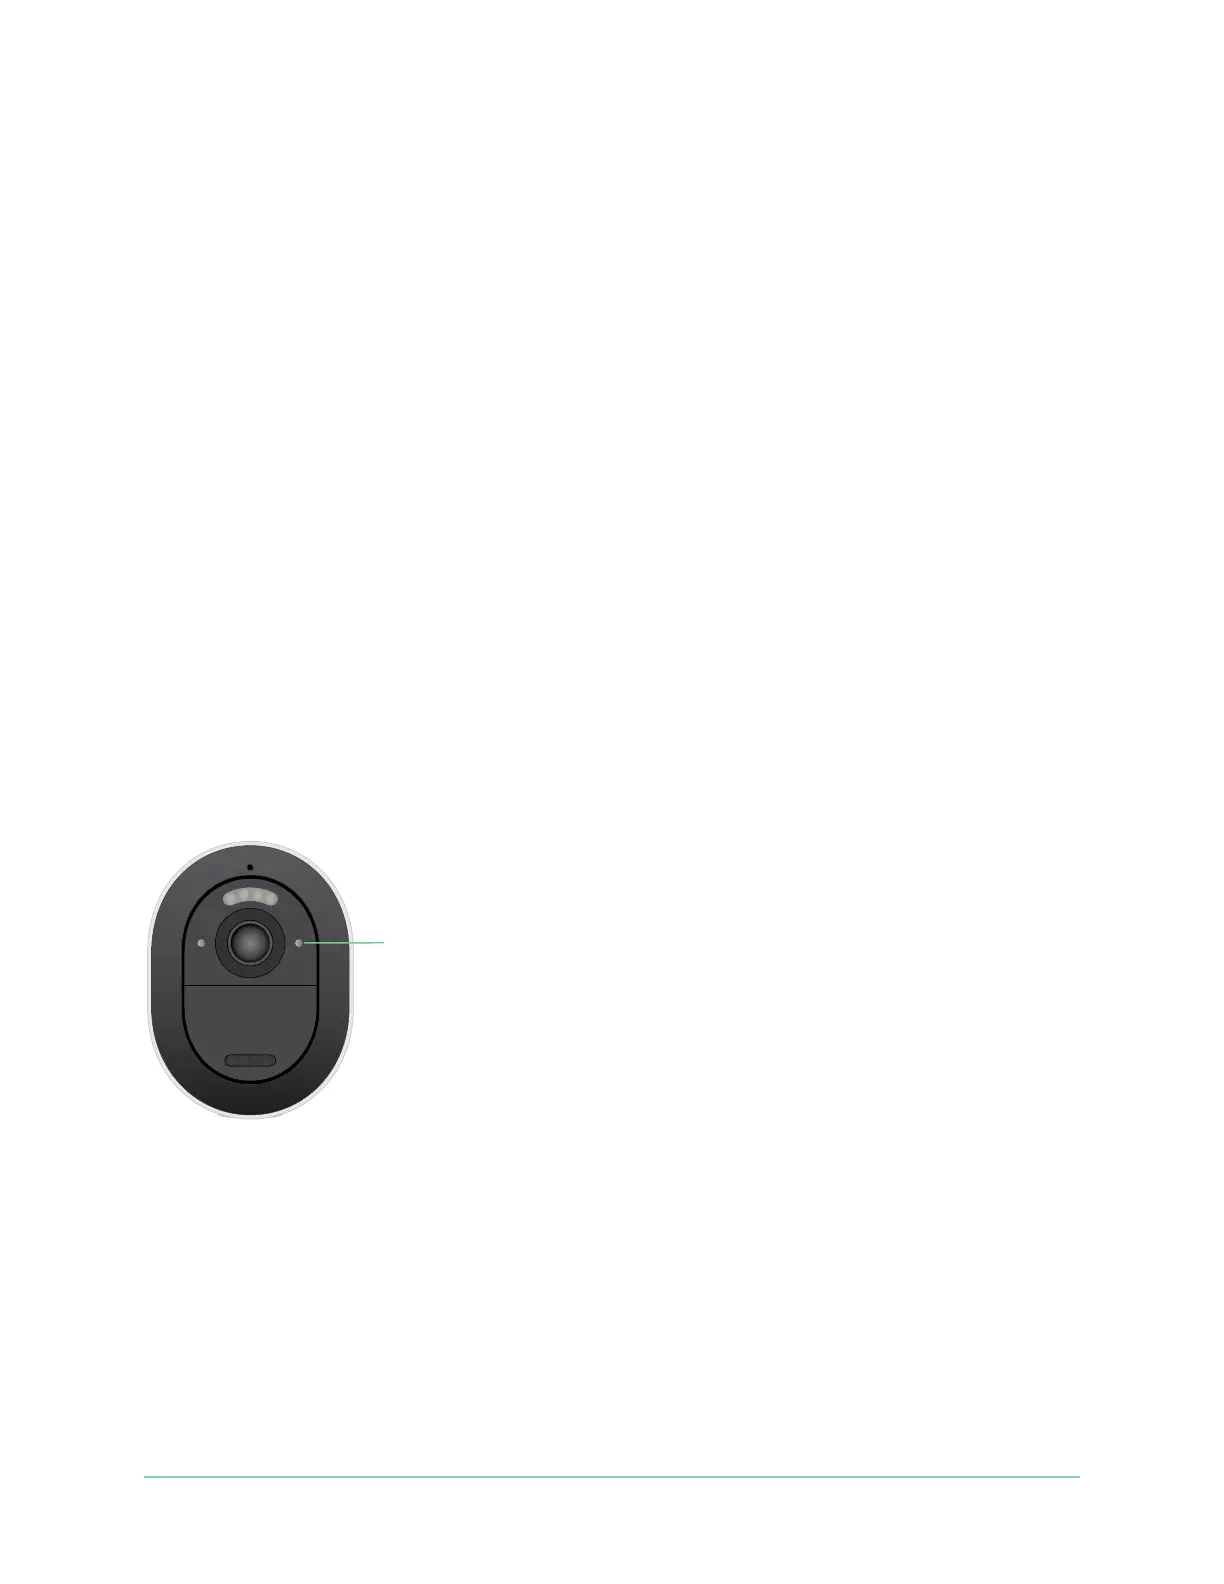
Check the LED
The LED on the camera lights when the camera is powered on. The LED changes color and
blinks depending on the camera’s charge level and to indicate the camera status.
LED behavior during setup
• Slow blinking blue: The camera is attempting to connect to a WiFi network or is in QR
scanning mode.
• Fast blinking blue: The camera is establishing a WiFi or LTE network connection.
• Fast blinking amber: The camera did not connect to the WiFi network or it did not connect
to the LTE network.
• Solid amber: The camera does not detect an activated SIM card in its SIM card slot.
Status LED