Rubber Track Loader
6. Chassis Disassembly and Assembly
6-2
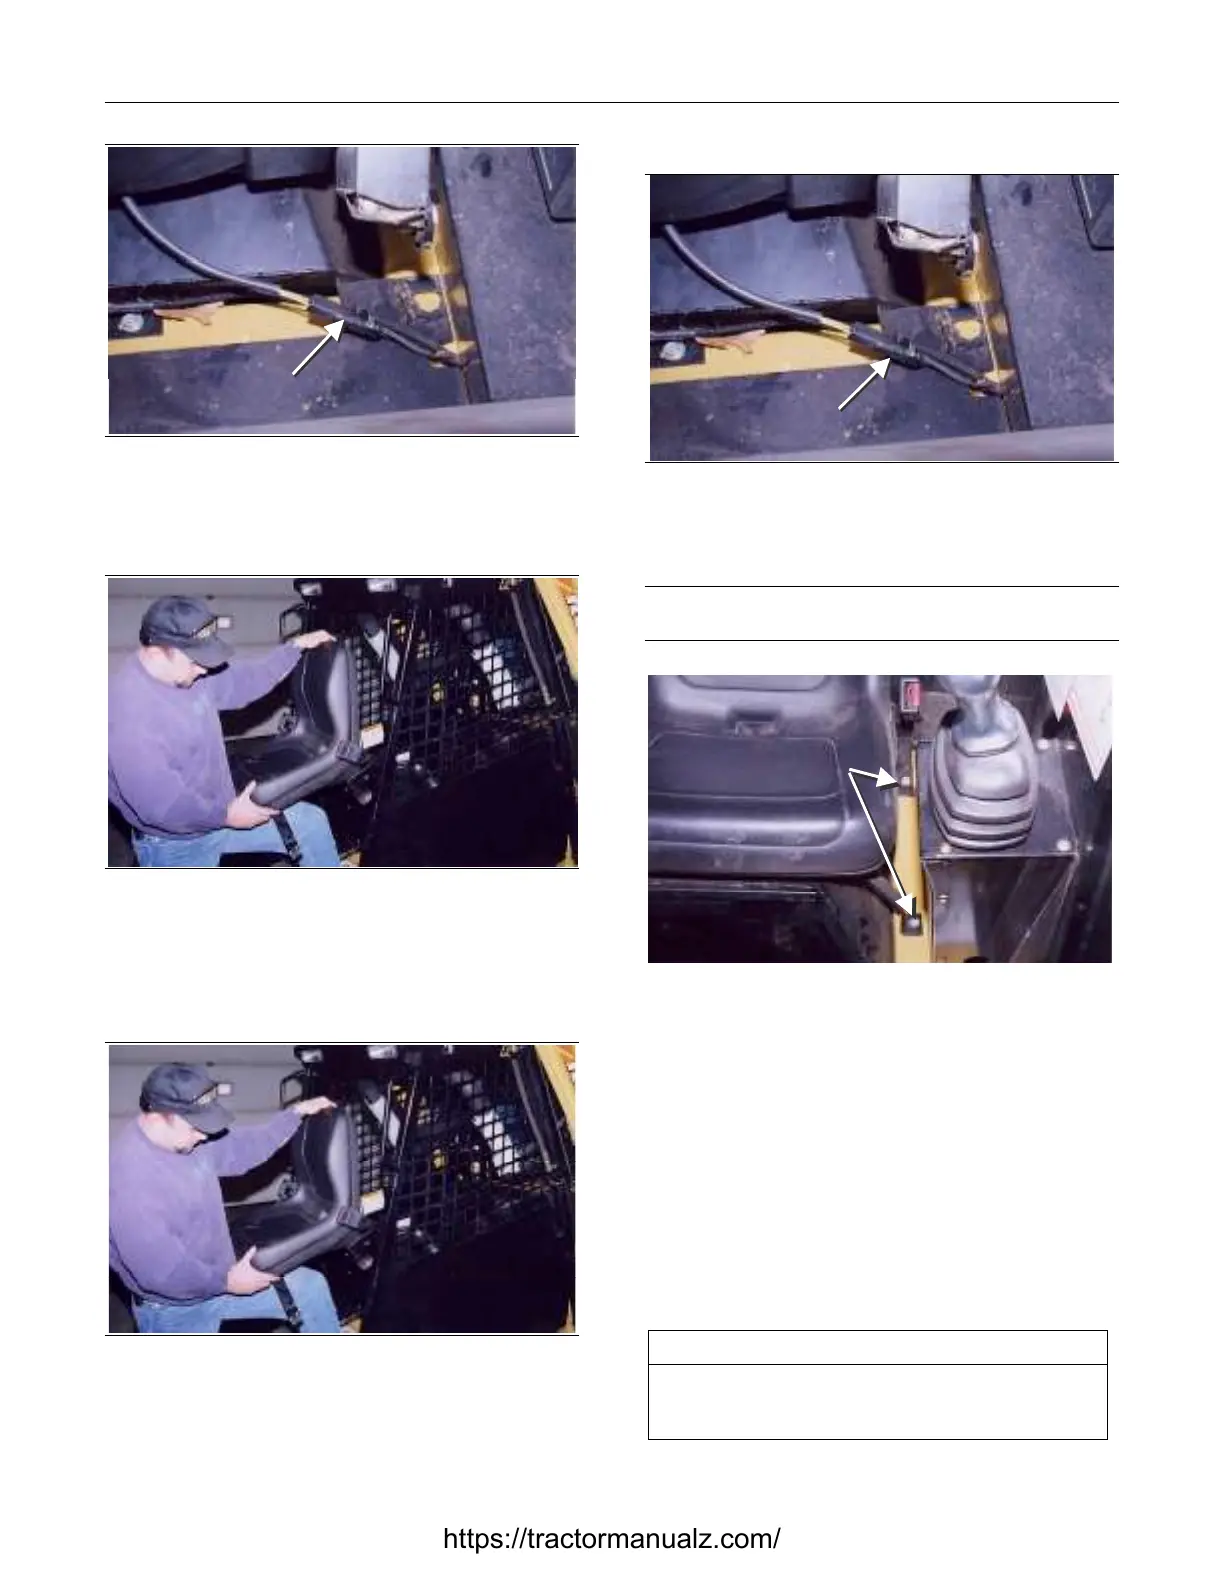
Unplug
Connecto
Figure 6-2 6-002
2. Tilt the seat forward and reach behind the seat
to unplug the seat switch wiring harness.
Figure 6-3 6-003
3. Remove the seat. Be careful not to scratch the
control panel or sides of the cab.
Seat Installation
Figure 6-4 6-003
1. With the seat mounts attached, place the seat in
the cab. Be careful not to scratch the control
panel or sides of the cab.
Plug in the Connector
Figure 6-5 6-002
2. Tilt the seat forward and reach behind the seat
to plug in the seat switch connector
Note: The machine will not operate unless the seat switch
connector is plugged in.
insert Seat Bolts
Figure 6-6 6-001
3. Position the seat so the holes in the seat mounts
are aligned with the bolts in the frame. Install the
four seat mount nuts and washers.
Fuel-Sending Unit Removal
and Installation
The tools required for fuel sending unit removal and
installation are listed in Table 6-2. Use manufac-
turer-recommended tools whenever possible.
Table 6-2
Required Tools
Screwdriver
Combination Wrench
Socket Wrench
https://tractormanualz.com/
 Loading...