Rubber Track Loader
11. Undercarriage Disassembly and Assembly
11-6
4. Install the track tool as shown in Figure 0-15.
5. Install the track tool’s collar over the 14” wheel
hub, make sure the collars hinge bolt is closest
to the wheel hub. See figure 12-16.
Figure 0-16 12-053
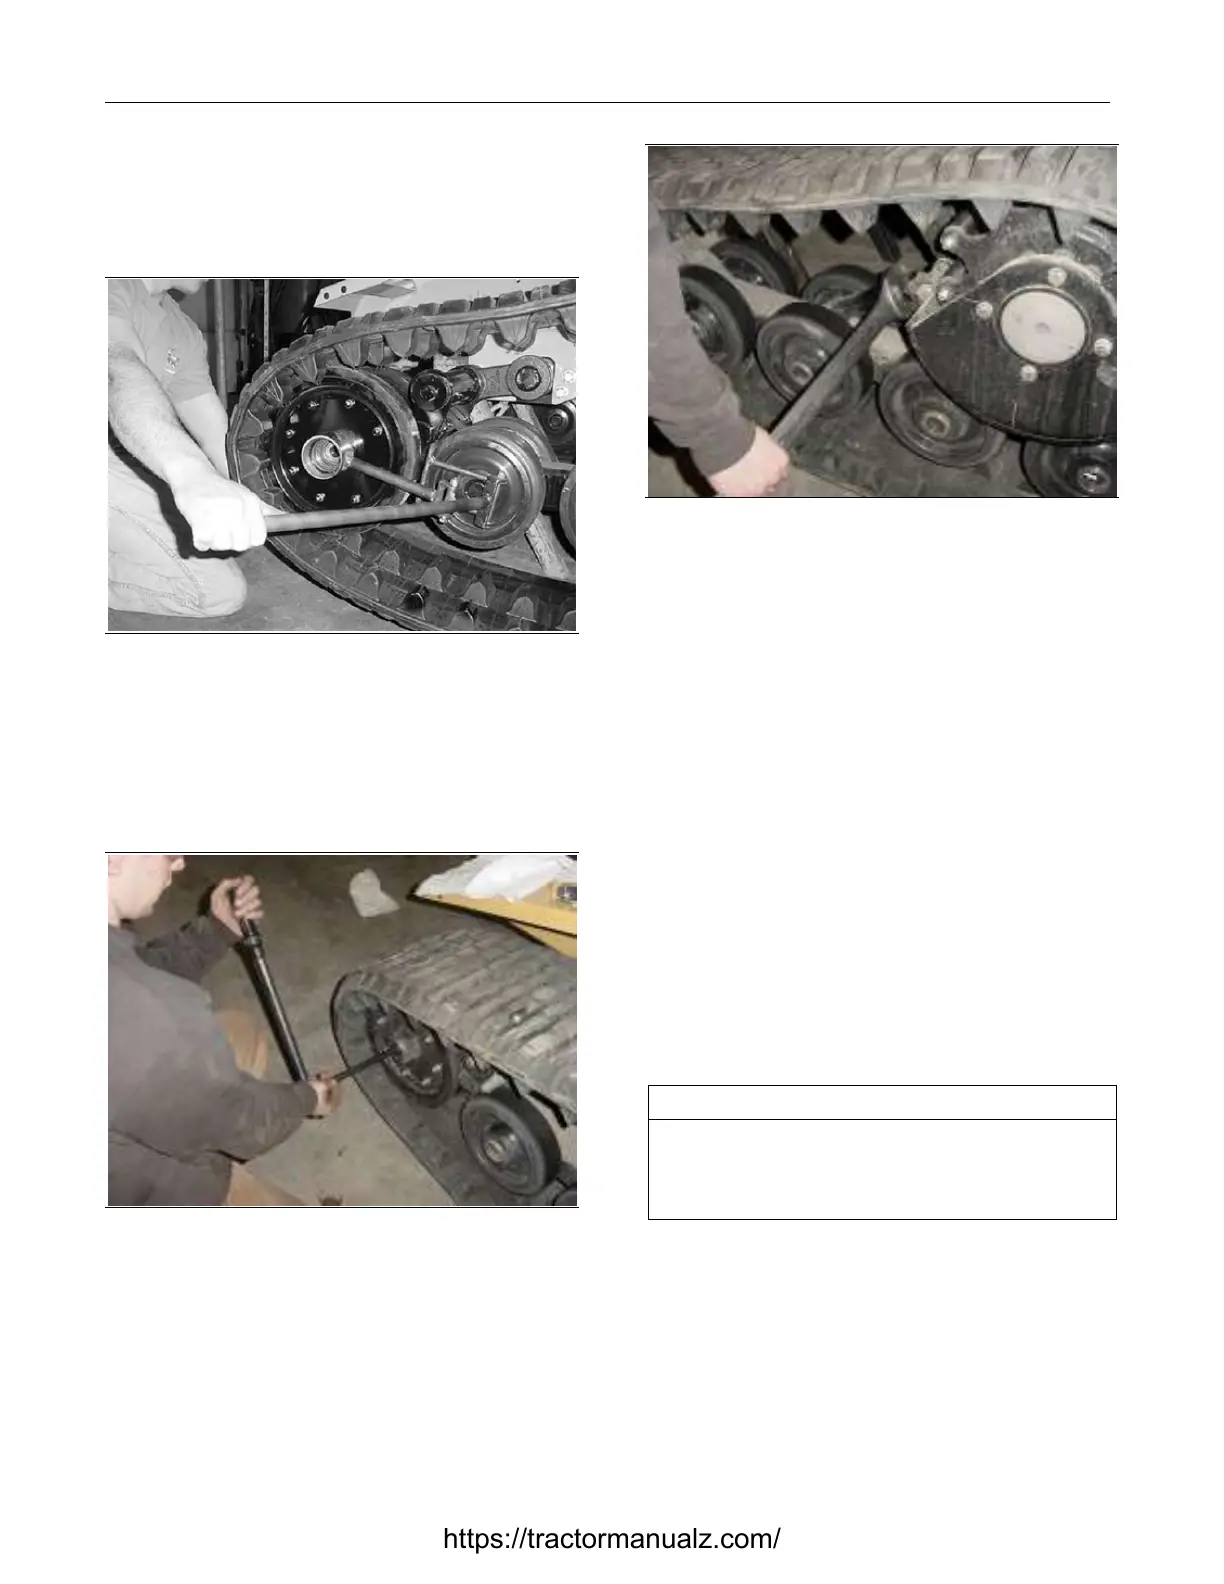
6. Place the wheel between the outside guide lugs
and the inside drive lugs, then pry the wheel
along with the track using the track tool. Line up
the wheel with the shaft and slide the wheel on.
It is very important to use the bullet shaped
thread / seal protector during this procedure.
Figure 0-17 12-054
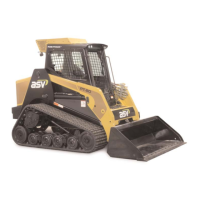
7. Install the wheel nut and torque to 125 ft.-lbs.
Figure 0-18 12-055
8. Tighten the track by turning the track tensioner.
When proper track tension has been achieved,
tighten the jam nut on the track tensioner.
9. Check for proper track tension. Refer to Chapter
16. Maintenance – Checking for Proper Track
Adjustment
Sprocket Bearing
Removal and Installation
The tools required for sprocket bearing plate
removal and installation are listed in Table 0-4. Use
manufacturer-recommended tools whenever
possible.
Table 0-4
Required Tools
Socket Wrench
Combination Wrench
Snap Ring Pliers
Two pry bars
Sprocket Bearing Plate Removal
1. Remove the track.
2. Remove the soft plug by hitting it with a hammer
and chisel on the very edge.
https://tractormanualz.com/
 Loading...