Unit Configuration
Configuration Handbook, Autroprime Interactive Fire Detection System, 116-P-APRIME2-CONFIG/EGB, Rev. A, 2013-04-03,
Autronica Fire and Security AS
Page 34
5.2 Detection Zones
5.2.1 Accessing the Menu Selections
From the Service Menu, perform the following:
Use the arrow down button to scroll downwards to
Unit Configuration, then press Enter twice.
Use the arrow up/down buttons to select the detection zone that
is to be configured.
To view or change properties for the selected detection zone
(name and alarm organization), refer to Configure Properties for
a Detection Zone (chapter 5.2.2).
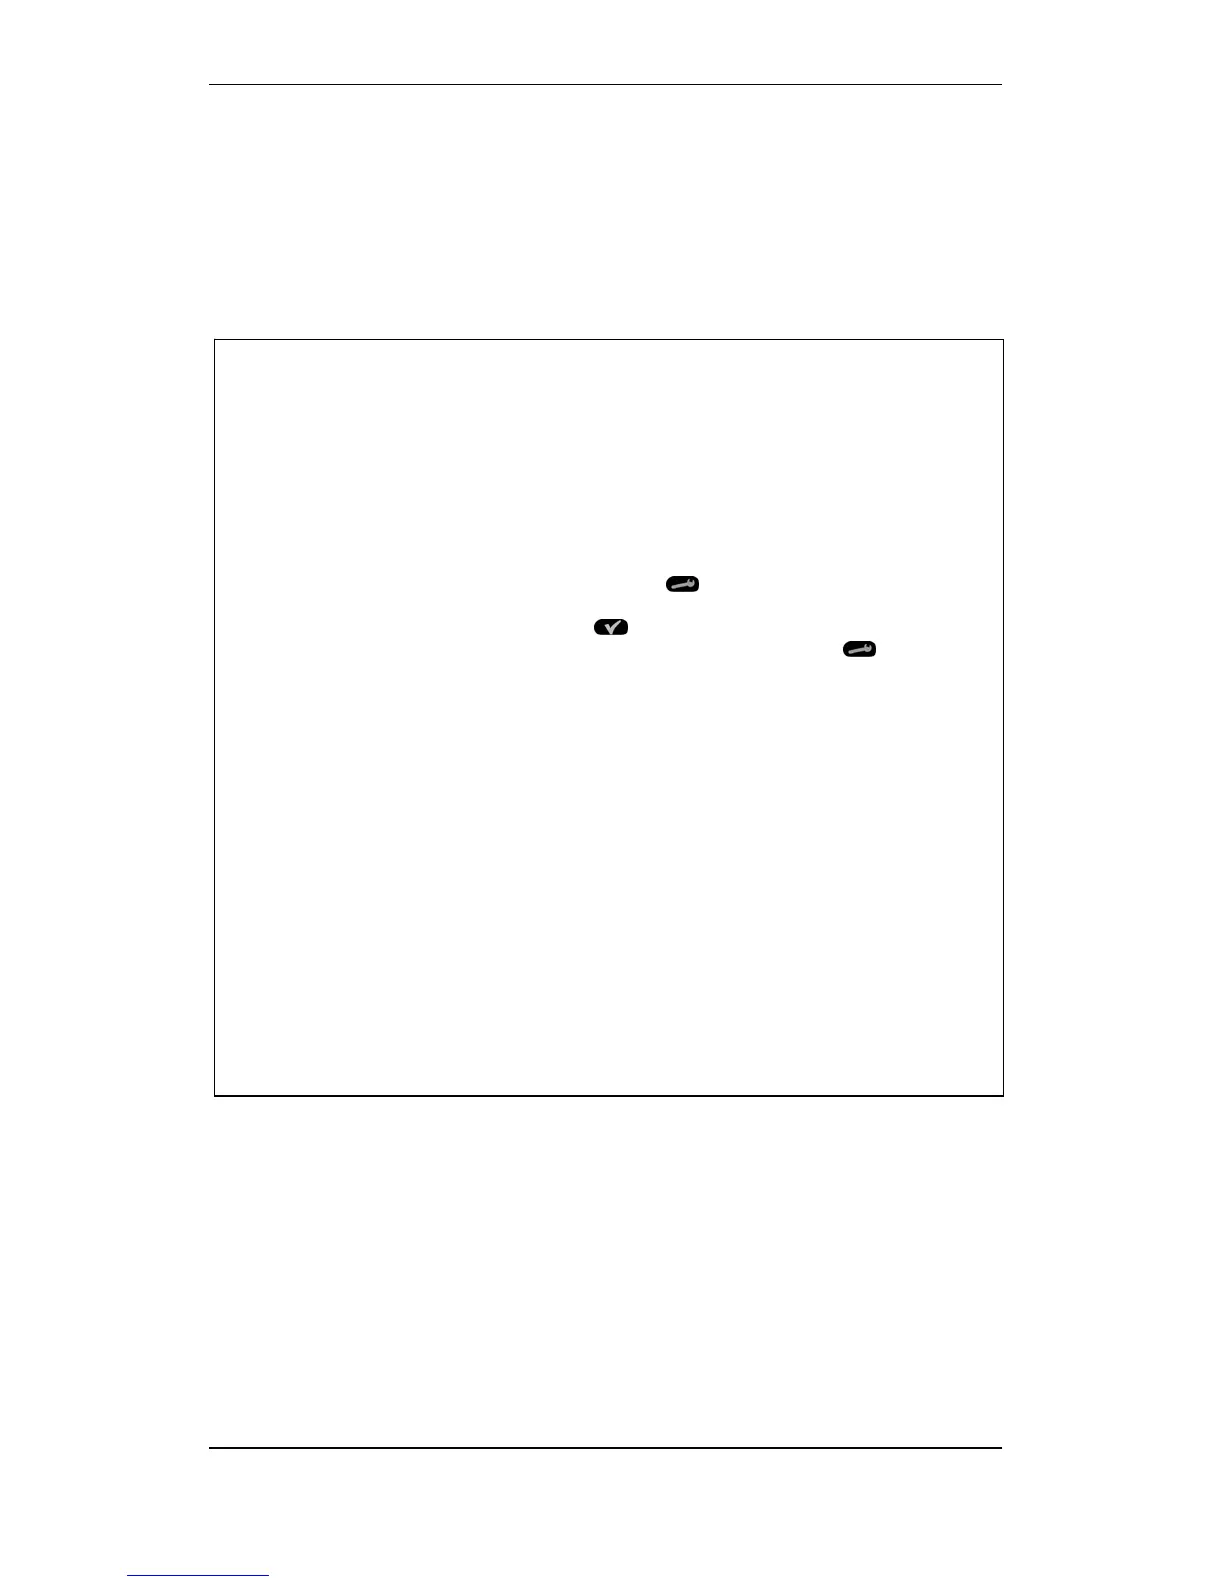
To access available functions for a selected detection zone,
press the Function button
, or use, if necessary, the
multiselect feature to select several detection zones by pressing
the Select button
to mark the detection zones that are to be
configured, and then press the Function button .
The following menu selections will appear:
o Connect to Alarm Zone (chapter 5.2.3)
o Connect to Output (chapter 5.2.4)
o Connect to Disable Input Device (chapter 5.2.5)
o Connect to Local Alarm Delay Unit (chapter 5.2.6)
o Connect to Panel* (chapter 5.2.7)
o Disconnect from Alarm Zone (chapter 5.2.8)
o Disconnect from Output (chapter 5.2.9)
o Disconnect from Disable Input Device (chapter 5.2.10)
o Disconnect from Local Alarm Delay Unit (chapter 5.2.11)
o Disconnect from Panel* (chapter 5.2.12)
o Show Member Points (chapter 5.2.13 )
o Show Connected Units (chapter 5.2.14)
Scroll with the arrow up/down buttons to select the desired menu,
then follow the instructions in the relevant chapter.
* Menu selection available only if a “Mimic” panel is connected.
 Loading...