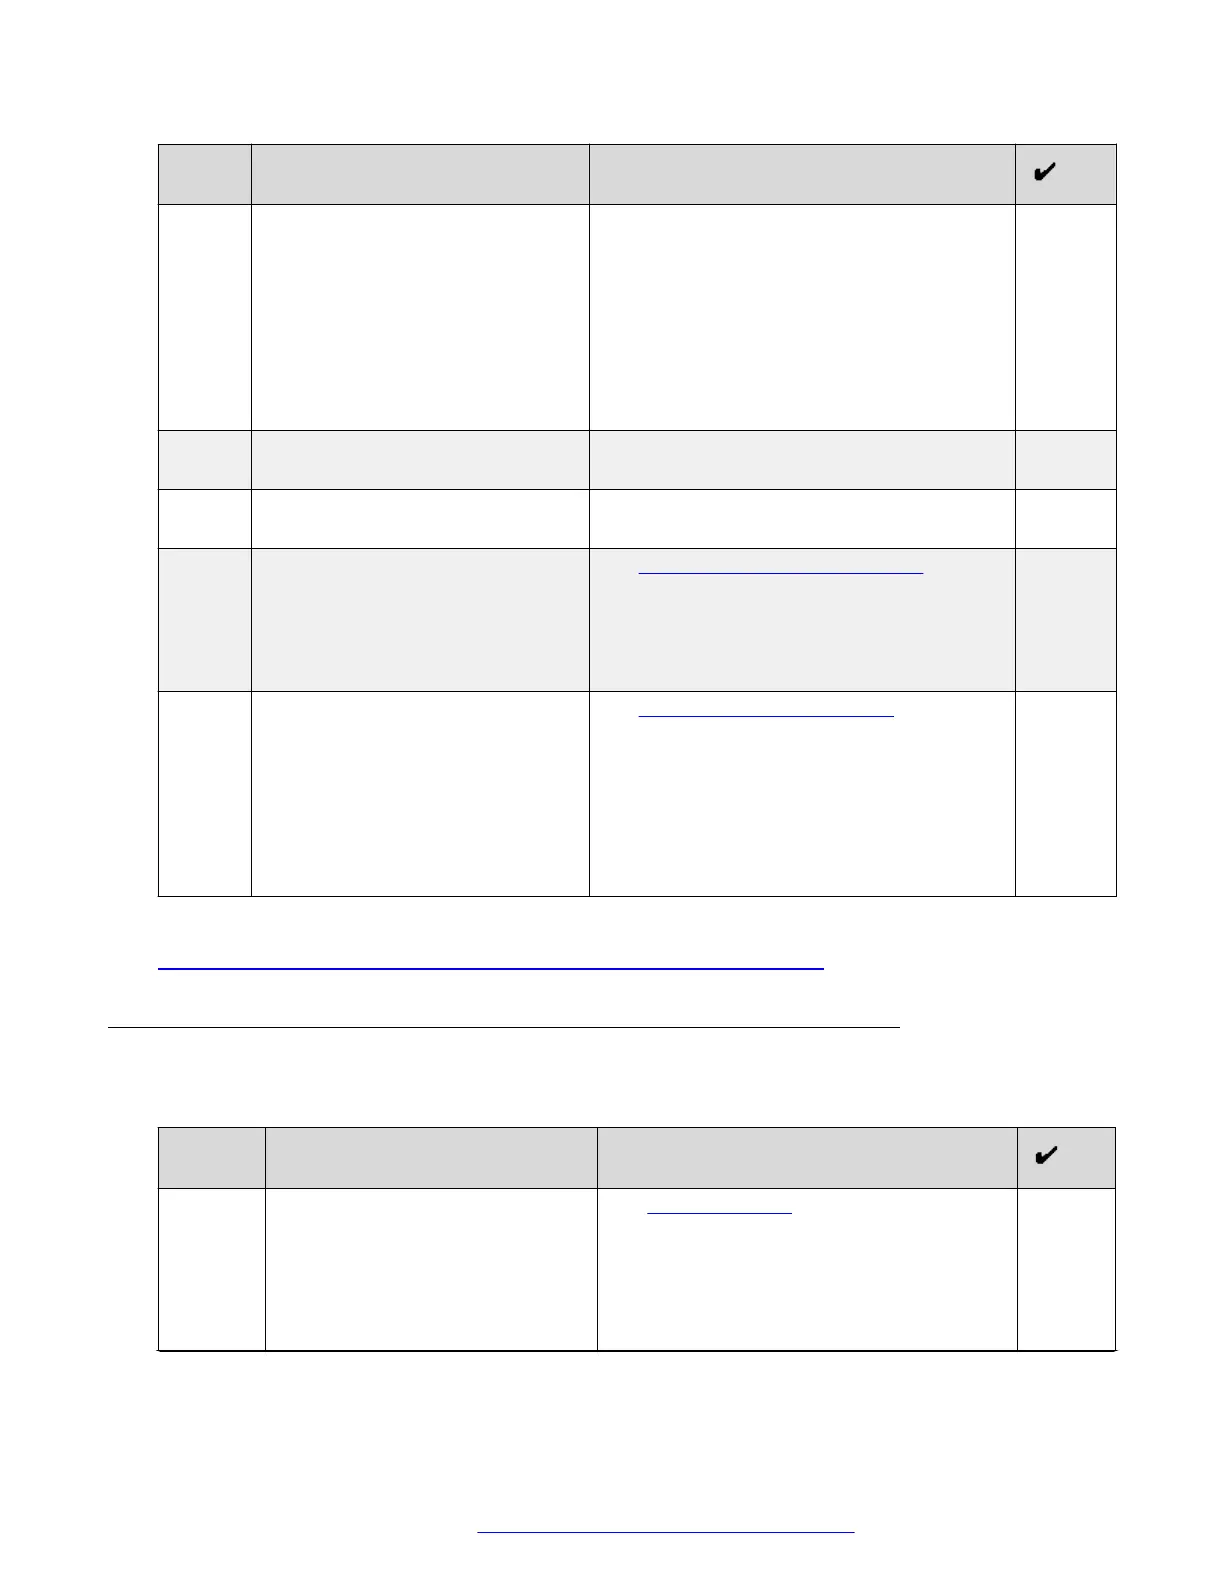
No. Task Notes
Use the following options specific for this
deployment model:
• For Common Name, use the global FQDN.
For example:
webservices.company.com.
• For Subject Alternative Name, use the
global FQDN. For example:
DNS:webservices.company.com.
2 Download and save the
created .KEY and .CSR files.
3 Send the .CSR file to a public CA
for signing.
4 Install the signed certificate and the
key on the Avaya SBCE.
See Installing a certificate and a key on
page 138.
When installing the certificate, use a
descriptive name. For example:
webservicesCert.
5 Create a TLS server profile using
the installed certificate.
See Creating a TLS server profile on
page 141.
When creating a profile, use the certificate
installed on the Avaya SBCE in the previous
step.
Provide a descriptive name for the profile. For
example: webservicesTlsProfile.
Related links
Reverse proxy configuration checklist for a single FQDN deployment on page 109
Checklist for creating TLS server profiles for reverse proxy in a
multiple FQDN deployment
No.
Task Notes
1 Create certificate signing requests
for each service FQDNs.
See Certificate setup on page 135.
Create one certificate for each FQDN used
by services deployed in the solution, such as
Avaya Equinox
®
Conferencing Management
service, Web Collaboration Services, and
Avaya Aura
®
Web Gateway/Portal. If you are
Table continues…
Reverse proxy configuration
October 2018 Deploying the Avaya Aura
®
Web Gateway 111
Comments on this document? infodev@avaya.com
 Loading...


