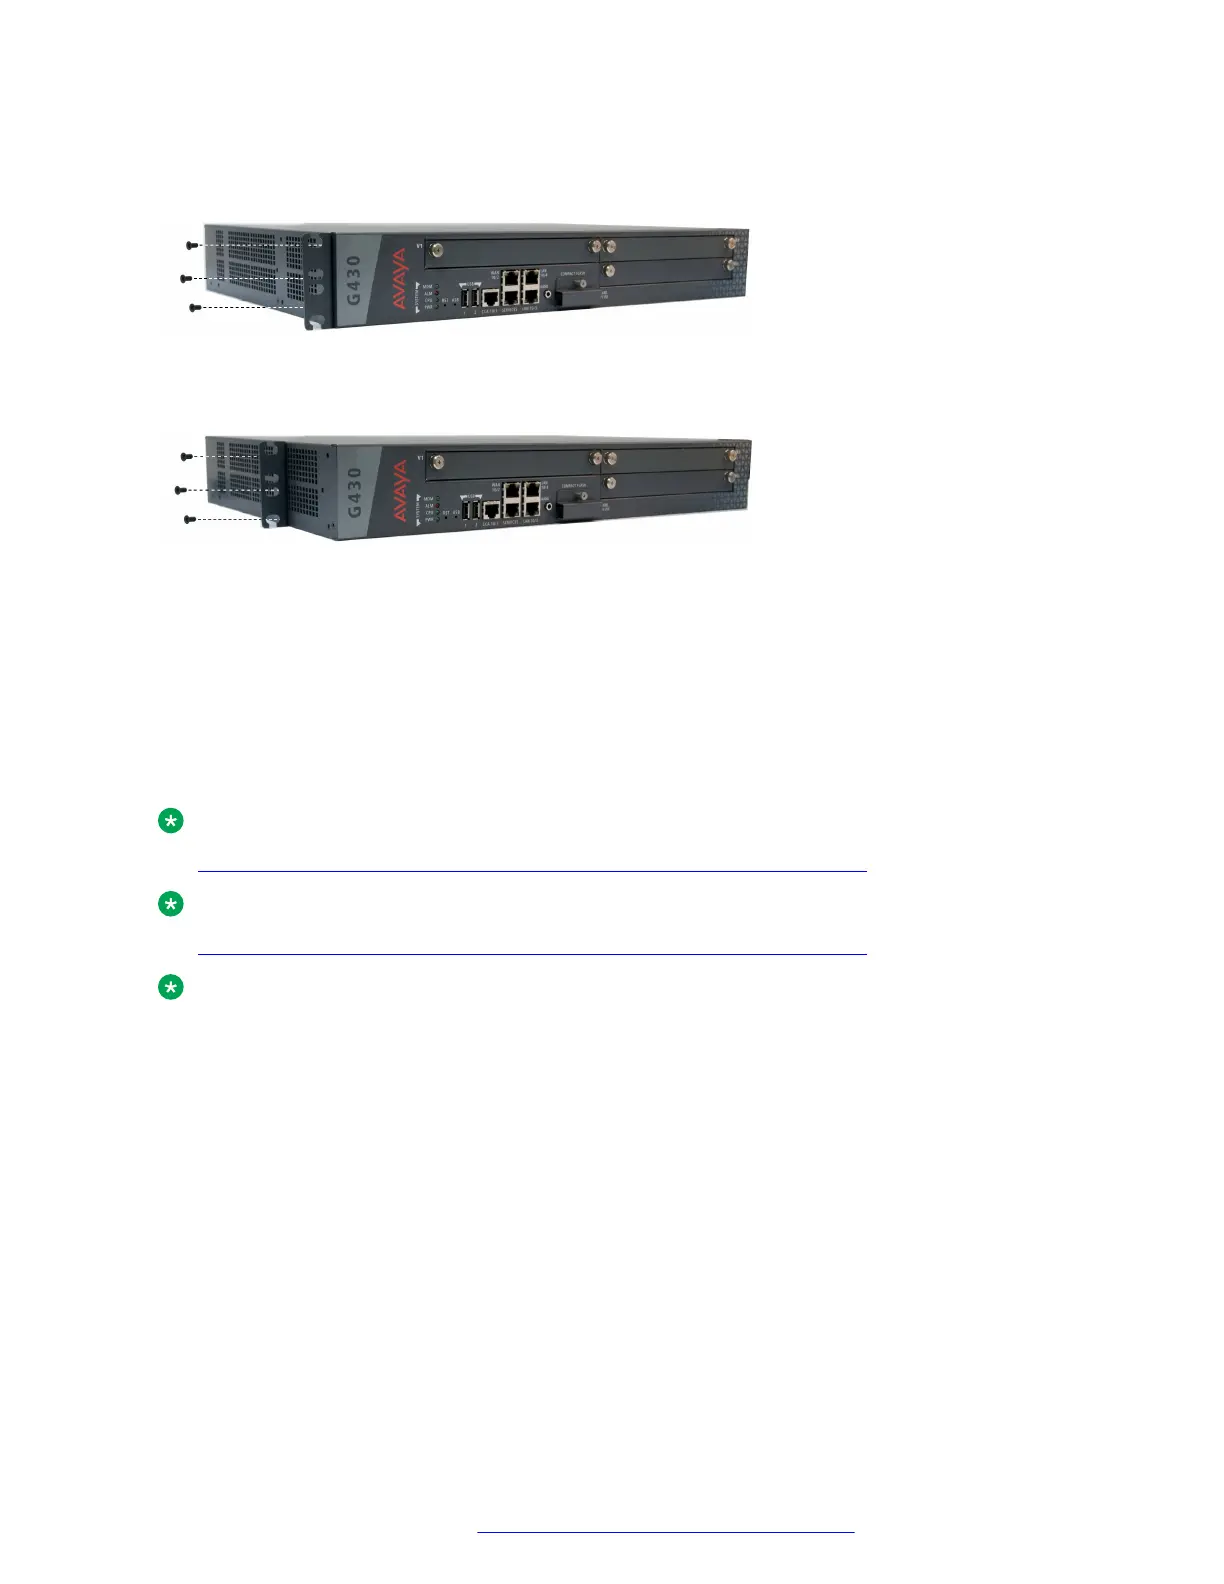
Attaching a mounting bracket to the front of the Branch Gateway
About this task
Attaching a mounting bracket to the middle of the Branch Gateway
About this task
Brackets with cable guides
You can attach the mounting bracket with cable guides to the front of the Branch Gateway on one
side, as shown in the following figure. If you are fastening the chassis to the rack at the front, use
the mounting bracket with cable guides as one of the two front brackets. If you are fastening the
chassis to the rack at the middle, use the mounting bracket with cable guides at the front of the
chassis, in addition to the two regular mounting brackets on the sides of the chassis. In this case,
the mounting bracket with cable guides serves for cable management only — you do not fasten it
to the rack.
Note:
Connecting a DCP telephone to an MM712 or MM717 media module on page 48
Note:
Connecting a DCP telephone to an MM712 or MM717 media module on page 48
Note:
It is recommended to attached the mounting bracket with cable guides to the right side of the
rack, so as not to block your view of the system LEDs.
Attaching each mounting bracket to the Branch Gateway
About this task
The Branch Gateway is held in place by mounting screws through the two mounting ears. Fill
racks from the bottom; that is, mount units in the lower positions first, to avoid balancing problems
and cabling complications.
Procedure
1. Position a bracket over the desired mounting position.
2. Affix the bracket to the chassis with three of the nine 4-40 flat head screws provided.
Installing the Branch Gateway and EM200
July 2018 Deploying and Upgrading Avaya G430 Branch Gateway 24
Comments on this document? infodev@avaya.com


 To Next Page