40
3BEFORE OPERATION
3.1 ELECTRICAL CONNECTIONS
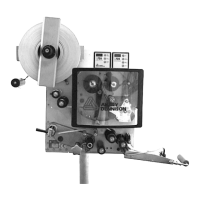
ALS
20x
256
Connecting the power cable
Make sure that the power switch [35A] is set to ‘O’
(off).
Using the supplied power cable, plug the unit into a
socket connected to the mains supply.
ALS 20x with splash guard: The power cable is
connected by installing the hood.
For more information on fuses, see section
“Replacing fuses” on page 56.
3.1.2 Connecting sensors
WARNING!
The machine operates using mains voltage!
Touching live electrical parts may expose
you to hazardous electrical currents and
may lead to burns.
Only link the unit to devices that fulfil the
SELV (safety extra-low voltage) circuit re-
quirements specified in EN 60950.
Check whether the required sensors are connected
before turning on the unit [36].
The minimum required sensors:
– Label sensor (installation location: dispensing edge)
– Product sensor (installation location: conveyor belt)
Additional optional sensors:
– Rotary encoder (required for speed adaption)
– External outer diameter checking sensor (provides
advance warning of the end of a label roll)
– Alternative label sensor; for example, capacitive
sensor, used to detect transparent labels.
ALS 20x with splash guard: Not used connec-
tors must be closed with the plugs shipped with
the machine.
Service technicians find further information re-
garding suitable sensor types, pin assign-
ments, and so on in the service manual.
[35] Power cable (B) plugged in.
[36] Sensor connectors:
A Label sensor
B Product sensor
C Optional: Rotary encoder
D Optional: Roll diameter check
E (ALS 20x) Optional: Alternative label sensor
F (ALS 256) Optional: Alternative label sensor