CONNECTIONS AND SETUP
-9-
3.1.2 For 4CH Models
Note: The following description takes a 4CH DVR model WITHOUT a DVD writer built-in as an example.
For the 4CH DVR model with a DVD writer built-in, please ignore STEP2.1.
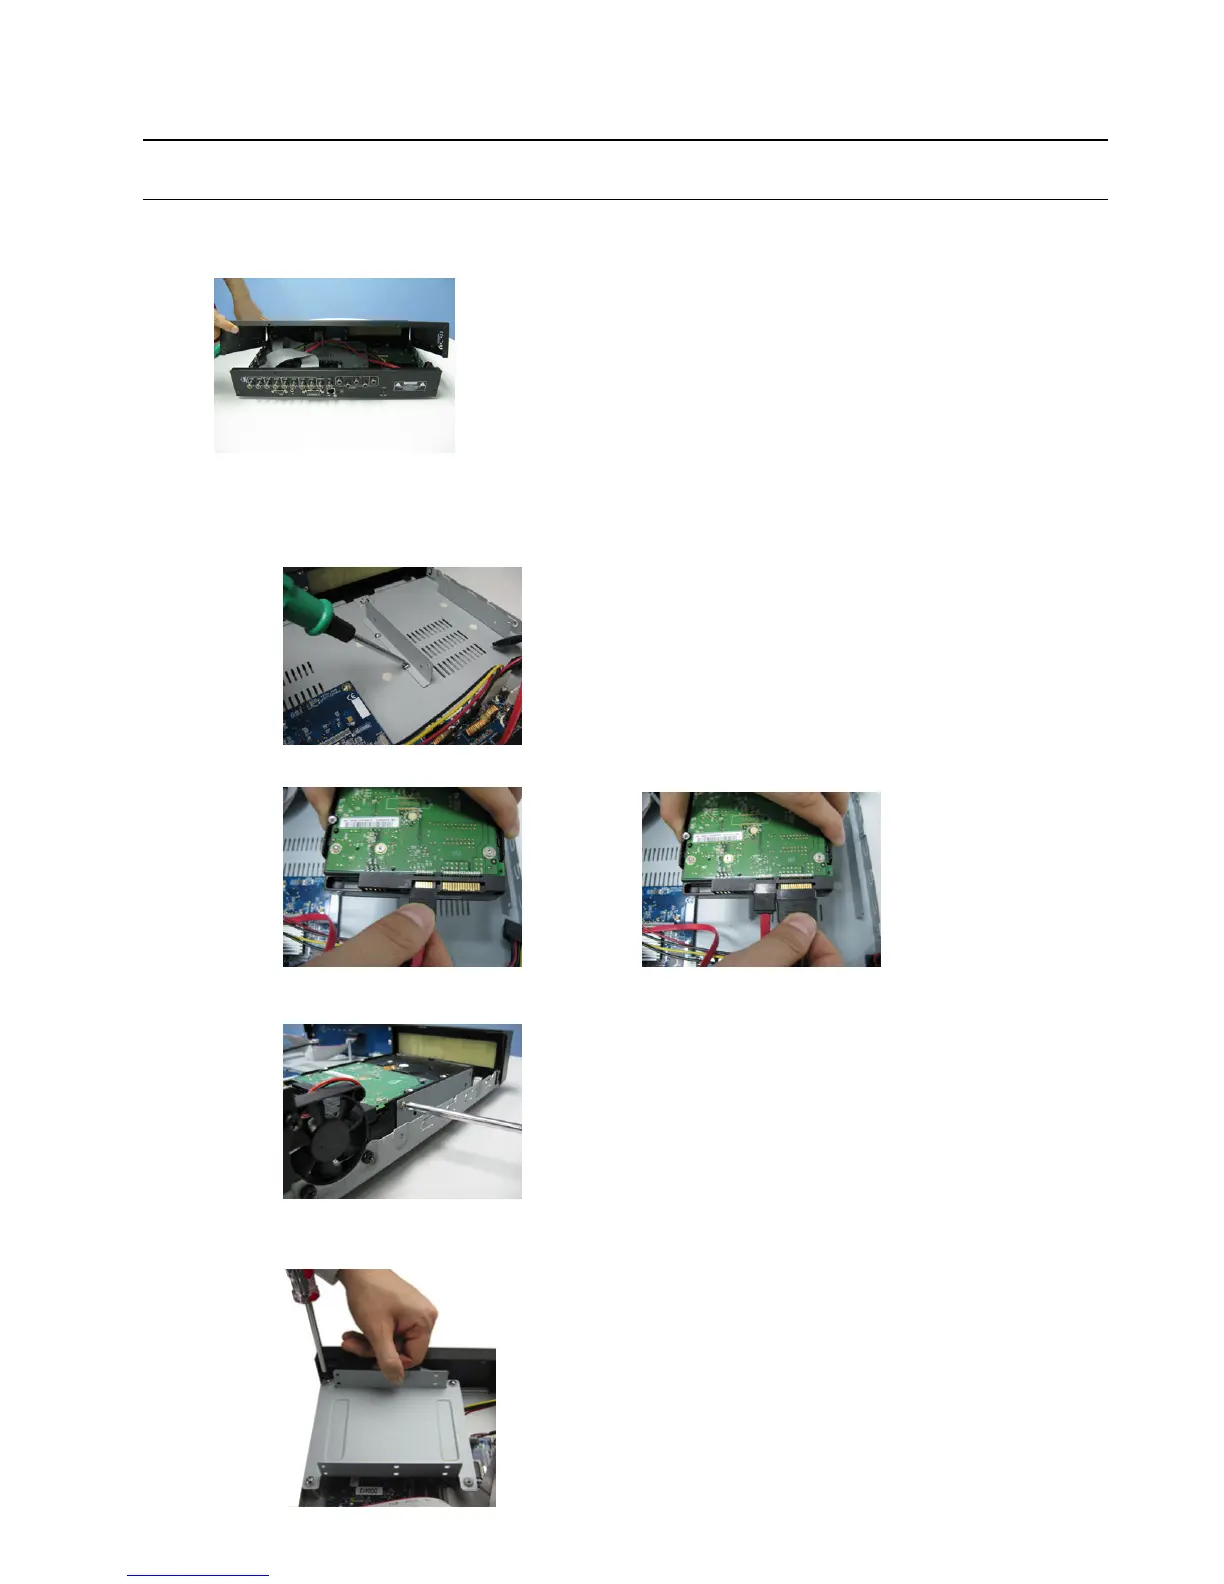
STEP1: Remove the screws on the top cover of DVR, and remove the top cover.
There are two places to install HDDs for this DVR: one is on the right, and the other one is on the left.
STEP2: Turn the DVR real panel facing you.
2.1. To install the HDD on the right (For the DVR model without a DVD writer built-in only):
a) Find the two HDD brackets in the accessory pack, and fix them onto the DVR base.
b) Get a compatible SATA HDD, and connect it to the power connector and data bus connector.
c) Put the HDD to the DVR, and have the SATA HDD fixed in the DVR.
2.2. To install the HDD on the left side:
a) Remove the HDD bracket as indicated below.