QUICK START MENU
-20-
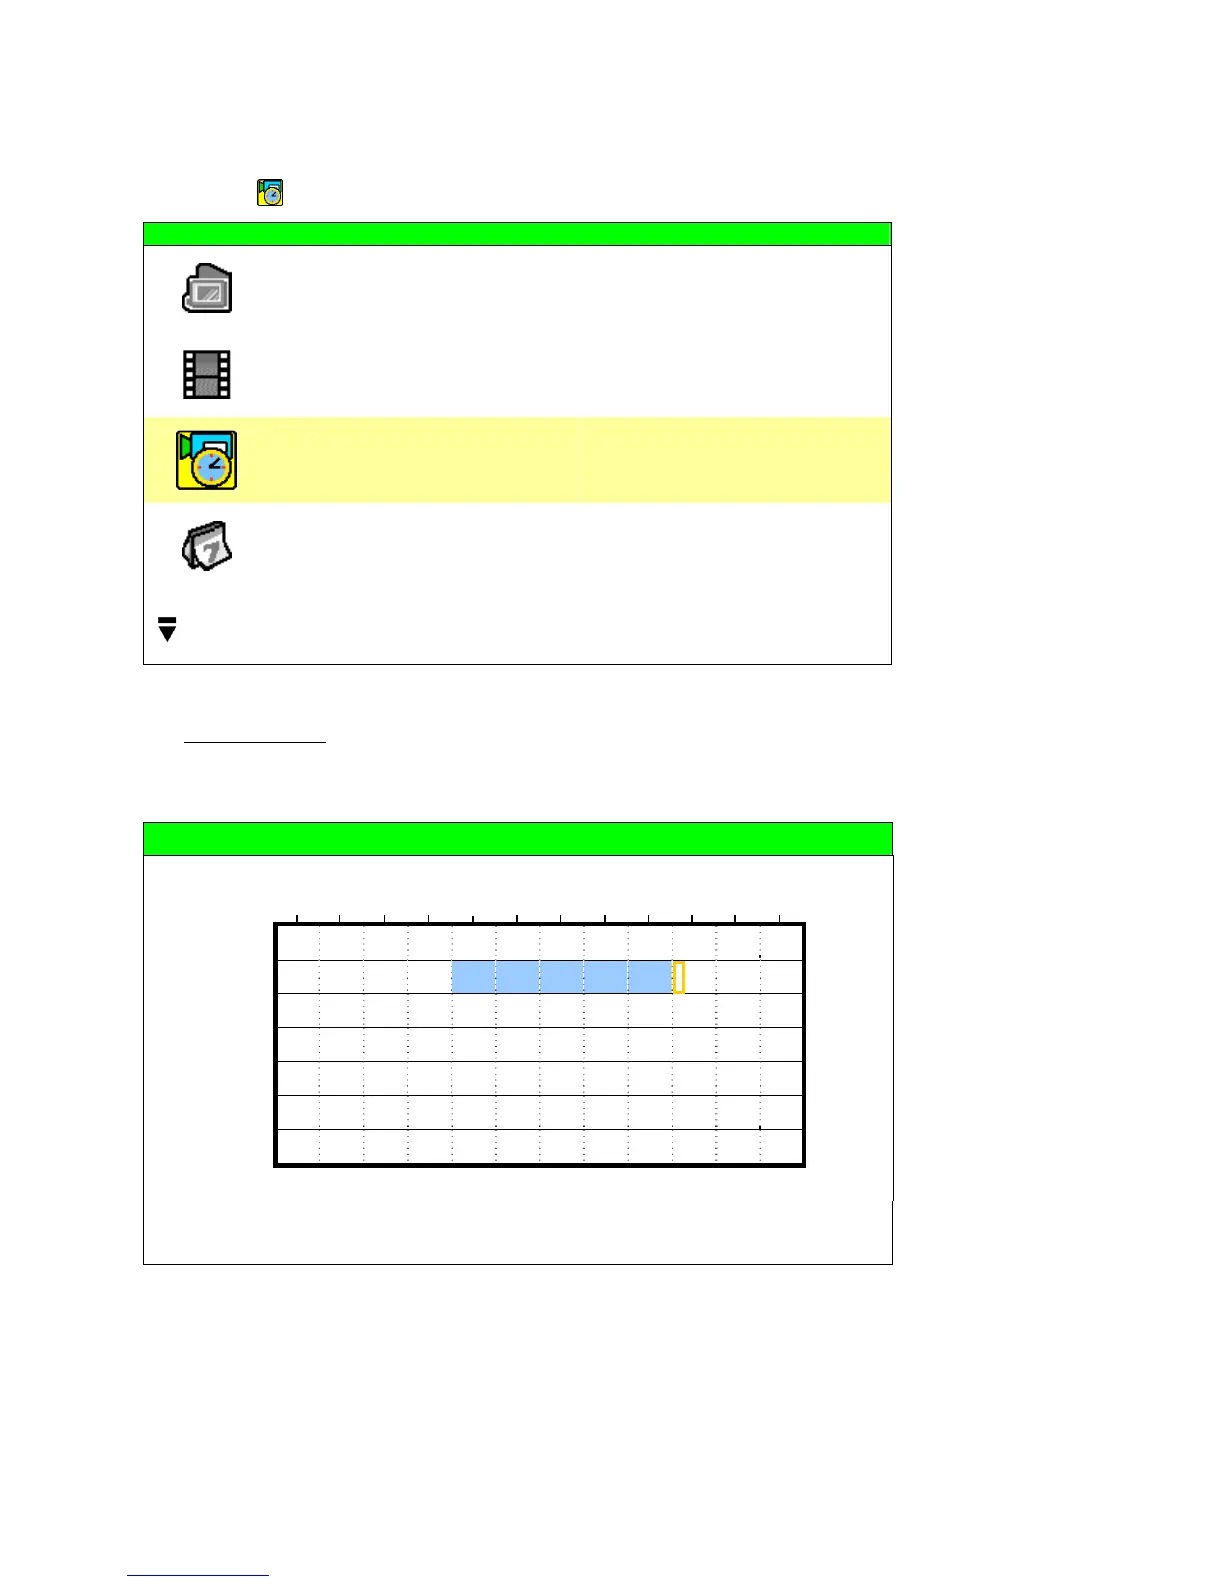
6.3 Timer
In this menu list, you can schedule different sets of time for recording and detection function.
Move to , and you will see the following screen:
QUICK START
CHANNEL TITLE ON
EVENT STATUS ON
DATE DISPLAY ON
IMAGE SIZE CIF
QUALITY BEST
IMAGE PER SECOND 100
RECORD TIMER OFF
DETECTION TIMER OFF
DATE 2008 / APR / 24 10 : 29 : 00
FORMAT Y / M / D
DAYLIGHT SAVING OFF
ADVANCE uv SELECT s BACK t NEXT ENTER
The submenu items are described below:
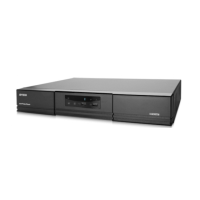
1) RECORD TIMER
Use ▲ / ▼ to change the setting (ON / OFF). When it’s set to “ON”, press “ENTER” to go to its submenu for further
settings.
RECORD TIMER
0 2 4 6 8 10 12 14 16 18 20 22 24
SUN
MON
TUE
WED
THU
FRI
SAT
PLEASE CONSULT YOUR INSTALLER FOR ADVANCE SETTINGS
uv s t MOVE SELECT
X axis
0 ~ 24 hours. Each time interval within a square is two hours (divided into four 30-minutes).
Y axis
Monday ~ Sunday.
Operation
Move to the start time point, and press “ENTER” to set the start time point (marked in red
color). Then, press ▲ / ▼ / ◄ / ► to set the timer-recording schedule. After setup, press
“ENTER” again to create an ending time point (marked in yellow color) and press “MENU” to
exit.