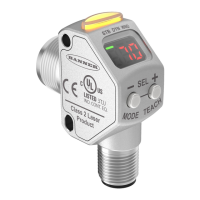
4 Installation Instructions
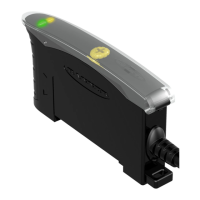
4.1 Mount the iVu BCR
The iVu BCR requires a bracket for mounting. Brackets are available from Banner Engineering. See
www.bannerengineering.com
. The brackets allow the iVu BCR to be mounted either perpendicular to the part or at an
adjustable angle.
1. Position the iVu BCR on the bracket.
2. Thread three M4 x 4 mm screws (supplied) through the bracket into the mounting holes in the bottom of the iVu
BCR.
Figure 6. Mounting Bracket Mounting Holes
3. Tighten all three screws.
4. Mount the iVu BCR and bracket to the machine or equipment at the desired location. Do not tighten the mounting
screws at this time.
5. Check the iVu BCR alignment.
6. Tighten the mounting screws to secure the iVu BCR and the bracket in the aligned position.
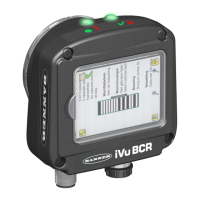
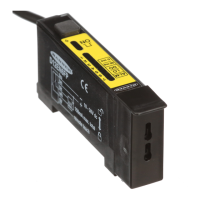
4.2 Cable Connections
The cable connections on the iVu BCR are shown below, and power I/O connections (B) are defined in the Power I/O
Connections table below.
CAUTION: Electrostatic Discharge
Avoid the damage that electrostatic discharge (ESD) can cause to the Sensor.
Always use a proven method for preventing electrostatic discharge when installing a lens or attaching a
cable.
Figure 7. iVu BCR Cable Connections—Micro Video Lens
Model
A Remote Display Connector (remote display models only)
B Power and I/O Cable Connector
C USB Connector
D Ethernet Connector
Note: Micro video lens model shown, C-Mount
model connections are identical.
Table 3: Power I/O Connections
Pin #
Wire Color Description Direction
1 White Output 1 Output
2 Brown 10 V dc to 30 V dc Input
3 Green Output 2 Output
4 Yellow Strobe Out (5 V dc only) Output
iVu Plus BCR Gen2 Series Sensor
18 www.bannerengineering.com - Tel: + 1 888 373 6767

 Loading...