4. Lamp & Lamp House
11
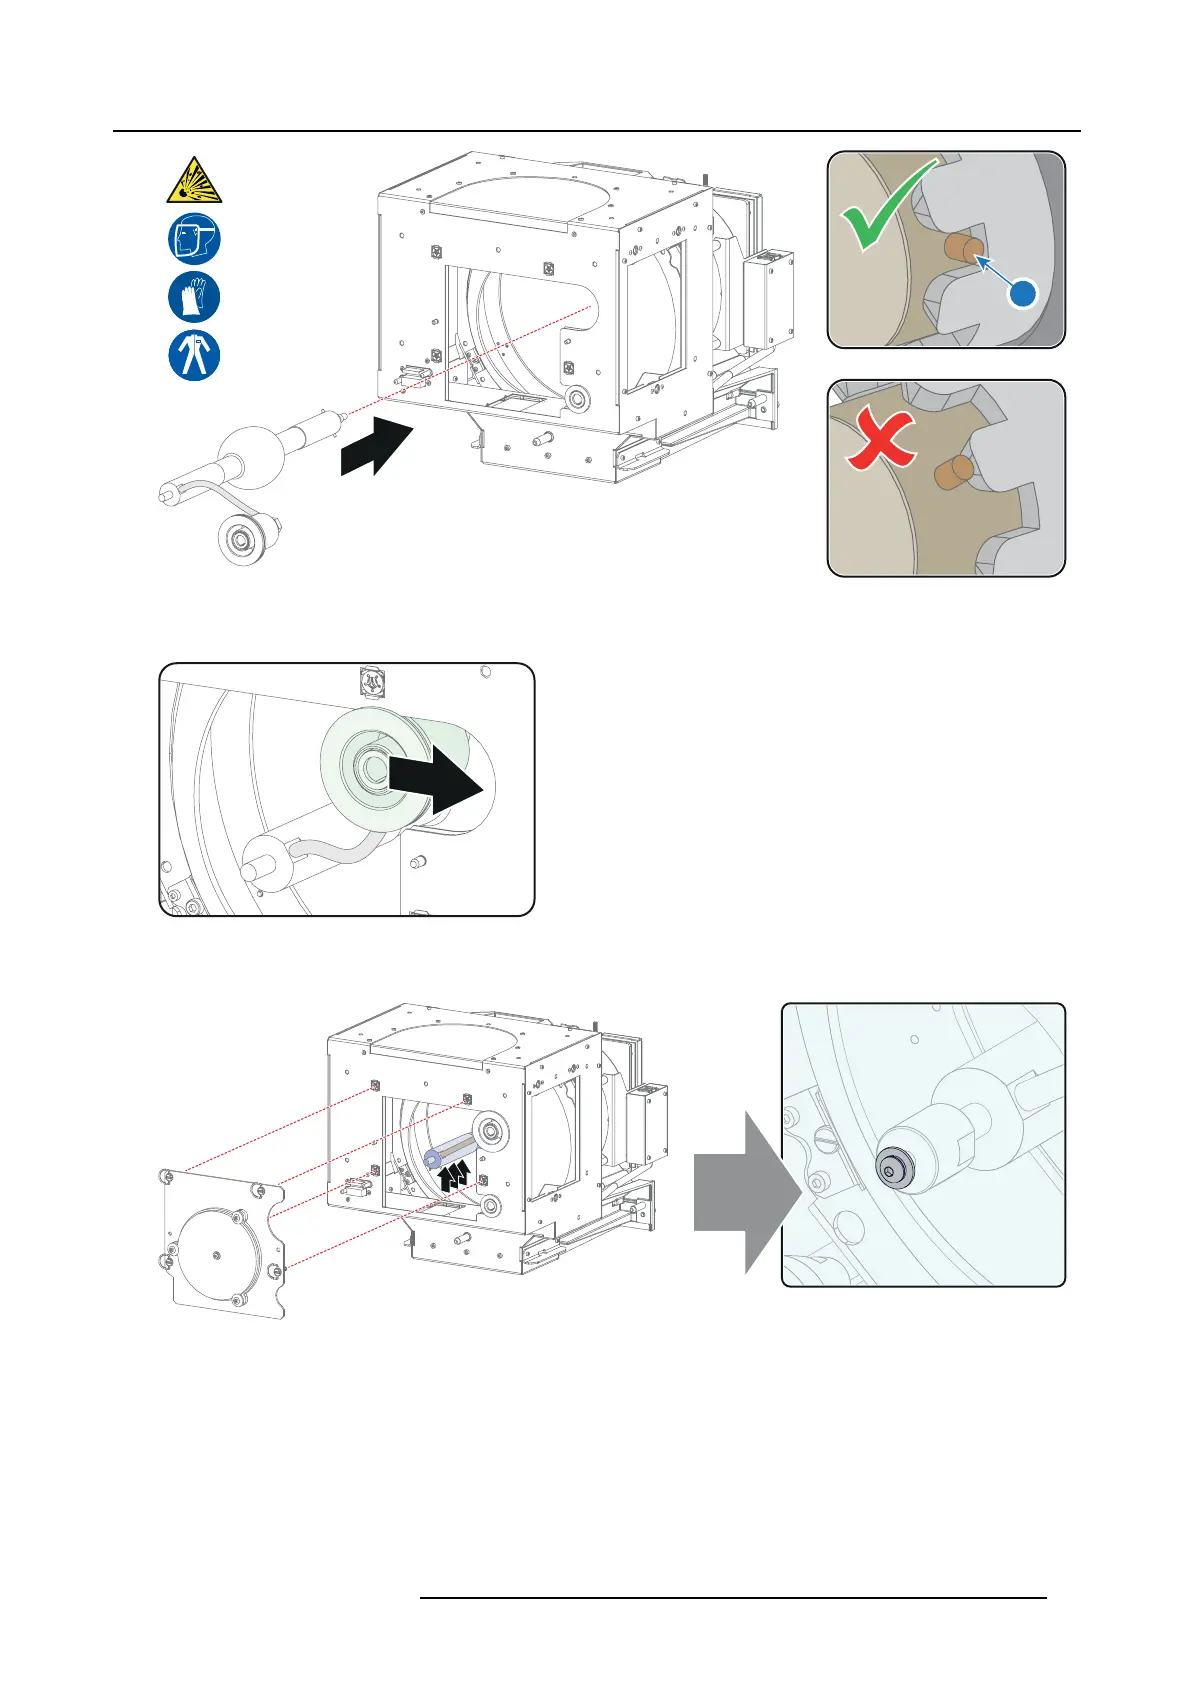
Image 4-18
5. S lide the anode connecto r in its position on the Lam p House as illustrated.
Caution: Avoid any te nsion on the anode wire, so there is no mechanical str
ess on the lamp.
Image 4-19
6. Install the UV bloc ker assembly as illustrated. Use the opening at the side of the Lamp Hous e t o guide the anode pin of the
xenon lamp into the anod e s upporting m echanism of the UV blocker.
Image 4-20
7. S ecure the UV block er by fastening the f our quarter turn screws (ref erenc e 5 image 4-21) as illustrated.
Note: Ensure that the quarter turn screws turning wires are flus h with t he cover o r interference will occur while inserting the
Lamp House into the projector.
R5905067 DPXK-19B/23B/P 17/09/2012
37
 Loading...


