32
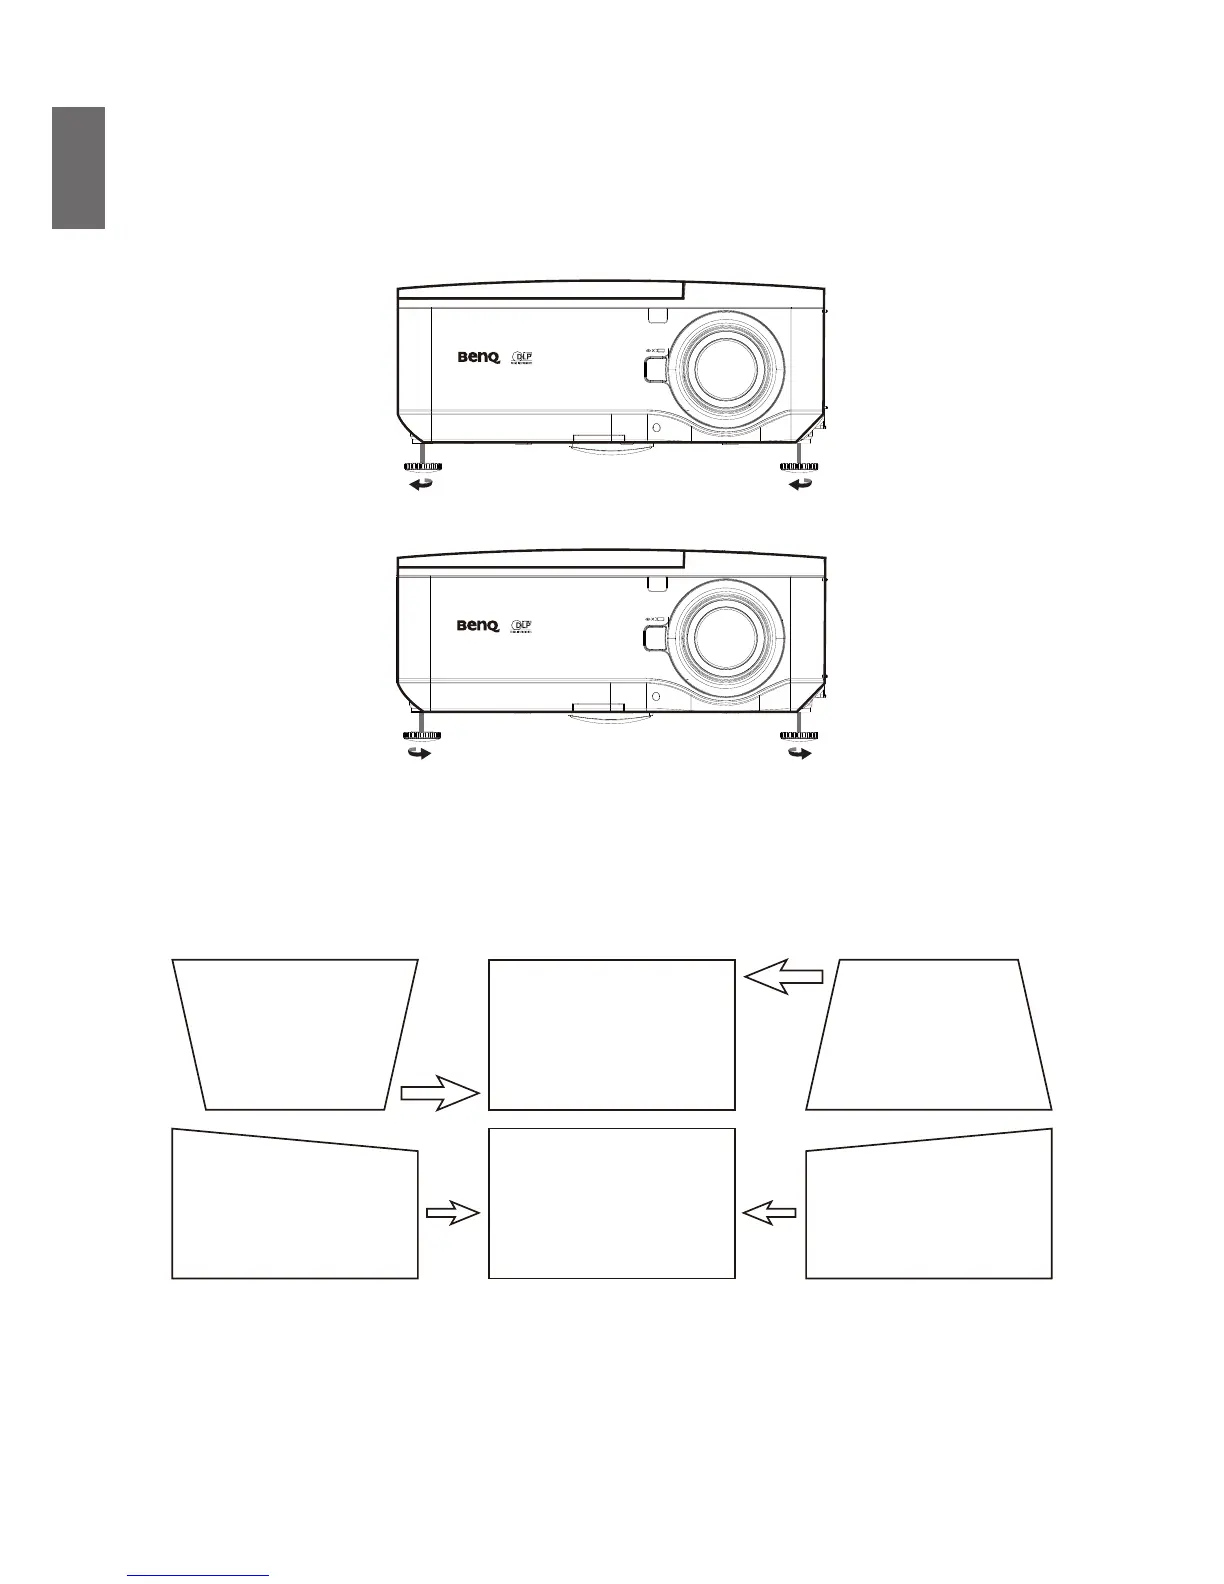
Adjusting the projection angle
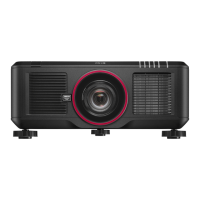
There are two adjuster feet on the bottom of the projector, these can be used if necessary to
change the projection angle. Screw the feet in or out as appropriate to aim and level the projection
angle.
1. Twist the adjusters clockwise to raise the level of the projector.
2. To lower the level of the projector, lift the projector and twist the adjusters counter clockwise.
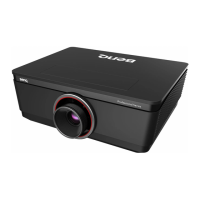
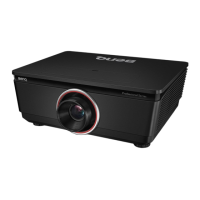
Correcting picture distortion
When the image is projected either from the top or from the bottom towards the screen at angle,
the image becomes distorted trapezoidally.
Keystone
function in the
SETUP
>
Keystone
can be
used to correct trapezoidal distortion, select
V Keystone
or
H Keystone
then press
◄
/
►
button
to correct trapezoidal distortion till you are satised with the shape.
When the values reach their maximum or minimum with repeated key presses, the picture’s shape
will stop changing. You will not be able to change the picture further in that direction.
Auto-adjusting the image
In some cases, you may need to optimize the RGB picture quality. To do this, press
AUTO
key on
the remote control or control panel, the built-in Intelligent Auto Adjustment function will re-adjust
the values of Frequency and Clock to provide the best picture quality.