42
4.5.1.1.2 Shortcut to Main Menu while turning the
PhD Lite on
Turn on the PhD Lite while holding down the left
navigation arrow. After the initial start up sequence the
Main Menu screen will be displayed.
Entering
Main Menu
To enter the fresh air calibration from the Main Menu,
follow the directions above in section 4.5.1 starting at
step 3.
4.5.2 Manual span calibration procedures
Manual span calibration procedures are useful when the
calibration of a single sensor is required or when non-
standard calibration gas is being used. Manual span
calibrations are performed as follows:
1. Turn the instrument on.
2. Wait at least three minutes after turning the
instrument on to allow sensor readings to stabilize
fully before initiating any calibration procedures. If
a sensor has just been replaced, follow the sensor
stabilization schedule in section 6.1.1.
3. Enter the Main Menu as described above in section
3.1. Use the navigation arrows to highlight
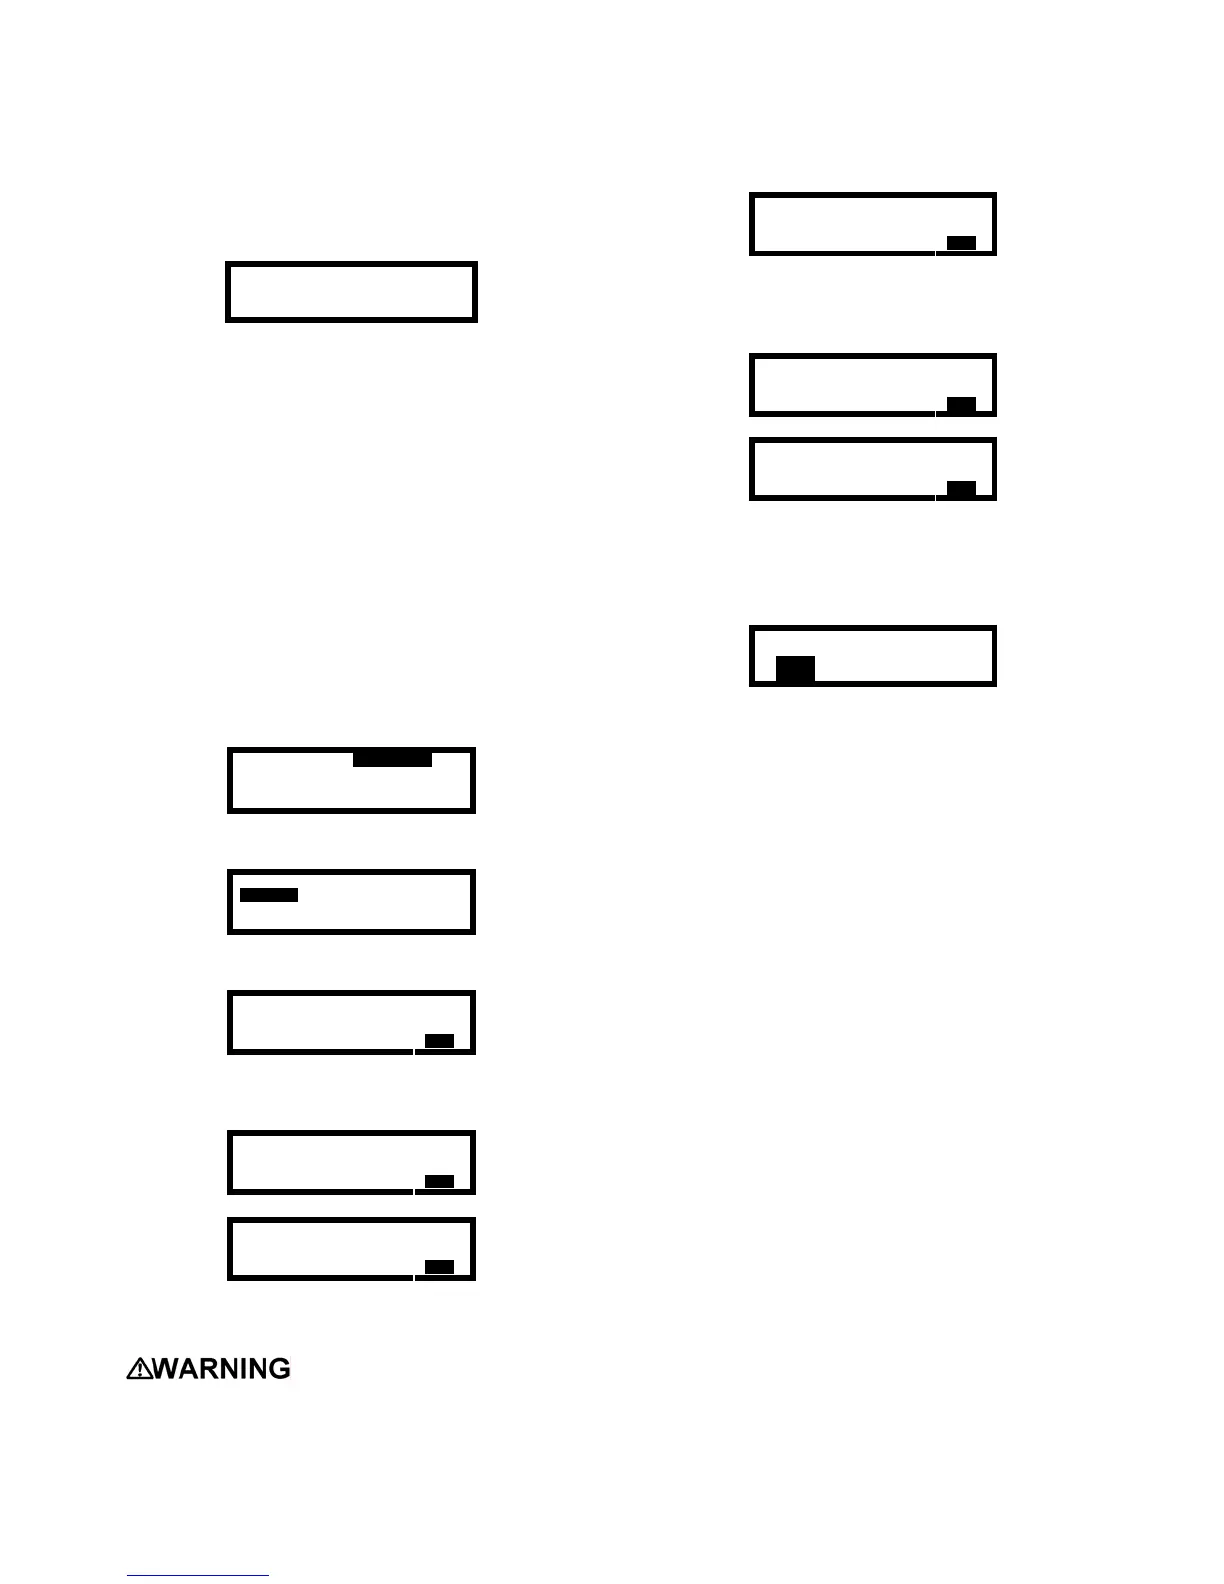
CALIBRATION.
ALARMS
CALIBRATION
OPTIONS SCREEN
VIEW TIME
EXIT
4. Press the MODE button. The calibration menu will
then be displayed
FRESH_AIR REMIND
SPAN_CAL
HISTORY
GAS_VALUES LAST_CAL
IQ LINK EXIT
5. Use the navigation arrows to highlight SPAN CAL
and press the MODE button.
Span-Cal
LEL = 0%
EXIT
6. Use the right and left navigation arrows to scroll
through the available sensors until the sensor that
requires calibration is displayed.
Span-Cal
LEL = 0%
EXIT
→
Span-Cal
CO = 0
EXIT
7. Once the sensor is reached, apply the calibration
gas as shown above in figure 4.4.2. The reading
shown on the display should respond quickly.
Always check the expiration
date on calibration gas cylinder(s) prior to use.
Expired calibration gas can lead to inaccurate and
potentially dangerous readings.
Span-Cal
CO = 48
EXIT
8. Once the readings stabilize, use the up and down
navigation arrows to raise or lower the readings to
match the level of the gas concentration printed on
the calibration cylinder label.
Span-Cal
CO = 52
EXIT
↓↓
Span-Cal
CO = 50
EXIT
9. When the span calibration for a particular sensor is
completed, use the right and left navigation arrows
to advance to the next sensor channel to be span
adjusted.
10. When finished, press the MODE button to exit.
Save Changes?
YES NO CANCEL
11. Press the MODE button with YES highlighted to
save the span calibration.
12. Remove all gas fittings from the PhD Lite, and
disconnect the regulator from the calibration gas
cylinder.
Note: If multiple cylinders of calibration gas are
necessary to complete the manual span calibration,
each calibration must be completed and
independently saved prior to changing cylinders.
4.6 Functional (bump) test
The accuracy of the PhD Lite may be verified at any
time by a simple functional (bump) test.
To perform a functional (bump) test, do the following:
1. Turn the PhD Lite on and wait at least three
minutes to allow the readings to fully stabilize.
2. Make sure the instrument is located in fresh air.
3. Verify that the current gas readings match the
concentrations present in fresh air. If the PhD Lite
is operating in Basic, Basic/Peak or Technician
operating mode the fresh air readings should equal
20.9 % O
2
, 0 % LEL or 0.0 % CH
4
, and 0 PPM for
any toxic sensors installed. If the instrument is
operated in the Text Only mode all readings should
indicate that conditions are “OK”. If necessary,
fresh air calibrate the instrument using the
procedures discussed in section 4.5.1 above.
4. Apply the calibration gas as shown above in figure
4.4.2.
5. Wait for the readings to stabilize. (Forty-five
seconds to one minute is usually sufficient.
Reactive gas sensors may take longer.)