Chapter 4: Configuration
724-746-5500 | blackbox.com
Page 21
4.3 Quick guide to creating a new installation
When creating a new DCX installation there are various tasks that need to be completed.
This page provides a recommended ‘to do list’ of the stages that you need to perform.
4.3.1 Primary tasks
• Configure the networking details for the DCX3000 Switch See Configure > Central Switch > Network
• Ensure that the EDID definitions are appropriate for your installation See Configure > Central Switch > Manage EDIDs
If additional EDID definitions are required for your installation,
you can clone new definitions from connected video displays
and add these to the list of available definitions See Add EDID
• Add the required consoles (either before or after they are connected) See Configure > Consoles
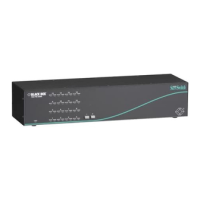
By default the DCX3000 Switch provides 20 computer ports along
its rear panel and 10 user ports along its front panel. If necessary,
these standard arrangements can be changed to suit your
installation See Reallocating ports
• Determine the access permissions for each console See Access permissions
• Add your computers (either before or after they are connected) See Configure > Computers
• Add the users and define their login details See The Users Page
4.3.2 Secondary tasks
• Optionally make changes to the OSD settings See Configure > Central Switch > OSD Settings
• Name the switch and add description and location details See Configure > Central Switch > General