Group 08, Section 07, Page 2 Mechanical Dock Leveler – M and FMC
Issue Date: 10/01/01, Rev, 0 (Part #038-550E)
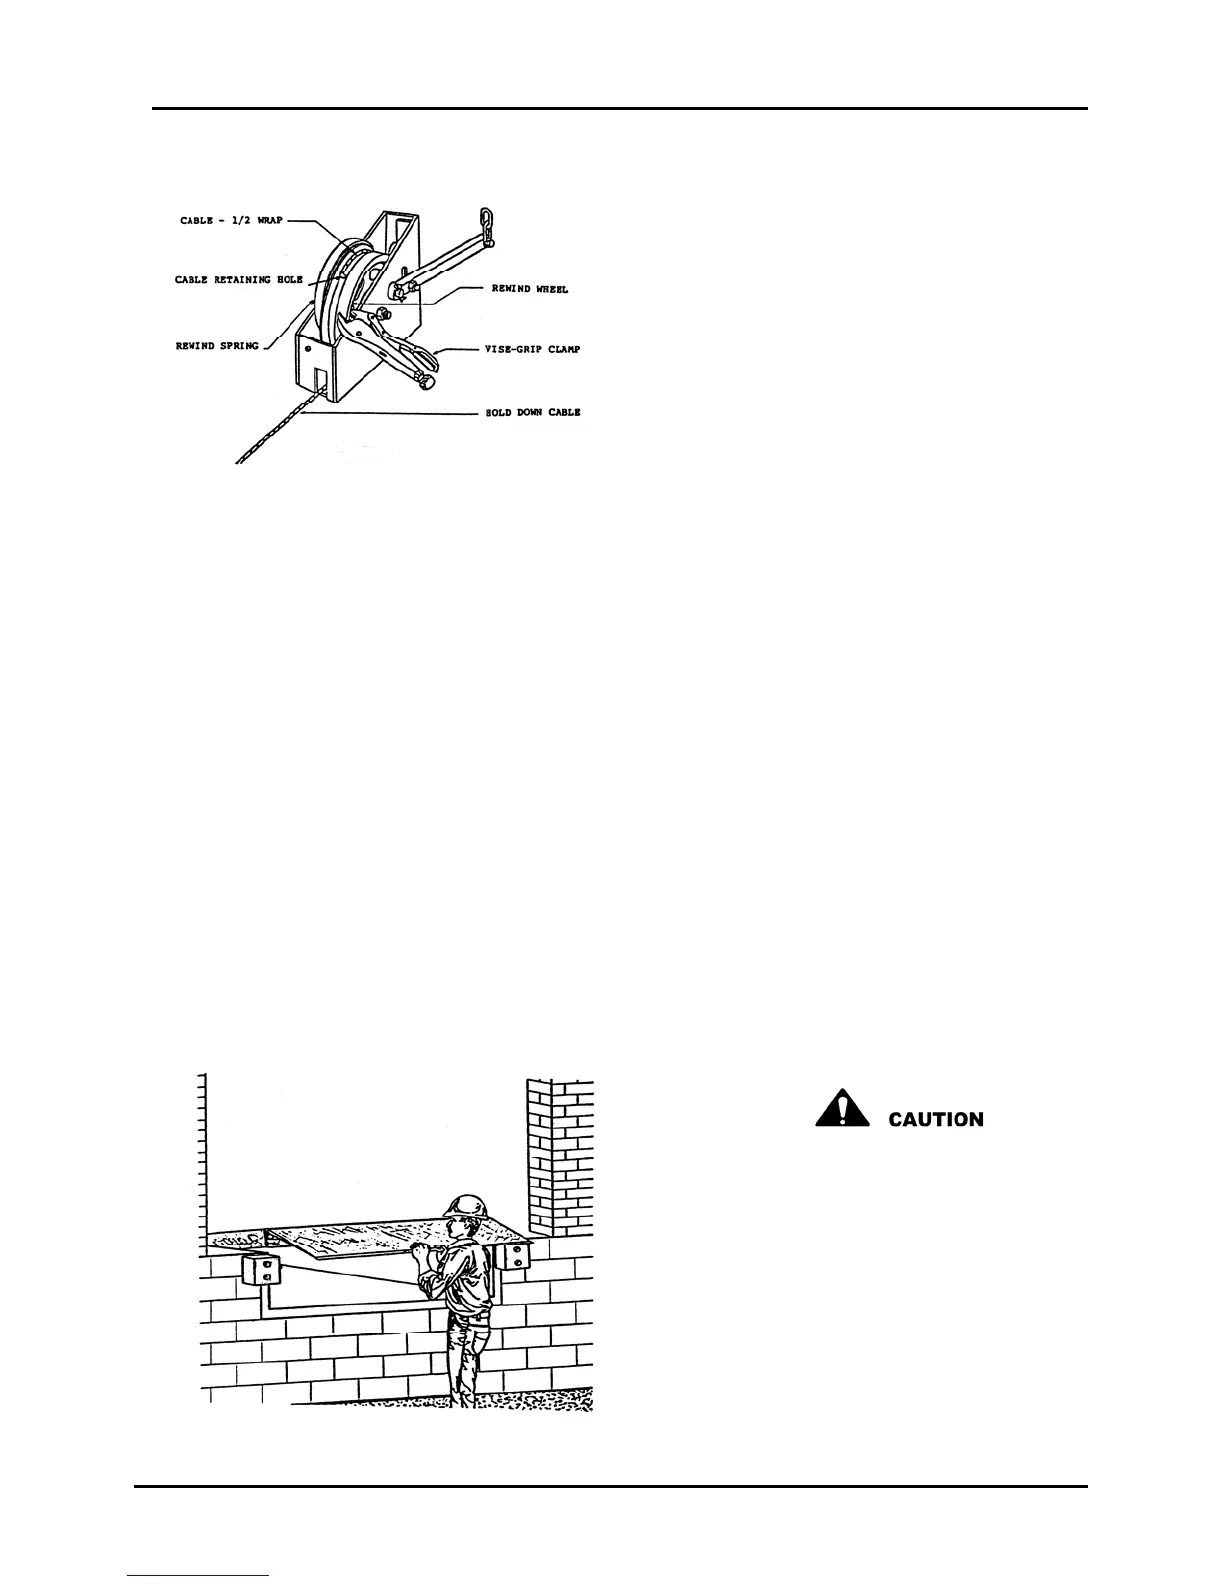
FLOAT SPRING and CABLE ROLLER REPLACEMENT – cont’d
6) Grasp the cable firmly, approximately
12" from the front of the hold down
box, and slowly release the vice-grip
clamp. Allow the rewind spring to
rotate the rewind wheel, pulling cable
into the hold down box, until there is
1/2 wrap of cable on the rewind wheel.
Reinstall vice-grip clamp to hold the
rewind wheel in this position. Install
appropriate wear strip, lock roller and
counter weight. With deck fully raised,
the cable should now be tensioned.
Figure 31
If slack remains in cable, loosen the clamp at the float spring and pull through the
excess cable until no slack remains. Tighten the cable clamp securely. Carefully
remove the vice-grip clamp.
7) Raise and lower the hold down box release handle to assure free movement of the
lock roller and counter weight.
IMPORTANT: Do not lubricate anything in the interior of the hold down box.
8) Replace the hold down box cover, two bolts, positioning the cover 1/16" maximum
above the rewind wheel top surface. The box cover acts as a cable retainer to
prevent the cable jumping off the rewind wheel, but must not interfere with rewind
wheel rotation.
9) Exit pit area and lower the maintenance strut.
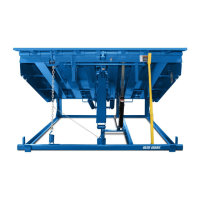
10) Grasp the leading edge of the lip and pull the deck down to approximately 6" above
dock height. Lift the tip of the lip approximately 2" to release the lip lock and then
lower to its hanging position. See Figure 32.
The lip is heavy, handle with care and
be alert to pinch points.
11) Walk the deck down to stored position.
Cycle the unit up and down several
times, stopping the deck at numerous
positions above and below dock height
to assure the hold down system will
hold the deck in any position.
Figure 32