Installation and connection en
91
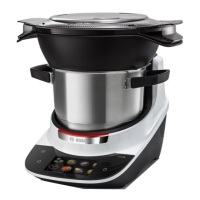
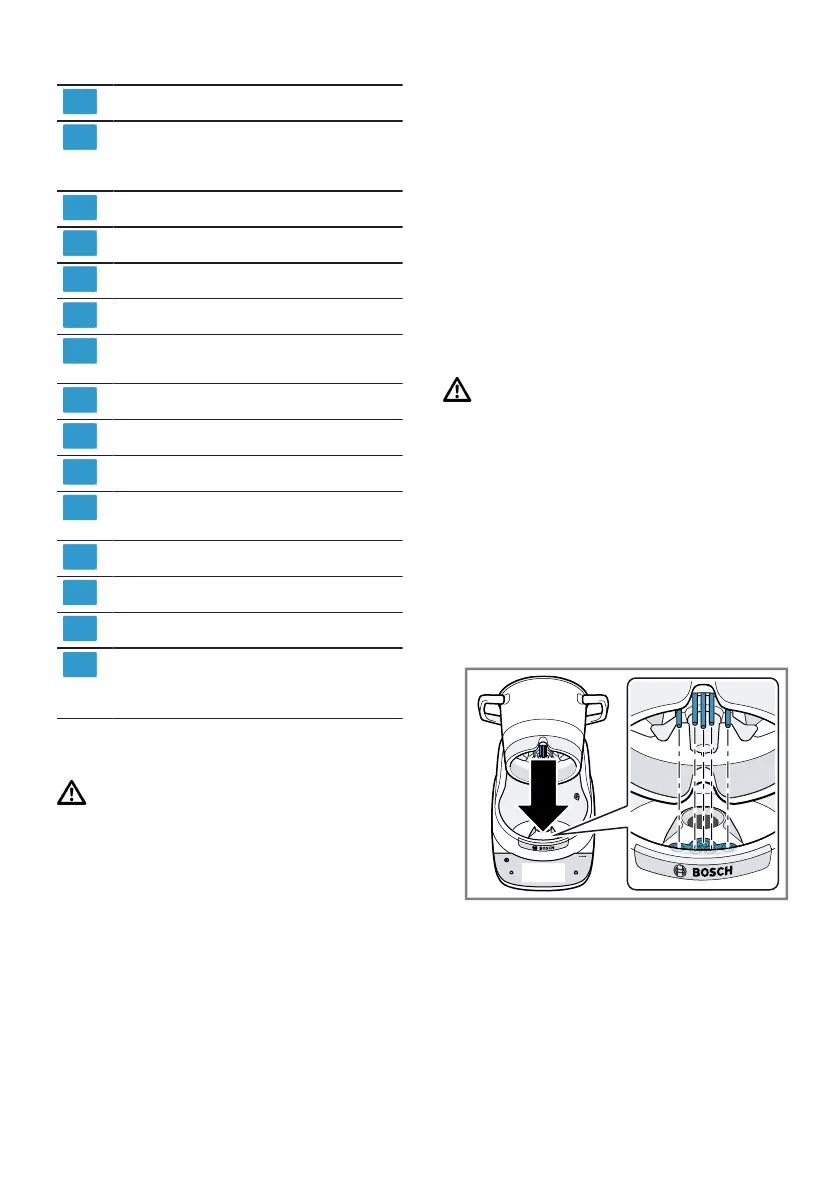
Main unit
XL pot featuring Smart Sensor
technology with tool holder
and silicone seal ring
Lid and measuring cup
Accompanying documents
Recipe book
Spatula
Universal knife and blade
guard
3D stirrer
Twin whisk
Drive shaft
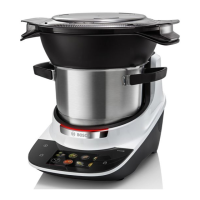
Reversible slicing disc and re-
versible shredding disc
Lid with feeding tube
Pusher
Steaming insert
Lid for steaming attachment,
steaming tray, steaming at-
tachment
4.3 Setting up the appliance
WARNING
Risk of fire!
Intense heat may cause the appli-
ance and other parts to catch fire.
▶ Never place the appliance in a
heated oven.
▶ Never place the appliance on or
near hot surfaces.
▶ Do not store objects or deposit
tools in the pot.
▶ Place the appliance on a stable,
level, clean and flat work surface.
Make sure that surrounding fur-
niture is resistant to heat and mois-
ture.
4.4 Cleaning the appliance
▶ Clean the appliance and individual
components before using for the
first time.
→"Cleaning and servicing",
Page119
4.5 Inserting the pot
WARNING
Risk of electric shock!
Inserting objects in the contact point
can result in an electric shock.
▶ Do not insert objects in the contact
point.
Requirement:The tool holder with
the silicone seal ring is fitted in the
pot.
→"Cleaning the tool holder",
Page123
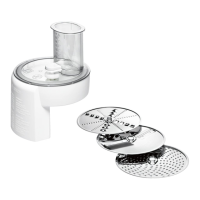
▶ Insert the pot.
Make sure there are no objects or
deposits between the pot and the
main unit.
Insert the lid holder at the rear of
the pot into the recess on the main
unit.