Installation and Operation Manual
X-VA-MT3809G-MT3810G-eng
Part Number: 541B182AAG
July, 2018
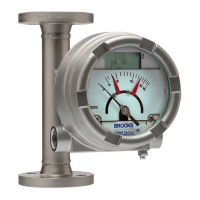
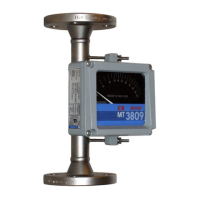
Models MT3809G & MT3810G
a. Size 0 to 5 (½") threaded, liquid or gas service
1. It is NOT recommended to disassemble these meters. Contact Service
for repair.
b. Size 7 (½") Threaded, liquid or gas service
1. Remove the meter from the process line and lay the meter horizontal on
a table.
2. Unscrew the inlet tting at the bottom of the meter.
3. Push the entire oat assembly slowly downward and out of the meter
inlet by pushing from the top with a round bar stock (3/4” or 19 mm
diameter).
4. Remove the oat snap-ring and clean individual oat assembly parts.
5. Reassemble the meter by reassembling the oat assembly and
inserting it into the bottom of the meter. Reinstall and secure the inlet
tting.
c. Size 8 (½"), 10 (1"), 12 (1½") 13 (2") Threaded liquid service
1. Remove the meter from the process line and lay the meter horizontal on
a table.
2. Unscrew the inlet tting at the bottom of the meter.
3. Loosen the oat assembly with two screwdrivers one on each end of
the meter and turn to loosen the inlet and outlet screws. Remove inlet
screw at the bottom of the meter.
4. Remove the guide vane at the bottom of the meter and gently push the
oat assembly up and out the top/outlet side.
5. Reassemble by inserting the oat assembly into the top of the meter.
Replace the guide vane and secure the oat assembly by tightening the
inlet and outlet screws . Reinstall and secure the inlet tting.
d. Size 8 (½”) Threaded gas service
1. Remove the meter from the process line and lay the meter horizontal on
a table.
2. Unscrew the outlet tting at the top/outlet of the meter and remove the
gas damper.
3. Unscrew the inlet/bottom tting and slowly remove the oat assembly.
4. To reassemble the meter, insert the oat assembly into the inlet/bottom
of the meter. Secure the inlet/bottom tting. Replace the gas damper and
secure the outlet/top tting.
e. Size 10 (1"), 12 (1½"), 13 (2") Threaded, gas service
1. Remove the meter from the process line and lay the meter horizontal on
a table.
2. Remove the top/outlet screw.
3. Loosen the oat assembly by holding the damper in place with a pin
(1/8” diameter) in the top while loosening the inlet/bottom tting. Gently
push the oat assembly out through the inlet/bottom.
4. To clean the gas damper, unscrew the cylinder head. Then remove the
bolt and take out the small piston carefully so as to not damage the critical
surfaces.
5. Reassemble the meter by inserting the oat assembly with damper into
the inlet/bottom of the meter. Secure the inlet/bottom screw by holding the
damper in place with a pin (1/8” diameter). Replace and secure the top/
outlet screw. Reinstall and secure the inlet tting.
 Loading...