III- 50
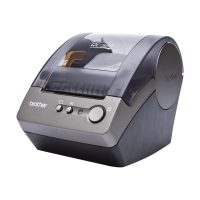
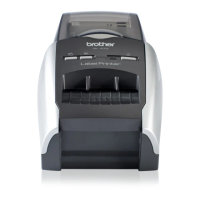
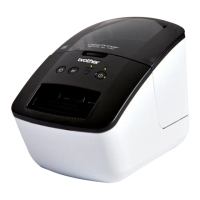
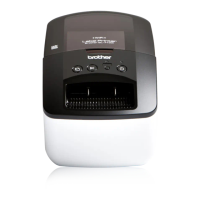
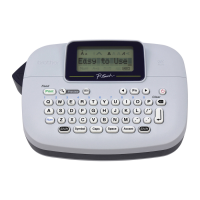
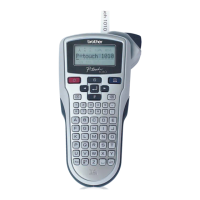
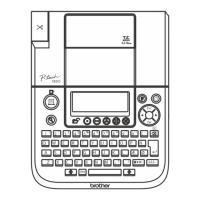
[ 9 ] Demonstration Print and Final Check
(1) Insert the AC cord into a outlet.
(2) After setting a widest label (P102), press the Feed button six times continuously as holding
down the power supply button in the power-off condition. Release the power supply
button to make a full-width gray printing to 100mm length, and repeat printing. When
turning the power supply button off, printing stops.
Print sample
(3) Confirm that the tape is fed properly, printing is correct, and the tape is cut accurately. If
any fault is found, execute the troubleshooting referring to “CHAPTER IV
TROUBLESHOOTING AND ERROR MESSAGE”.
(4) Pull the release levers upwards and confirm that the top cover is opened and closed
properly.
(5) Confirm that the FEED/CUT button works properly.
(6) Confirm that the ON/OFF button works properly.

 Loading...