I
'tilt
I I I
First
Time
Settings
Setting
the
Date
and
Time
(for example, [JAN.
1,
2008 12:00 AM]).
You
can change the date format (OJ
78).
•
You
can also change the date and time
later on (not during the initial setup).
To
open the [DATEfTIME] screen, press
[FUNC.] and select g 0 [DATEfTIME
SETUP]
0 [DATEfTIME].
(1)
NOTES
[FUNC.]
0
[~
MENU]
0
[_
DISPLAY SETUP] 0
[LANGUAGE
®]
C
Desired
language
0
['"=FU:-:-:N--:-:C=--->.
)
I
• Default value
FUNC.
o
[CESTINA]
[MAGYAR]
[~~I]
[DEUTSCH] [MELAYU]
[U'"'""_)!]
[EAAHNIKA]
[POLSKI]
[fl1M1'l.VIl:l
]
[ENGLISH]·
[ROMANA]
[['Ali*
$:st]
[ESPANOL]
rrORKCE]
[~~'f1Y.:]
[FRANCAIS]
[p
YCC
1<V1
iI1]
[2.f;J;Ol
]
[ITALIANO]
[YKPAiHCbKA]
[8
~~fi]
• If you changed the language by mistake,
follow the
® mark next
to
the menu
item
to
change the setting.
• The display
.&IiI
that appears
in
some
menu screens refers
to
the name
of
buttons on the camcorder and will not
change, regardless
of
the language
selected.
Options
Changing
the
Language
FUNC.
(CD
24)
• When you
do
not use the camcorder for
about 3 months, the built-in
rechargeable lithium battery may
discharge completely and the date and
time setting may be lost.
In
such case,
recharge the built-in lithium battery
(OJ 89) and set the time zone, date and
time again.
• The date appears
in
a year-month-day
format only
in
the first setup screen.
In
SUbsequent screen displays the date
and time will appear as month-day-year
o
IMPORTANT
You will
need
to
set
the
date
and
time
of
the
camcorder
before
you
can
start
using
it.
The
[DATEITIME] screen will
appear
automatically
when
the
camcorder's
clock
is
not
set.
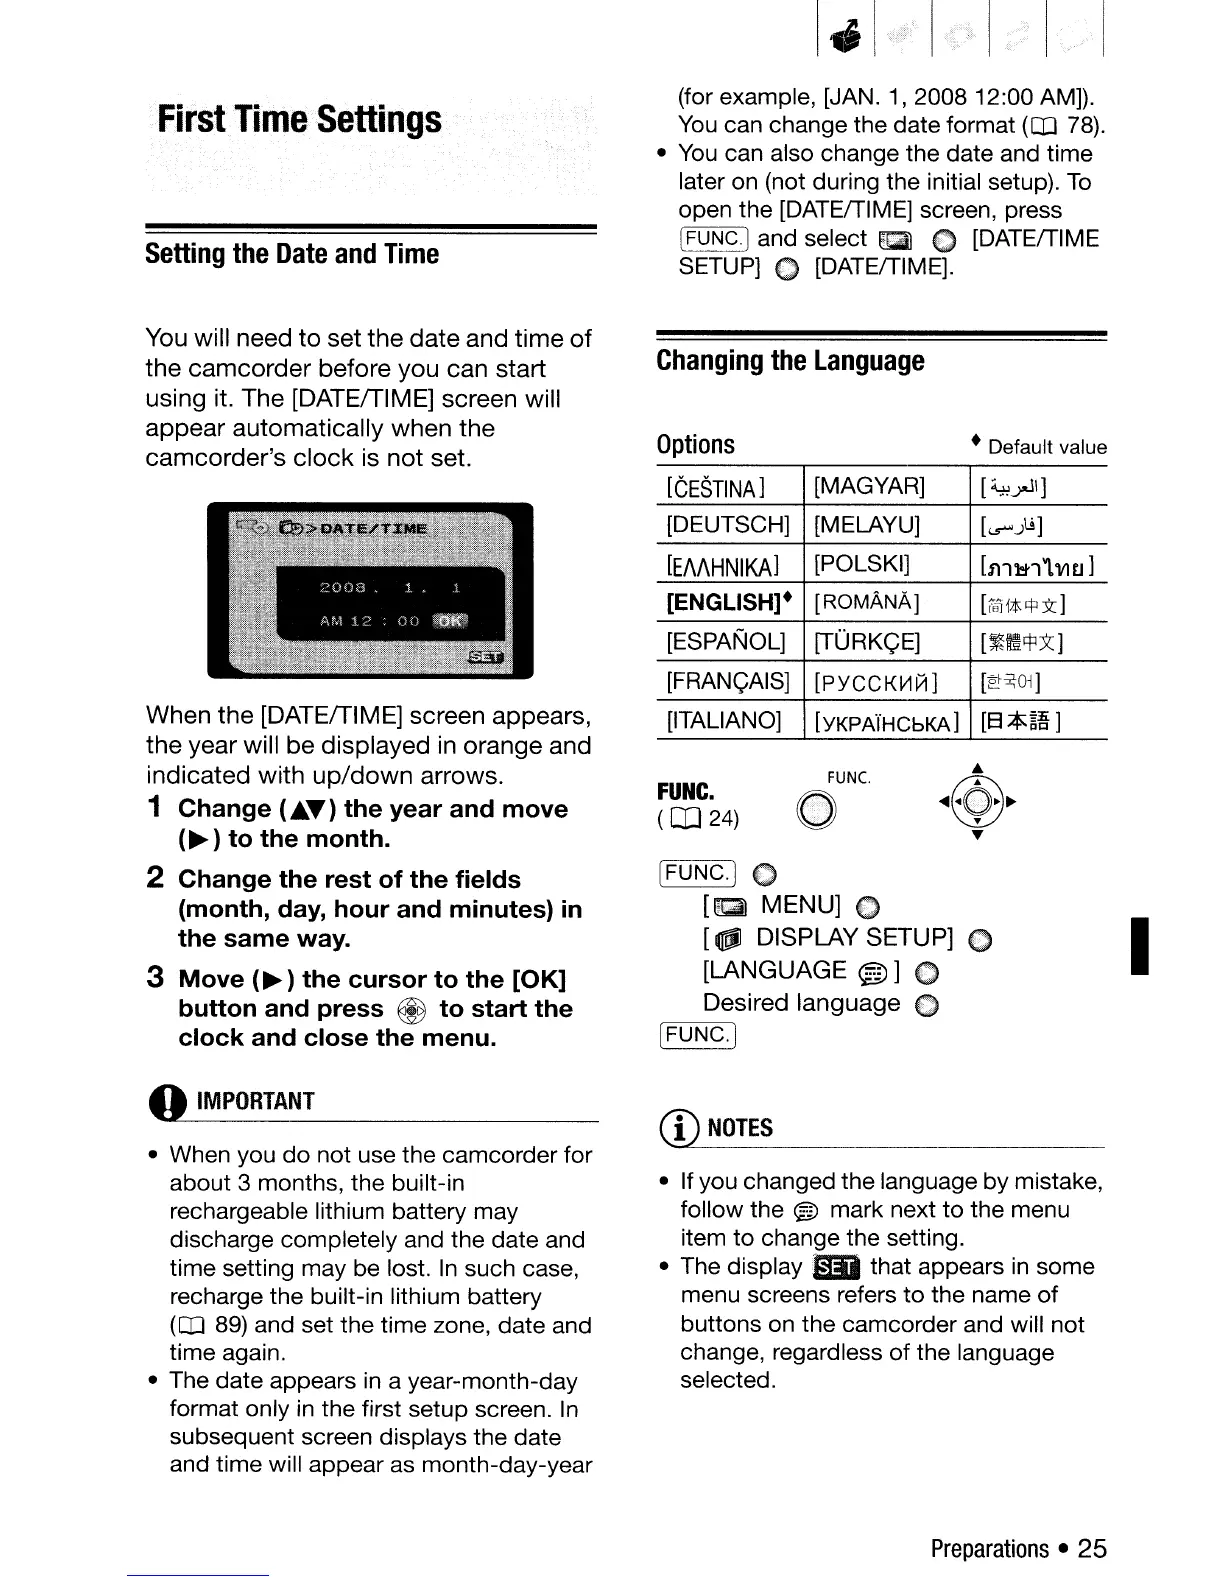
When
the
[DATEITIME] screen
appears,
the
year
will
be
displayed
in
orange
and
indicated
with
up/down
arrows.
1
Change
(.AT)
the
year
and
move
(~
)
to
the
month.
2
Change
the
rest
of
the
fields
(month,
day,
hour
and
minutes)
in
the
same
way.
3
Move
(~
)
the
cursor
to
the
[OK]
button
and
press
€iJ
to
start
the
clock
and
close
the
menu.
Preparations
• 25