I I I I
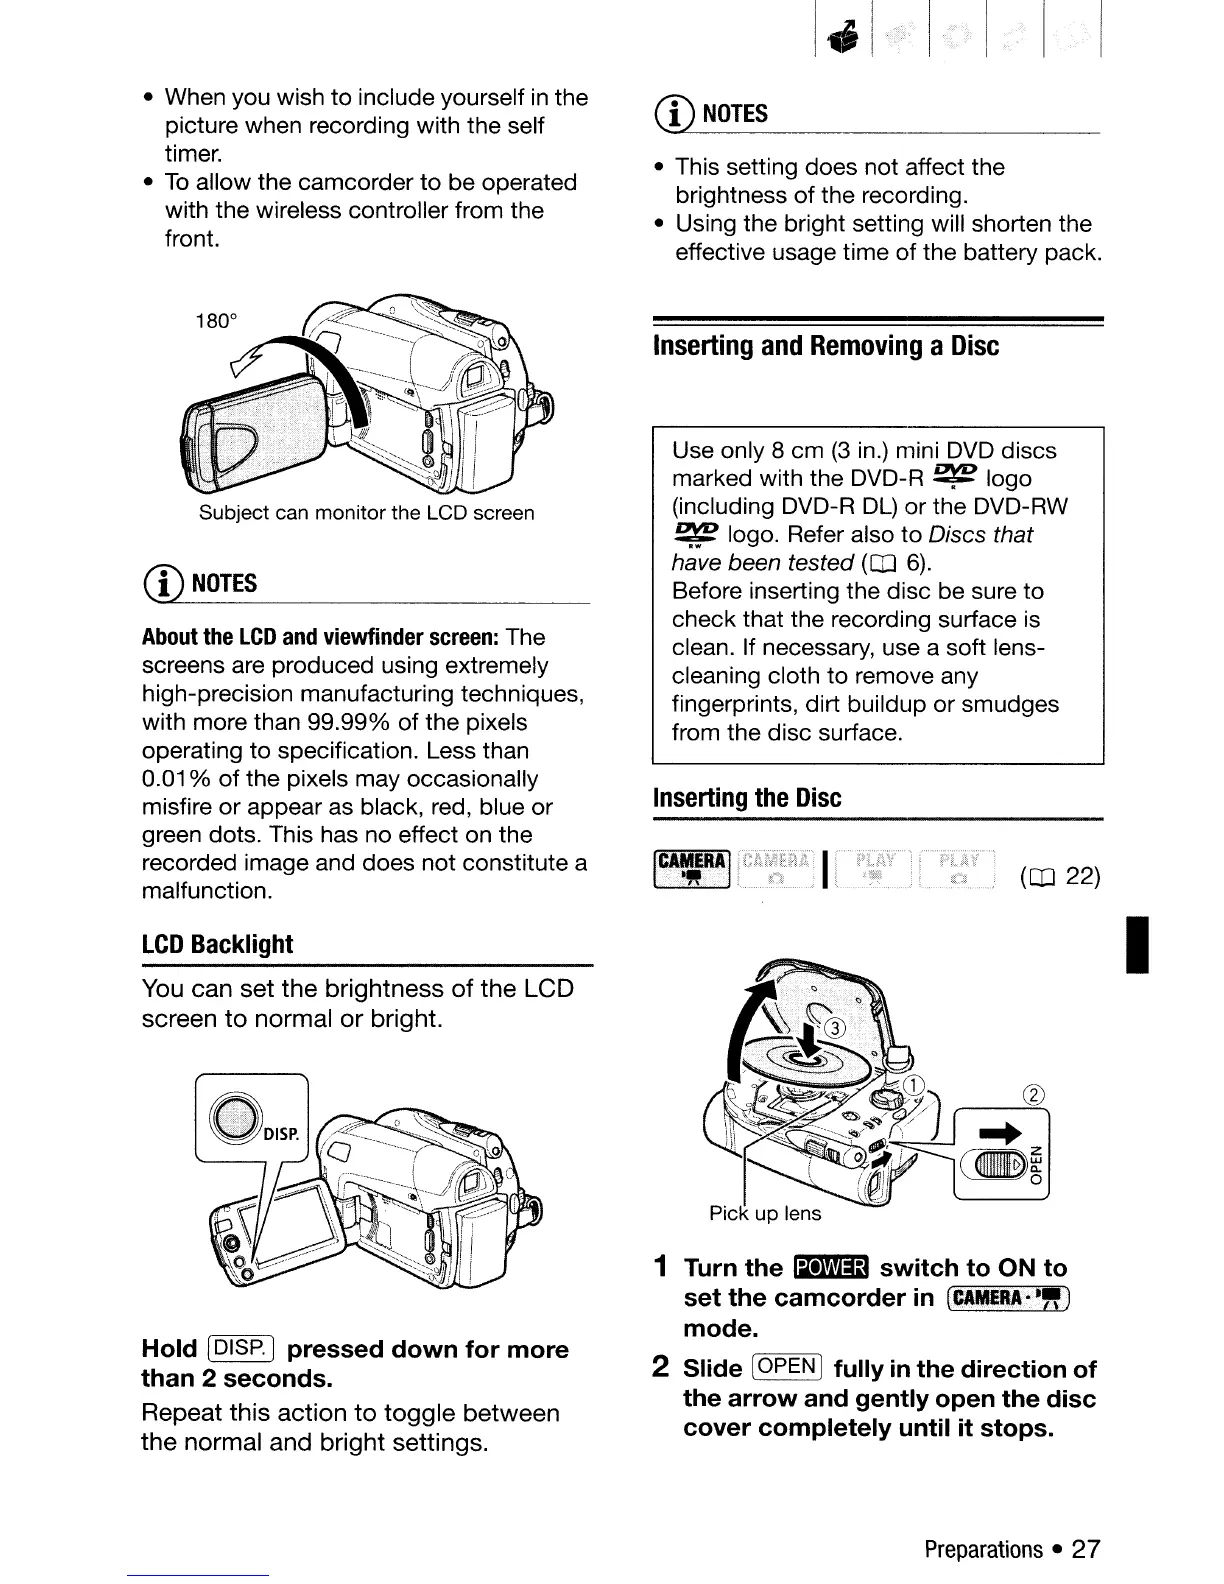
• When you wish
to
include yourself
in
the
picture when recording with the self
timer.
•
To
allow the camcorder
to
be operated
with the wireless controller from the
front.
CD
NOTES
• This setting does not affect the
brightness
of
the recording.
• Using the bright setting will shorten the
effective usage time of the battery pack.
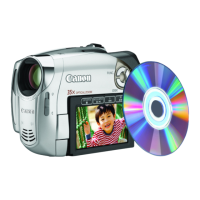
Inserting
and
Removing
a
Disc
I
(CD
22)
Use only 8 cm
(3
in.)
mini
DVD
discs
marked with the DVD-R
~
logo
(including DVD-R
DL)
or
the DVD-RW
~
logo. Refer also
to
Discs that
h~wve
been tested (OJ 6).
Before inserting the disc be sure to
check that the recording surface is
clean. If necessary, use a soft lens-
cleaning cloth
to
remove any
fingerprints, dirt buildup
or
smudges
from the disc surface.
Inserting
the
Disc
1 Turn the
!DiD
switch to ON to
set the camcorder
in
(~t.1.~
••
,,)
mode.
2 Slide [OPEN Ifully
in
the direction
of
the arrow and gently open the disc
cover completely until it stops.
ICA\EiiAI
.
Subject can monitor the LCD screen
You
can
set
the
brightness
of
the
LCD
screen
to
normal
or
bright.
CD
NOTES
About
the
LCD
and
viewfinder
screen:
The
screens are produced using extremely
high-precision manufacturing techniques,
with more than 99.99% of the pixels
operating
to
specification. Less than
0.01
%
of
the pixels may occasionally
misfire
or
appear as black, red, blue or
green dots. This has no effect on the
recorded image and does not constitute a
malfunction.
Hold IDISP.] pressed down for more
than 2 seconds.
Repeat
this
action
to
toggle
between
the
normal
and
bright
settings.
LCD
Backlight
Preparations
•
27