2 x Box Gusset FSC 5/4 x 4 x 8-1/2”
014
Wood Parts
2 x #8 x 1-3/4” Wood Screw
4 x #8 x 2-1/2” Wood Screw
2 x #8 x 1-3/8” Wood Screw
Hardware
S3
Fig. 1.7
Fig. 1.8
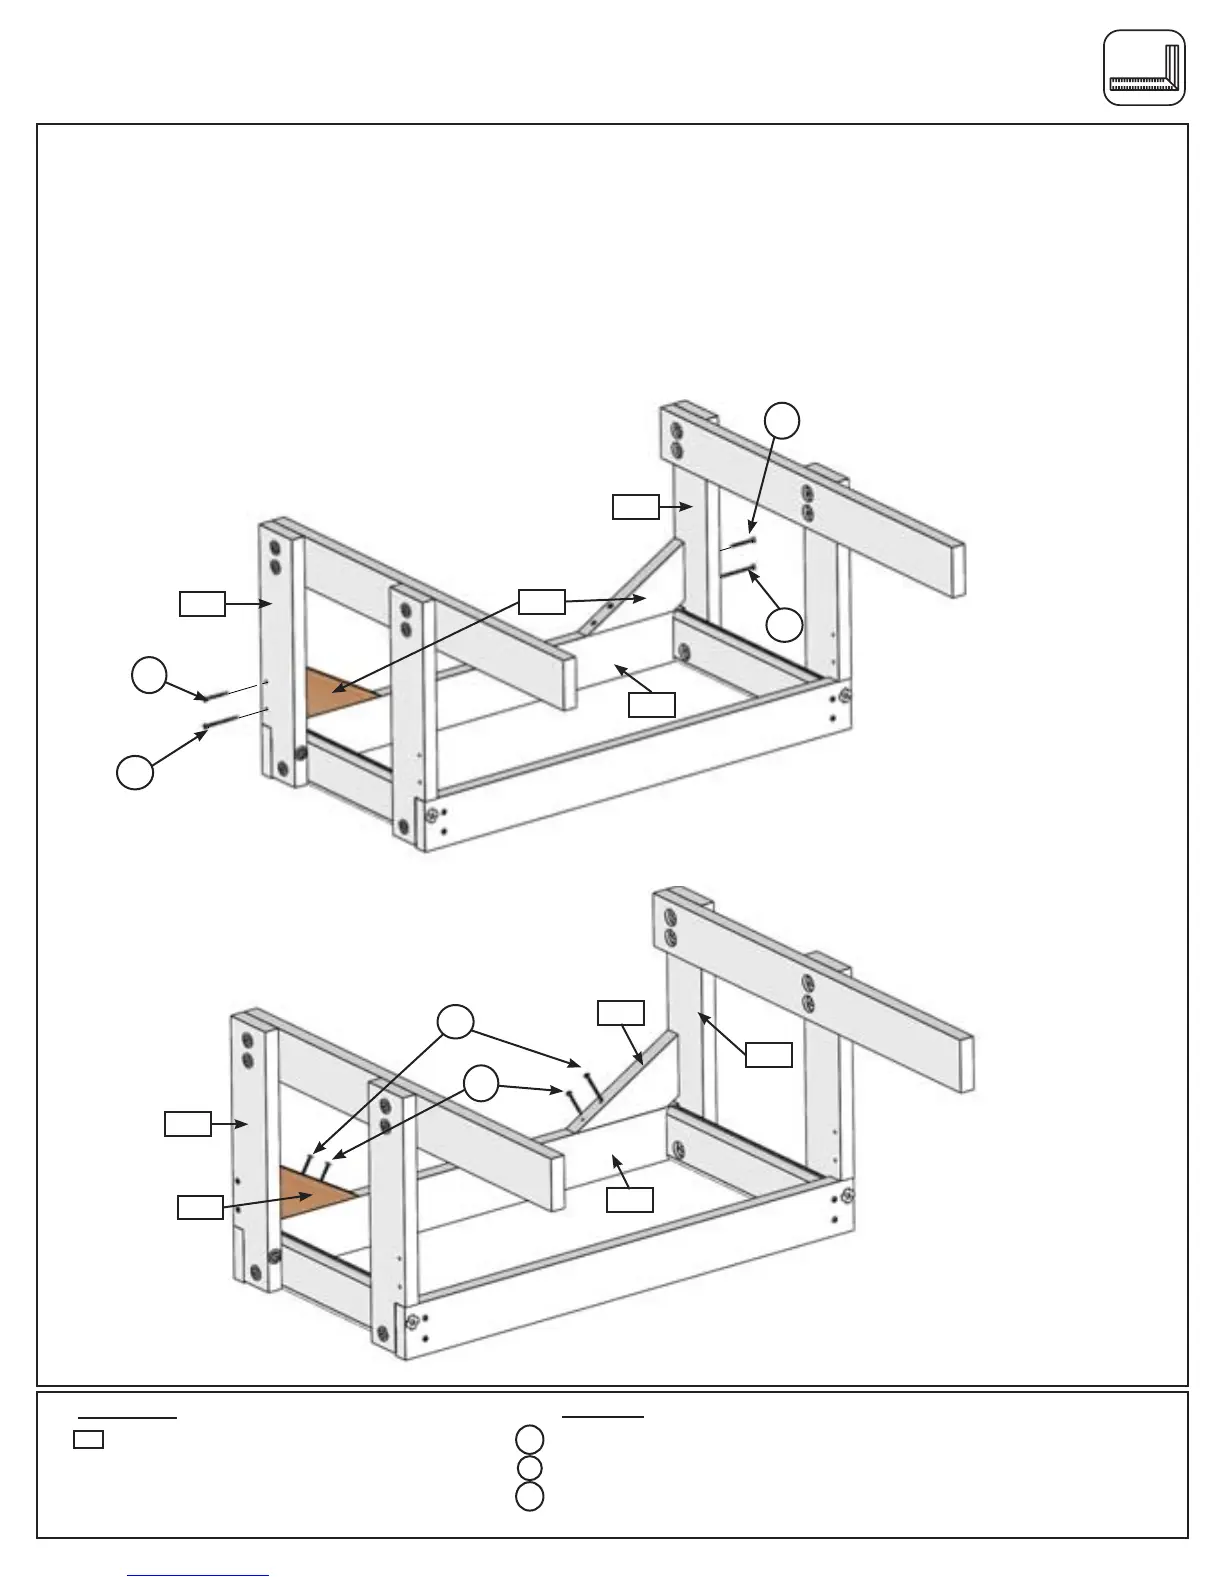
F: Turn the Table Assembly upside down and double check the assembly is still square.
G: On the inside of each front (010) Box Leg, and at against (013) Box Side, attach 1 (014) Box Gusset to
each front (010) Box Leg using 1 (S15) #8 x 1-3/4” Wood Screw in the top hole and 1 (S3) #8 x 2-1/2” Wood
Screw in the bottom hole, per gusset. (g. 1.7)
H: Attach both (014) Box Gussets to (013) Box Side with 1 (S20) #8 x 1-3/8” Wood Screw and 1 (S3) #8 x
2-1/2” Wood Screw per gusset, as shown in g. 1.8.
S15
Step 1: Sand and Water Table Assembly
Part 3
013
Front
010
S15
S15
010
014
S20
010
014
014
013
Front
010
S3
S3
S3
S20
23 support@cedarsummitplay.com