30
Run the Installation Wizard
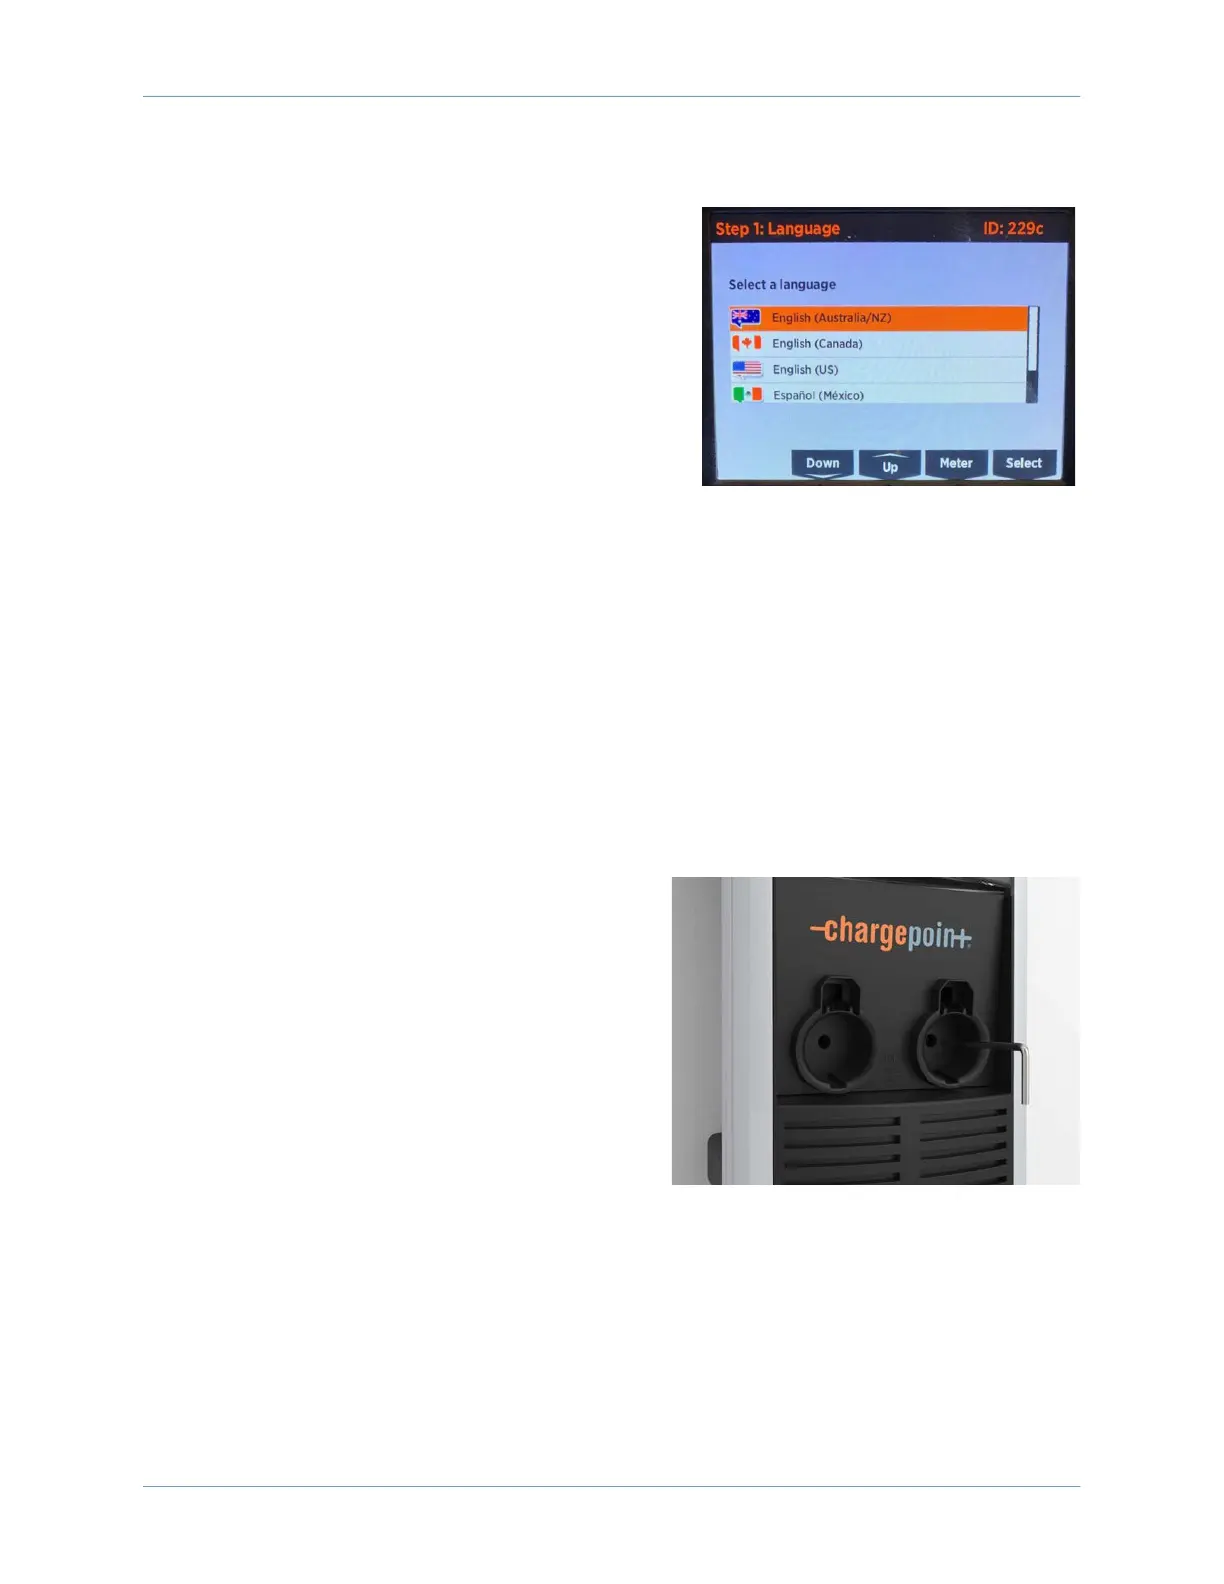
The CT4000 has an on-screen Installation Wizard to guide
you through setup and verification of the station for
operation. Use the Up or Down buttons to scroll to the
appropriate choice and use the Select button to make
choices. You are guided to select things like:
• Language
• New or replacement station
• Circuit installation information
• Notification of any station faults
When the Installation Wizard has been completed, you will
see:
• The instructional video
• The status icon for each port displaying a green check mark
• No error messages
• No lit error LEDs
If any error messages display or LEDs are lit, resolve those issues before proceeding.
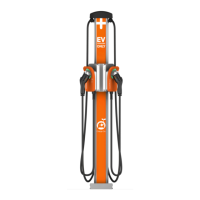
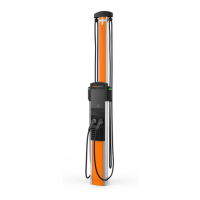
Secure the Head Assembly
Once you have verified the charging station is correctly wired, secure the head assembly.
1. Remove the L-wrench by rotating it to the right
until the security tag breaks. Lift the head
assembly slightly and remove the L-wrench.
Note: Ensure the snaps on the top cap are fully
engaged before lowering the head assembly.
2. Lower the head assembly. Ensure the head
assembly is fully seated and that no gap exists
between the bottom of the head assembly and
the housing. The head assembly fits tightly and
may require extra downward force to ensure it is
fully seated.
3. Using the L-wrench, tighten the two security set screws inside the holsters to approximately 2.8
to 3.4 Nm (2 to 2.5 ft-lbs).