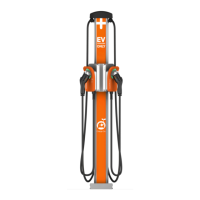
Install a Wall Mount CT4000
13
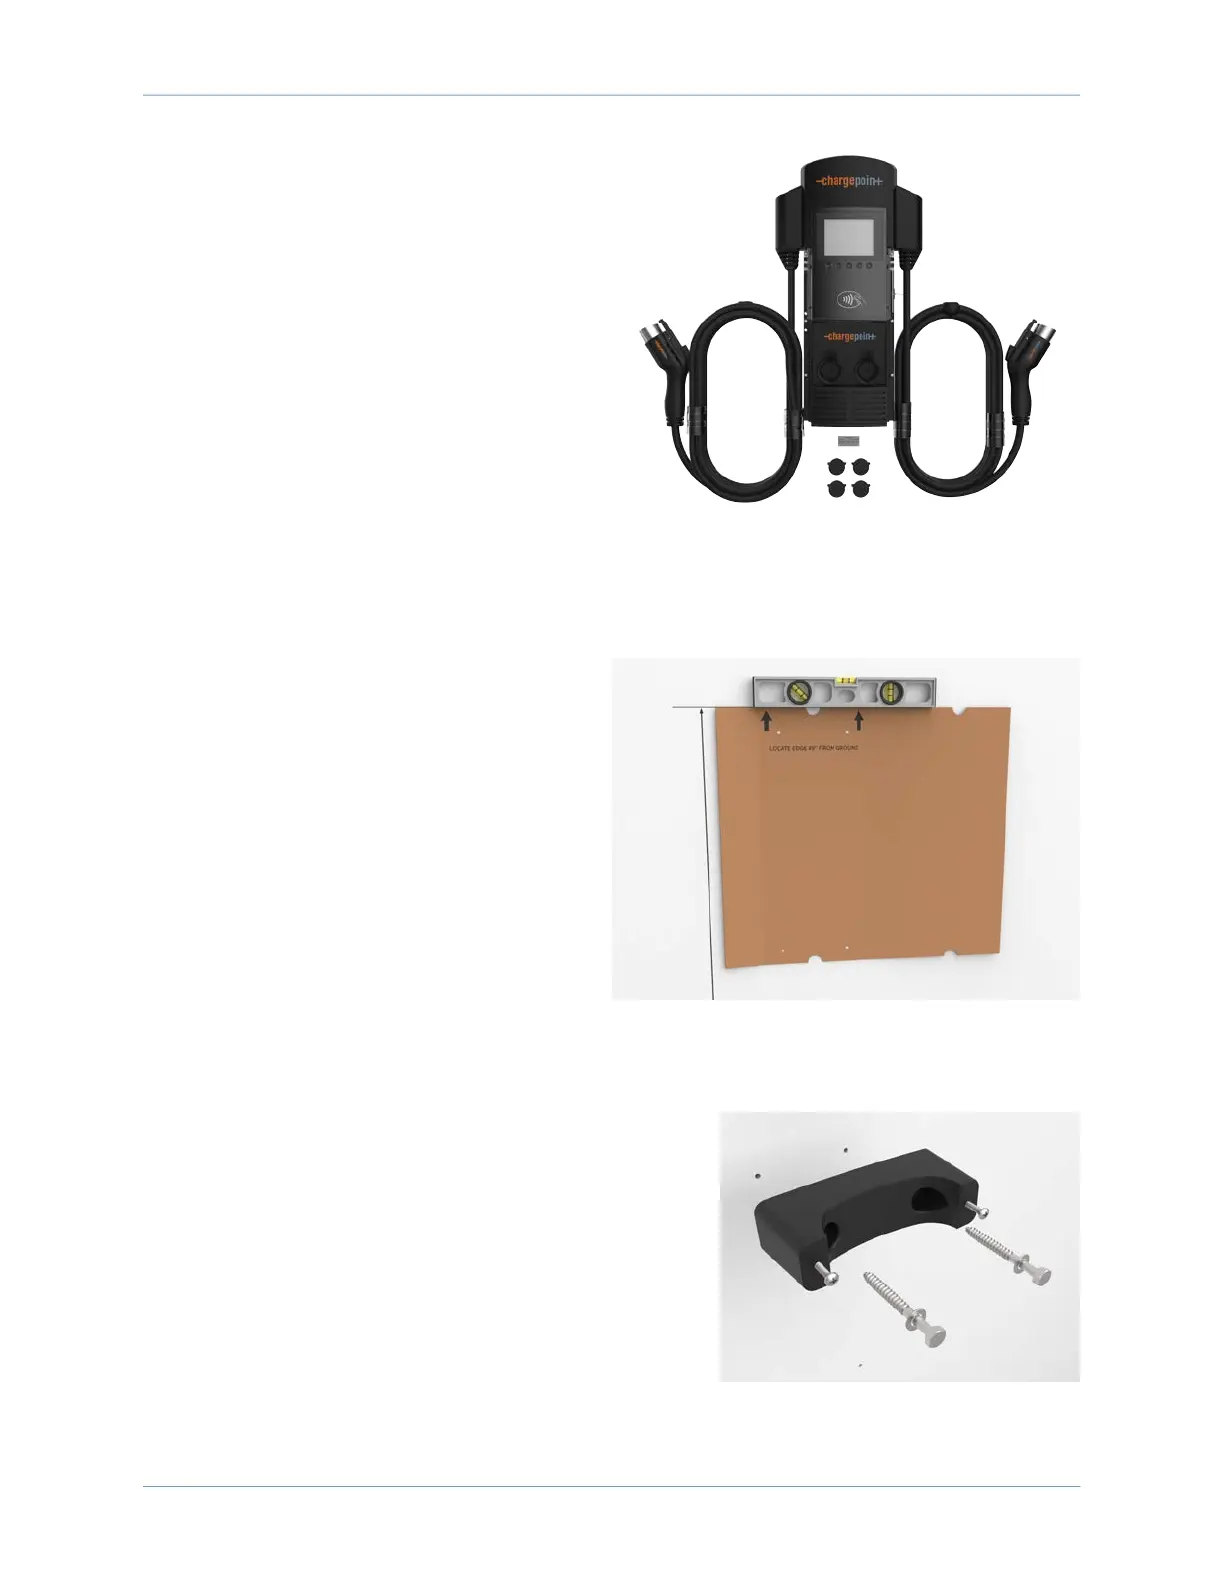
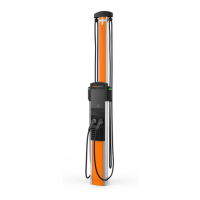
Head Assembly
The station’s head assembly box contains:
• T25 security Torx L-wrench
• Rubber plugs (4)
• Spare activation label
Note: Keep the activation label for future
reference. It contains critical information that is
needed to activate the station on ChargePoint.
You will also have 2 spare rubber plugs at the
end of installation. Plan to return the activation
label and plugs to the station owner.
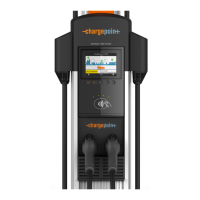
Drill Holes in the Wall
1. Tear the packing box along the perforation
to allow it to lay flat.
2. Place the template against the wall. As
described on the package insert, align the
top where indicated, 1245 mm (49 in) above
the floor or ground.
3. Ensure the template is level and the side of
the packaging insert is plumb.
4. Mark the four mounting holes.
5. Drill four holes in the wall at the marked
locations.
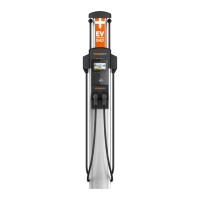
Mount Rear Brackets to the Wall
1. Separate the pre-assembled front and rear brackets by
loosening (but not removing) the pre-installed screws.
Leave about 19 mm (3/4 in) protruding.
2. Mount each rear bracket to the wall using screws
appropriate for the type of wall material.
• If mounting to a hollow wall, bridge at least two studs
using a 41 mm (1-5/8 in) channel strut.
• For wood studs, use 10 mm (3/8 in) lag bolts that are
long enough to penetrate at least 64 mm (2-1/2 in)
into the stud. Then mount the supplied brackets to