3-28
Cisco 7600 Series Router Installation Guide
OL-4503-26
Chapter 3 Installing the Cisco 7600 Series Router
Attaching the Interface Cables
Step 1 Remove the plugs from the Gigabit Interface Converter (GBIC) optical bores; store them for future use.
Step 2 Remove the plugs from the SC-type connector on the fiber-optic cable. Insert the connector into the
GBIC. (See
Figure 3-27.)
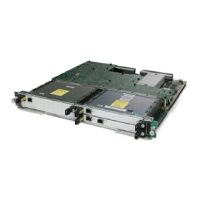
Figure 3-27 Connecting the Supervisor Engine Uplink Ports
Note When you plug the SC-type connector into the GBIC, make sure that both the transmit (Tx) and receive
(Rx) fiber-optic cables are fully inserted into the SC-type connector.
Note If you are using the LX/LH GBIC with MMF, you need to install a patch cord between the GBIC and the
MMF cable.
Connecting to the Interface Ports
Note For connector specifications, see Appendix B, “Connector and Cable Specifications.”
Note For information on cleaning optical interfaces, see
http://www.cisco.com/warp/public/127/cleanfiber2.html.
The Optical Services Modules (OSMs) and supported Catalyst 6500 series modules have the following
interface ports:
• SC-Type fiber-optic connectors. (See Figure 3-28.)
• LC fiber-optic connectors. (See Figure 3-29.)
• MT-RJ fiber-optic connector. (See Figure 3-30.)
• Mini-SMB cable connector. (See Figure 3-31.)
• RJ-45—Catalyst 6500 series 48-port 10/100TX switching modules. (See Figure 3-32.)