5-53
Cisco 7600 Series Router Installation Guide
OL-4503-26
Chapter 5 Removal and Replacement Procedures
Removing and Replacing the Power Supply
Step 6 Verify power supply operation by checking that the power supply front panel LEDs are in the following
states:
• INPUT OK LED is green
• FAN OK LED is green
• OUTPUT FAIL LED is not lit
If the LEDs indicate a power problem, see the “Identifying Startup Problems” section on page 4-2.
Installing a PWR-2700-DC Power Supply in a Cisco 7606 Router
Warning
Before performing any of the following procedures, ensure that power is removed from the DC circuit.
Note If you are installing a PWR-2700-DC power supply in a Cisco 7606 router, you must remove any
preinstalled PEMs. You must also install a blank PEM filler plate for each power supply you are
installing. See Removing and Replacing the PEM, page 5-112.
Note When you use 2700 W DC-input redundant power configurations and if there is a system load that is
greater than 5/3 of lower power capacity on any one power supply, the system supervisor generates latch
signal to the power supply with lower power capacity. The lower power capacity on any power supply
may be because one of the DC-inputs of the power supply is disabled. Since the power supply gets into
latch mode in the system, the power supply should be removed out of chassis and put it back to turn it on.
Follow these steps to install a DC-input power supply:
Step 1 Ensure that the system (earth) ground connection has been made. For ground connection installation
instructions, see the
“System Ground Connection” section on page 3-19.
Step 2 Remove the plastic bag attached to the front panel and put aside. This bag contains two plastic terminal
block barriers, two cable ties, and two cable holder covers.
Step 3 Verify that power is off to the DC circuit connected to the power supply you are installing.
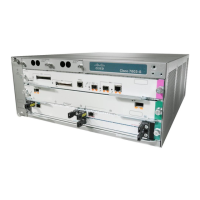
Grasp both power supply handles, as shown in Figure 5-58. Slide the power supply into the power supply
bay. Make sure that the power supply is fully seated in the bay.
 Loading...
