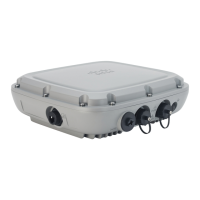
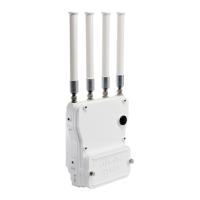
Before you begin
Ensure that you have the following materials before beginning to mount the AP to a wall:
Table 5: Material Required to Mount Access Point to a Wall using MA-MNT-MR-16 Kit
Supplied in the
Kit?
Materials Required
YesWall Mount Bracket
YesGround lug and screws (provided with the access point)
YesFour M6 x 12–mm Hex-head Bolts
NoCrimping tool for ground lug, Panduit CT-720 with CD-720-1 die
NoFour wall mounting screws
NoFour wall anchors (specified for all material)
NoDrill bit for wall anchors
NoElectric drill and standard screwdriver
No#6 AWG ground wire
NoShielded outdoor-rated Ethernet (CAT5e or better) cable
NoGrounding block
NoGrounding rod
No10–mm box-end wrench or socket set
Procedure
Step 1 Use the mounting bracket as a template to mark four screw-hole locations on the mounting wall.
Step 2 Use four screws and, if required, wall anchors to attach the mounting plate to the mounting surface. These
screws and anchors are to be sourced independently.
• You can use an exterior-grade plywood backboard to mount the AP to stucco, cement, or
drywall.
• The mounting wall, attaching screws, and wall anchors must support a 50-lb (22.7 kg) static
weight.
Note
Step 3 Screw an M6 x12–mm screw into each of the four support bolt holes on the back of the AP. Do not screw the
bolt all the way in, but leave a gap of approximately 0.13 inch (3.3 mm).
Step 4 Align the AP mounting holes against the mounting bracket such that the four support bolts on the back of the
AP slot are inserted into the keyhole slots on the mounting bracket.
Step 5 Slide the AP down to sit securely in the keyhole slots on the mounting bracket.
Cisco Catalyst Wireless 9163E Access Point Hardware Installation and Deployment Guide
21
Installing the Access Point
Wall Mounting the AP using the Meraki Kit
 Loading...

