39
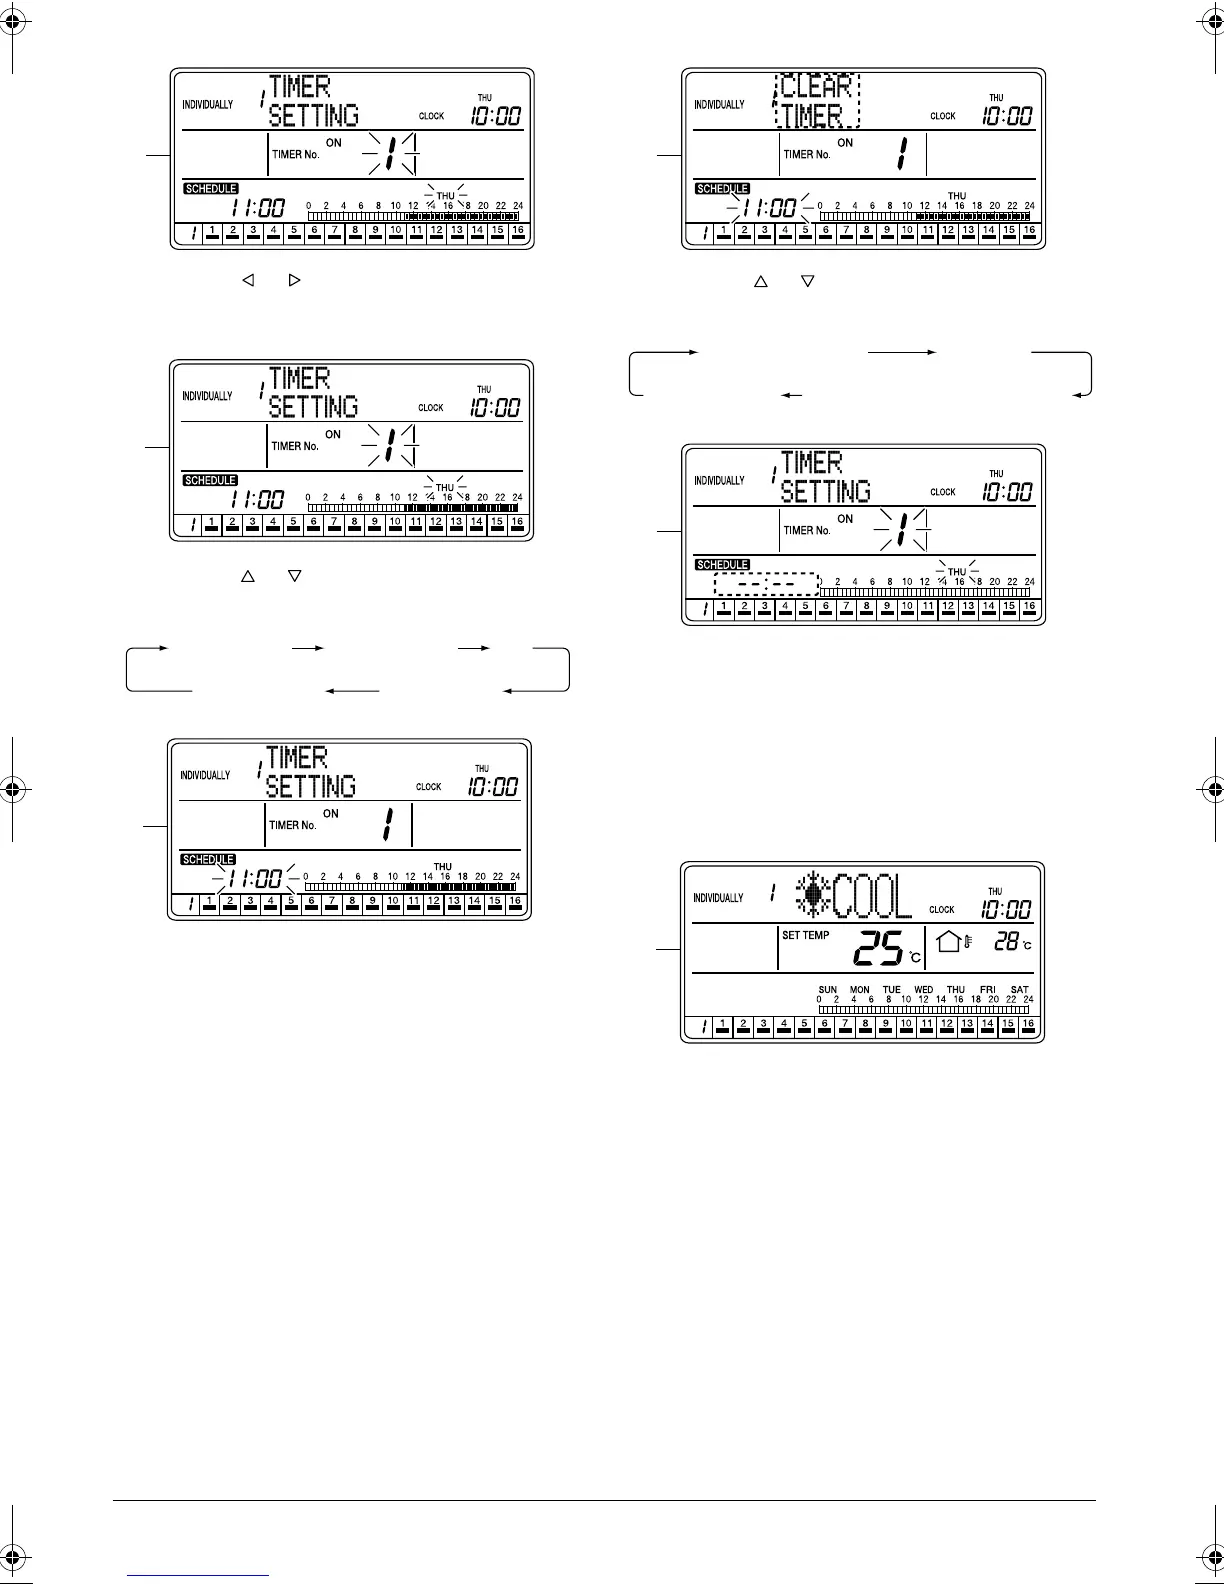
D. Using the or button
(2)
, select the day of the
week for which the schedule setting is to be
cleared.
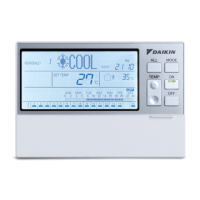
E. Using the or button
(3)
, select TIMER ON or
TIMER OFF and a Timer No. to be cleared.
F. Press the SET/CANCEL button (6) once to apply
the setting.
The Timer No. and “day of the week” indications
change from blinking to constant On, and the set
time indication blinks.
When the SET/CANCEL button (6) is pressed
once again, the display returns to screen B (blink-
ing Timer No. and “day of the week” indications)
shown on page 38.
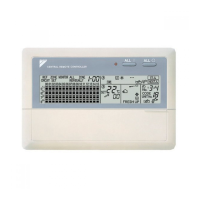
G. Press the or button (3) to select CLEAR
TIMER.
H. Press the SET/CANCEL button (6) once to apply
the setting.
The setting is cleared and the setting indication
changes to “
--:--
”.
The set time indication changes from blinking to
constant On, and the display returns to screen B
(blinking Timer No. and “day of the week” indica-
tions) shown on page 38.
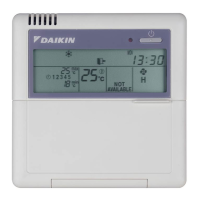
I. If no button is operated for 1 minute or the SCHED-
ULE button (1) is pressed once, the display returns
to the ALL screen when the setting was made in
the ALL screen, or to the INDIVIDUALLY screen
when the setting was made in the INDIVIDUALLY
screen.
D
E
TIMER 1 ON
TIMER 1 OFF
TIMER 4 ONTIMER 4 OFF
·····
F
G
TIMER SETTING
OFF DAY
COPY PREV DAY’S SETTINGCLEAR TIMER
H
I
01_EN_3P124623-10N.fm Page 39 Monday, January 28, 2008 4:58 PM