20
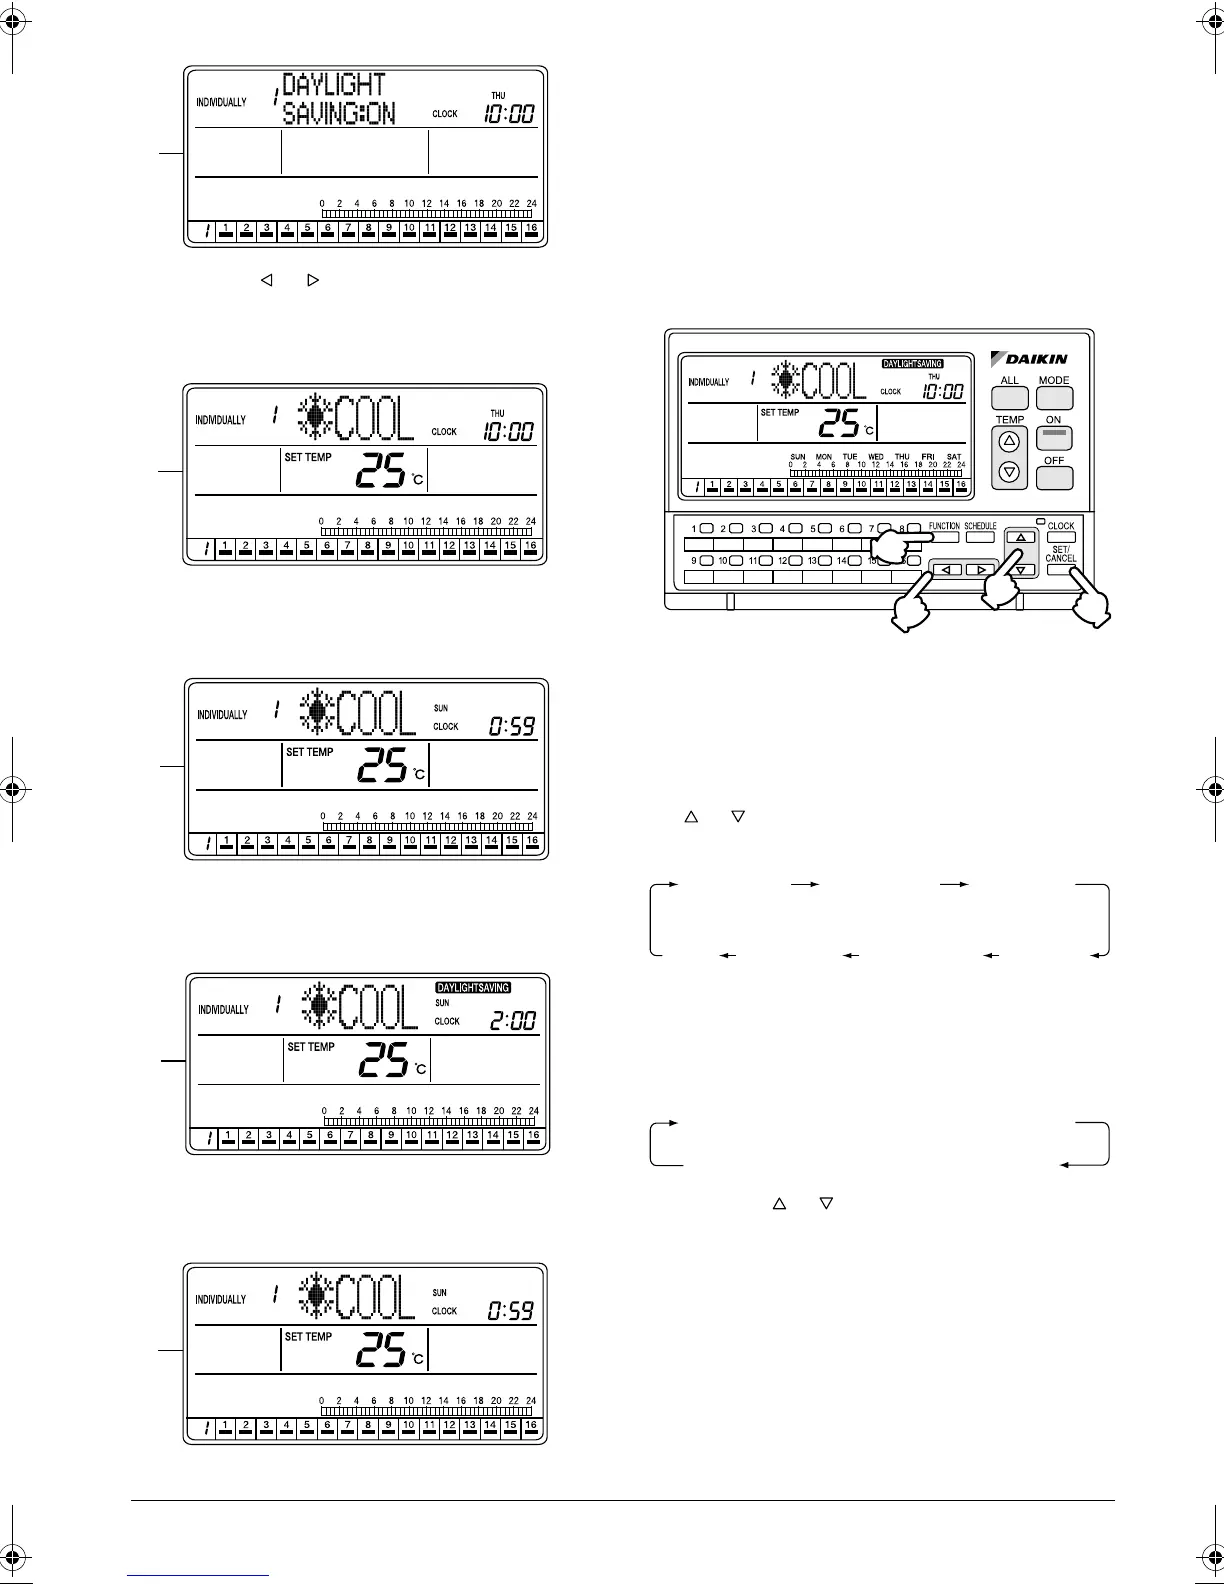
E. Using the or button, enable or disable the
Daylight Saving function.
This completes the Daylight Saving setting proce-
dure.
F. If no button is operated for 1 minute or the FUNC-
TION button (1) is pressed once, the display
returns to the INDIVIDUALLY screen.
G. If the Daylight Saving function is enabled, the clock
automatically advances 1 hour when the daylight
saving period starts.
H. The daylight saving time is displayed.
During the daylight saving period, the “DAYLIGHT
SAVING” indication is displayed on the screen.
I. When the daylight saving period ends, the clock
moves back 1 hour, and the “DAYLIGHT SAVING”
indication disappears.
HOW TO SET A DAYLIGHT SAV-
ING PERIOD
Setting the start day and end day of
daylight saving period
[Operating Procedure]
1. While the ALL or INDIVIDUALLY screen is dis-
played, press the FUNCTION button (1) once.
2. The Function Menu appears.
The Function Menu changes as follows when the
or button (2) is pressed.
3. Press the SET/CANCEL button (3) in the Daylight
Saving setting screen.
The display changes to the menu screen for set-
ting the daylight saving period.
4. Press the or button (2) to select SET D.S.T.
(DAYLIGHT SAVING TIME) START or SET D.S.T.
(DAYLIGHT SAVING TIME) END.
Press the SET/CANCEL button (3) to display the
input setting screen for the selected setting item for
daylight saving period.
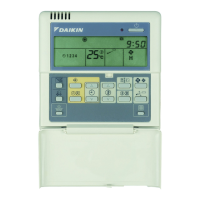
E
F
G
H
I
(1)
(2)
(4)
(3)
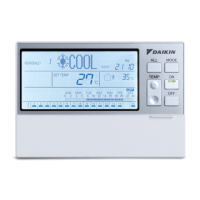
OPERATION
CODE
RESET
FILTER SIGN
OUTDOOR
TEMP
DISPLAY
DAYLIGHT
SAVING
SET DAYLIGHT
SAVING TIME
CONTRAST
KEY
LOCK
SET D.S.T. (DAYLIGHT SAVING TIME) START
SET D.S.T. (DAYLIGHT SAVING TIME) END
01_EN_3P124623-10N.fm Page 20 Monday, January 28, 2008 4:58 PM