21
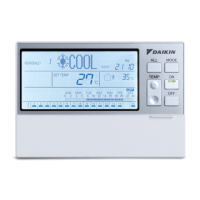
5. Press the or button (2) to select the input set-
ting for the selected start/end day of daylight sav-
ing period.
6. Using the or button (4), enter the daylight
saving period.
Press the SET/CANCEL button (3) to end the set-
ting procedure.
* [Default start day setting]
Month: March, week: final week, day of the week:
Sunday, hour: 1:00
* [Default end day setting]
Month: October, week: final week, day of the
week: Sunday, hour: 1:00
7. If no button is operated for 1 minute or if the FUNC-
TION button (1) is pressed, the display returns to
the ALL screen when the settings were made in
the ALL screen, or to the INDIVIDUALLY screen
when the settings were made in the INDIVIDU-
ALLY screen.
NOTE
1. In each of steps 2 through 6, if no button is operated
for 1 minute, the display returns to the ALL screen
when the setting was made in the ALL screen, or to
the INDIVIDUALLY screen when the setting was
made in the INDIVIDUALLY screen.
In the above-mentioned case, the setting being
entered will not be applied.
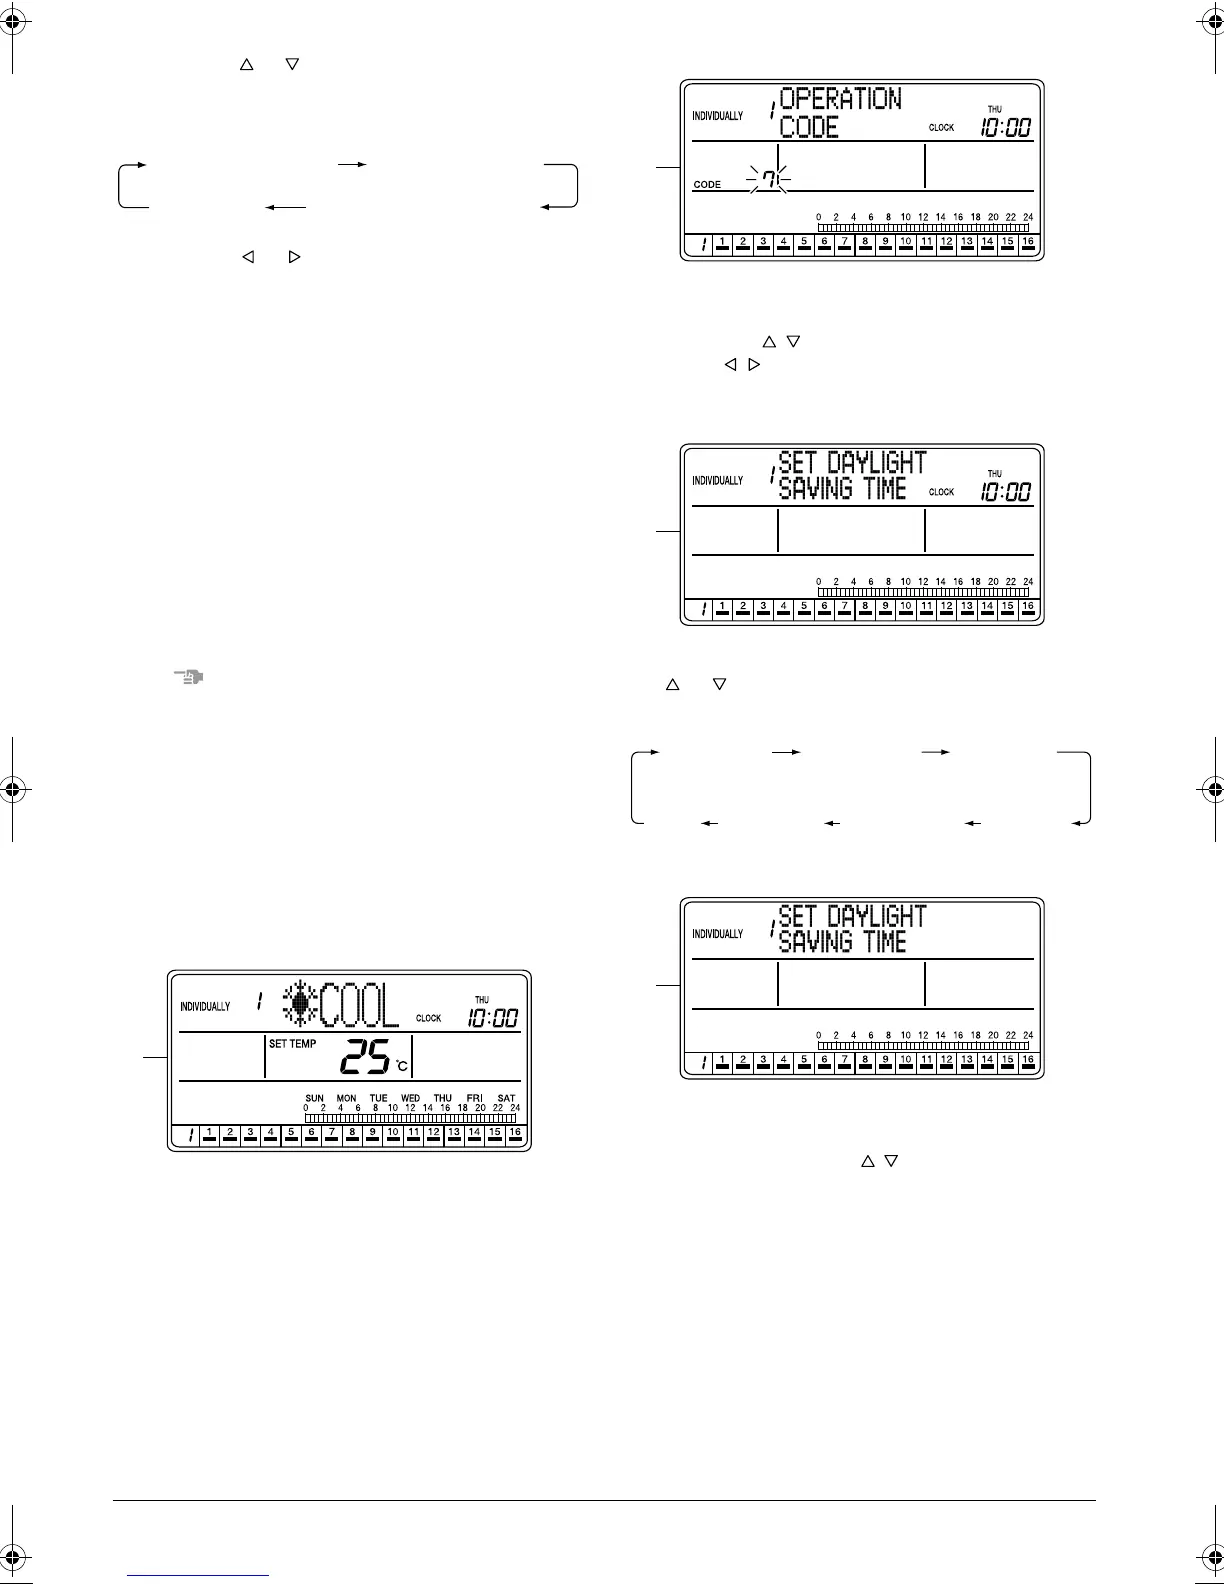
[Screen Display: SET D.S.T. (DAYLIGHT
SAVING TIME) START]
A. To set the daylight saving period, press the FUNC-
TION button (1) once while the ALL screen or
INDIVIDUALLY screen is displayed.
B. The Function Menu appears.
If no button is operated for 2 seconds, a guidance
message, “ BUTTONS: CHANGE FUNC-
TION, BUTTONS: CHANGE OPERATION
CODE, SET/CANCEL BUTTON: SET,” appears in
the operation mode display section (dot matrix).
C. The Function Menu changes as follows when the
or button (2) is pressed.
Display the Daylight Saving setting screen.
D. The Daylight Saving setting screen appears.
If no button is operated for 2 seconds in screen D,
a guidance message, “ BUTTONS: CHANGE
FUNCTION, SET/CANCEL BUTTON: SET D.S.T
PERIOD,” appears.
SET START MONTH SET START WEEK
SET HOUR SET DAY OF THE WEEK
A
B
C
OPERATION
CODE
RESET
FILTER SIGN
OUTDOOR
TEMP
DISPLAY
DAYLIGHT
SAVING
SET DAYLIGHT
SAVING TIME
CONTRAST
KEY
LOCK
D
01_EN_3P124623-10N.fm Page 21 Monday, January 28, 2008 4:58 PM