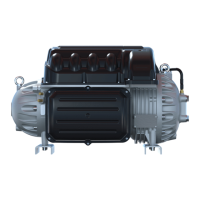
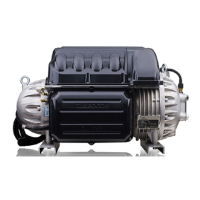
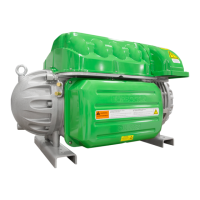
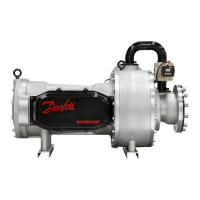
11. Usingaproperlyratedchain/cable,connectthespreaderbartothecompressorliftingpoints.
12. Confirmthatallliftingpointsaresecuredinaccordancewithrelevantsafetyproceduresandstandards.
13. Connectanappropriateliftingdevicetotheeyeboltsprovidedoneachsideofthecompressor.
14. Removethefour(4)compressormountingfastenersandassociatedhardwarefromthebaseofthe
compressor.
15. Liftthecompressorapproximately100mm(4”).Confirmthatthecompressorandspreaderbarare
properlybalancedbetweentheliftingpointsandtheliftinghoist.
16. Continuetheremovalofthecompressorandlowertothedesiredlocationinordertoremovethe
chains/cables.
17. Usingtheblankingplatesandboltsprovidedwiththenewcompressor,sealthecompressorand
chargeto15psiwithanontoxicinertgas(e.g.,nitrogen)forshipment(thiswillpreventmoistureand
foreignmaterialfromenteringthecompressor).
3.3 Compressor Installation
NOTE
Blankingplatesshouldnotberemovedfromthenewcompressoruntilyouarereadytoplacethenewcompressorinoperation.New
compressorsarepressurizedwithnitrogento15psi.PressureshouldberelievedthroughtheSchradervalve,locatednexttothemotor
coolingconnection,priortoremovingtheblankingplates.
NOTE
InstallnewO-ringswhenattachingflangestothecompressor.
1. RelievetheinertgaspressurethroughthemotorcoolingexitportSchradervalve.
2. Removethesuction,discharge,andeconomizer(ifapplicable)blankingplatesfromthecompressor.
3. Removethemotorcoolinginletadaptercap.RefertoSection3.4CompressorReplacement
ConsiderationsforMotorCoolingAdapteronpage43.
4. Ensurethatallconnectionshaveprotectivecoverstopreventforeignobjectdamageduring
installation.
5. Attachthespreaderbartothetwo(2)liftinghooks(eyebolts)onthetopofthecompressorand
confirmthatallliftingpointsaresecuredinaccordancewithrelevantsafetyproceduresandstandards.
6. Positionanappropriateliftinghoist/craneandconnecttothespreaderbar.
7. Confirmthatthecompressorandspreaderbarareproperlybalancedbetweentheliftingpointsand
theliftinghoist.
8. Slowlylowerthecompressoruntilitispositionedwithinapproximately5mm(¼”)ofthecompressor
mounts.
9. Looselyinstalltherubbermountsandmountingfastenerstothebaseofthecompressor.
10. Slowlyreleasetheloadfromthecranesothatcompressorweightissupportedbythecompressor
mounts.
11. Installandtightenthesuctionflangefastenersto75Nm(55ft.lb.).
12. Installandtightenthedischargeflangefastenersto32Nm(24ft.lb.).
13. Installandtightentheeconomizerflangefasteners(ifapplicable)to32Nm(24ft.lb.).
14. Torquethecompressormountingbasefastenersto14Nm(10ft.lb.).
Page 42 of 294 - M-SV-001-EN Rev. H 1/23/2023
 Loading...


