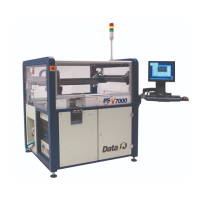
■ Running a Job on PSV7000 ◘ Socket Adapters and Actuator Plates
PSV7000 Operator’s Manual —35—
back
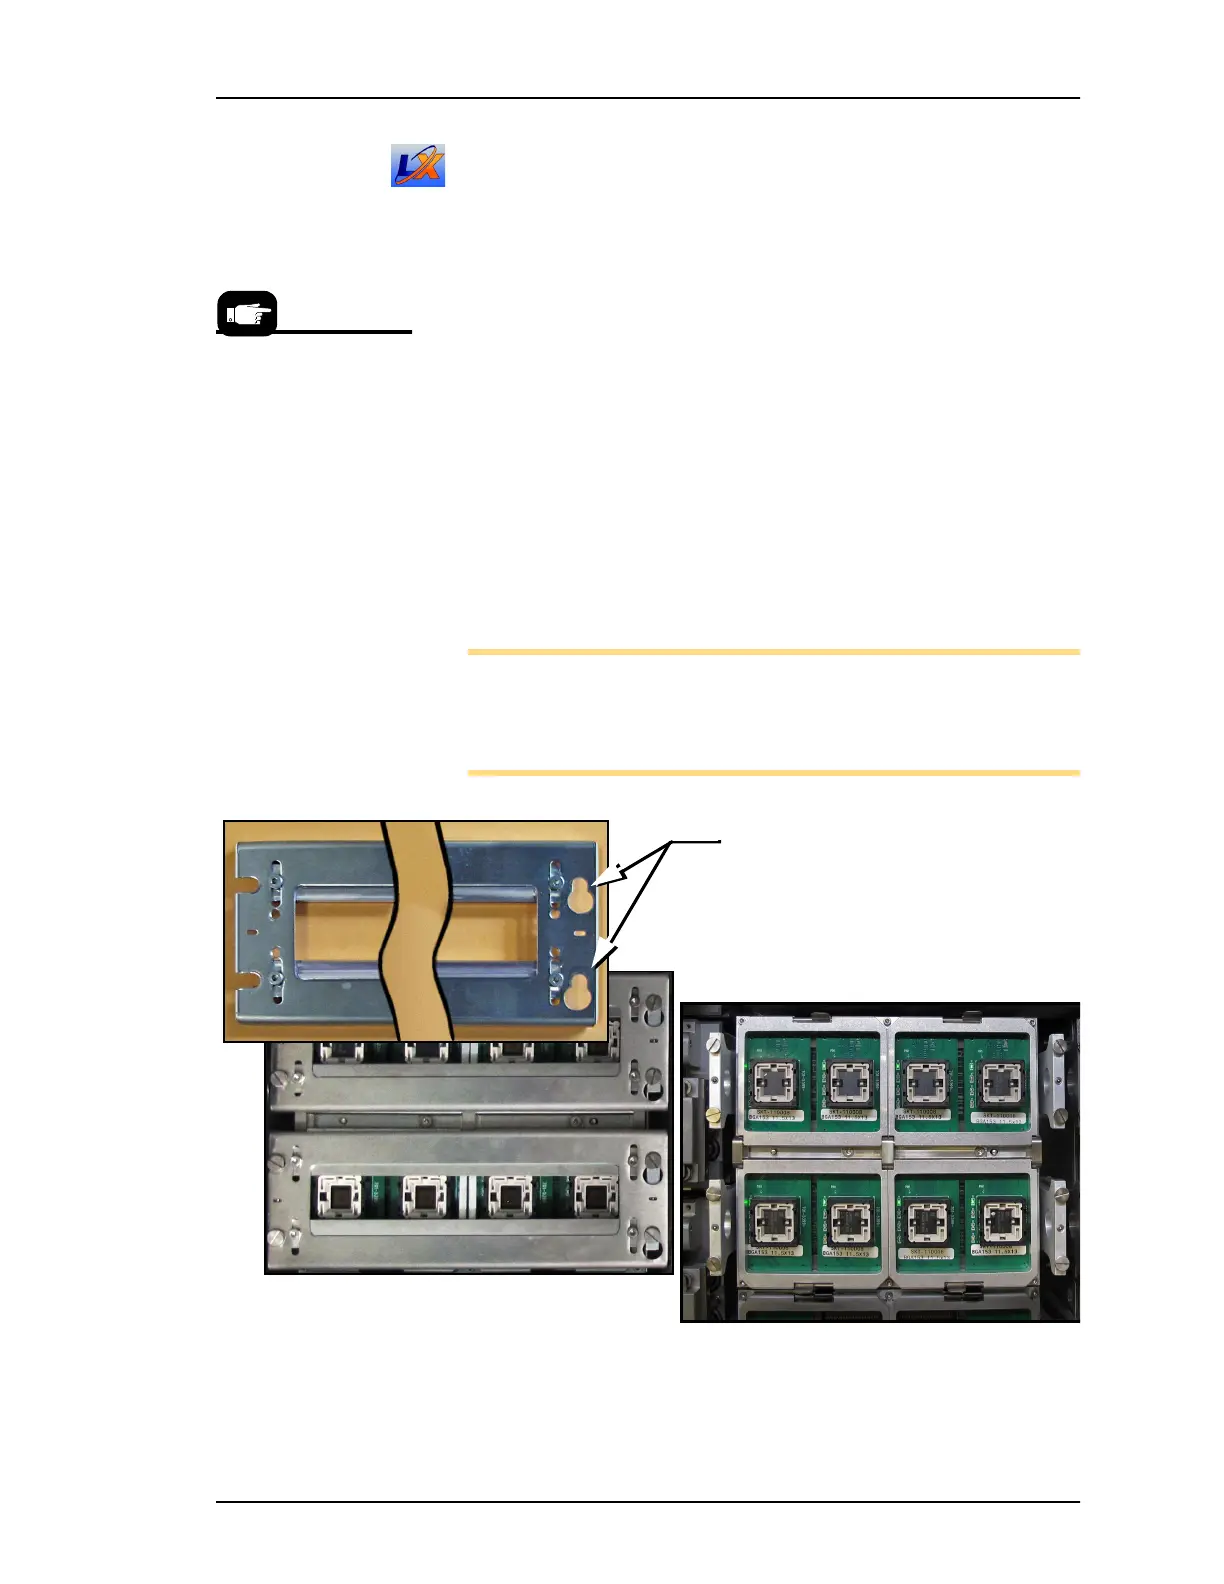
(LumenX) Installing Adapters and Actuators
Remove/Install Actuator Plates
To install or change a Socket Adapter on a LumenX programmer:
1. If a job is running, click Finish on the Run window and wait for
the PNP head to empty the sockets, move to the Park position
and stop.
2. Open the safety door that offers the easiest access to the target
programmer(s).
3. Remove an Actuator Plate by rotating the end with the keyhole
slots to release from the fixed shoulder screws.
4. Lift that end and pull sideways (to the right) out from under the
shoulder screws at the opposite end.
5. See heading below—Adjust The Actuator Plate (unless you are
using the same Socket Adapters as the previous job).
Install in the reverse order (and ensure Actuator Plates are all facing
the same direction).
Note: HIC (High Insertion Count) Actuator Plates must be used
with HIC Socket Adapters. HIC adapters have a radius on the
underside of the adjustment bars (similar to the HIC for Flash-
CORE.
Figure 20: Actuator Plates for LumenX programmers. With plates (A)
and without (B).
A job can be continued
later—even after clicking
Finish.
Keyhole slots must be on
the right side as shown.
A
B