■ Running a Job on PSV7000 ◘ (Optional) Performing 3D Coplanarity Inspection
PSV7000 Operator’s Manual —27—
back
3» (Optional) Performing 3D
Coplanarity Inspection
For information not found here, refer to the PSV7000 Owner’s
Manual, Chapter 3, 3D Coplanarity Option.
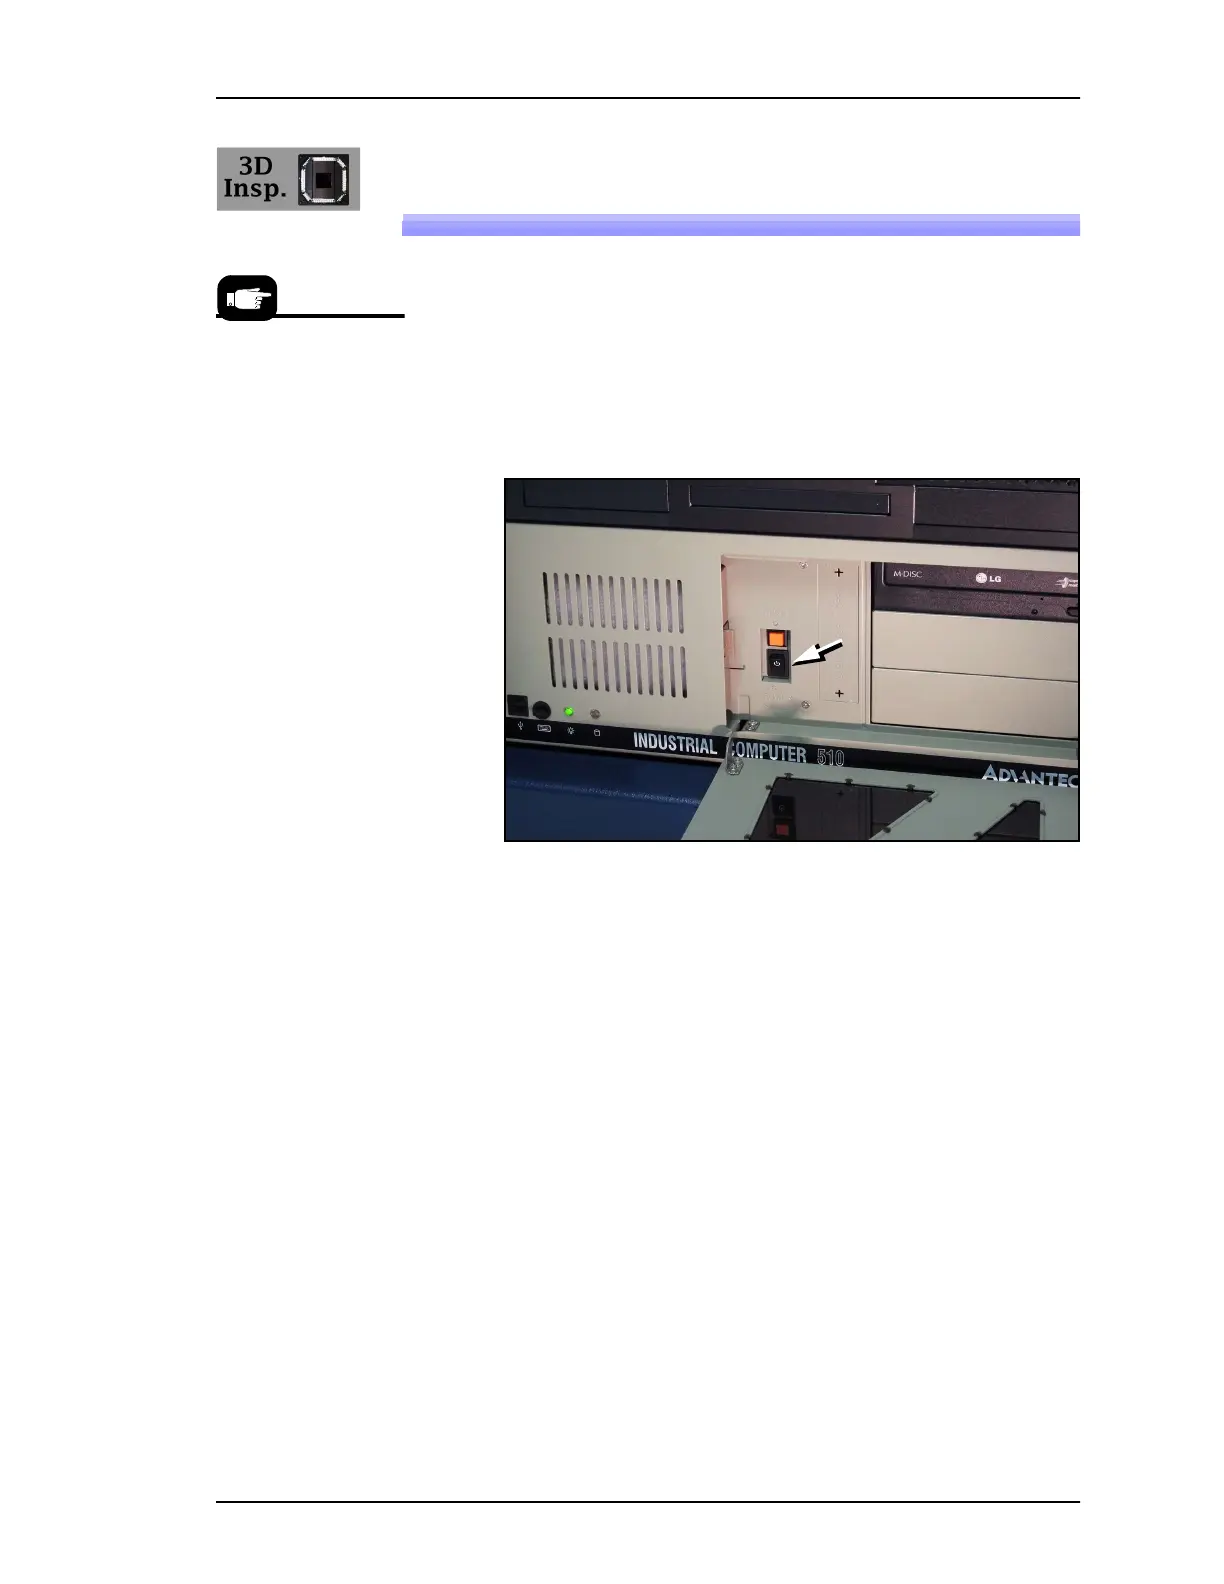
1. Start the 3D Inspection PC as follows:
1a. The 3D Inspection PC is just below the Handler PC. Open
the PC door with the key and push the Power switch ON
and release. See figure below.
1b. Close and lock the door.
Figure 13: The 3D Coplanarity Computer is below the Handler
Computer on the left side of the machine. Power Switch (arrow).
2. Confirm that the correct prism Reticle is installed for your
device. (Check with your supervisor or the UltraVim manual.)
When Ready to start a job, remember to:
• select a job that has been set up for coplanarity inspection in
TaskLink’s Task Manager dialog, or LumenX’s job list.
• teach the Package File the location of the 3D Inspection System
after AH700 opens if your job has not yet been run using the 3D
Inspection System. (Refer to the AH700 on-screen Help for simi-
lar edits to the Package File, such as teaching a tray location.)
There are two models of
3D Coplanarity Inspec-
tion System: UX and VX.
The UX can inspect
BGAs.