44 Installing the PowerConnect 3524/P and PowerConnect 3548/P
Connecting a Device to a Power Supply
Connect the supplied AC power cable to the AC power connector on the back panel.
NOTE: Do not connect the power cable to a grounded AC outlet at this time. Connect the device to a power source
in the steps detailed in "Starting and Configuring the Device" on page 47.
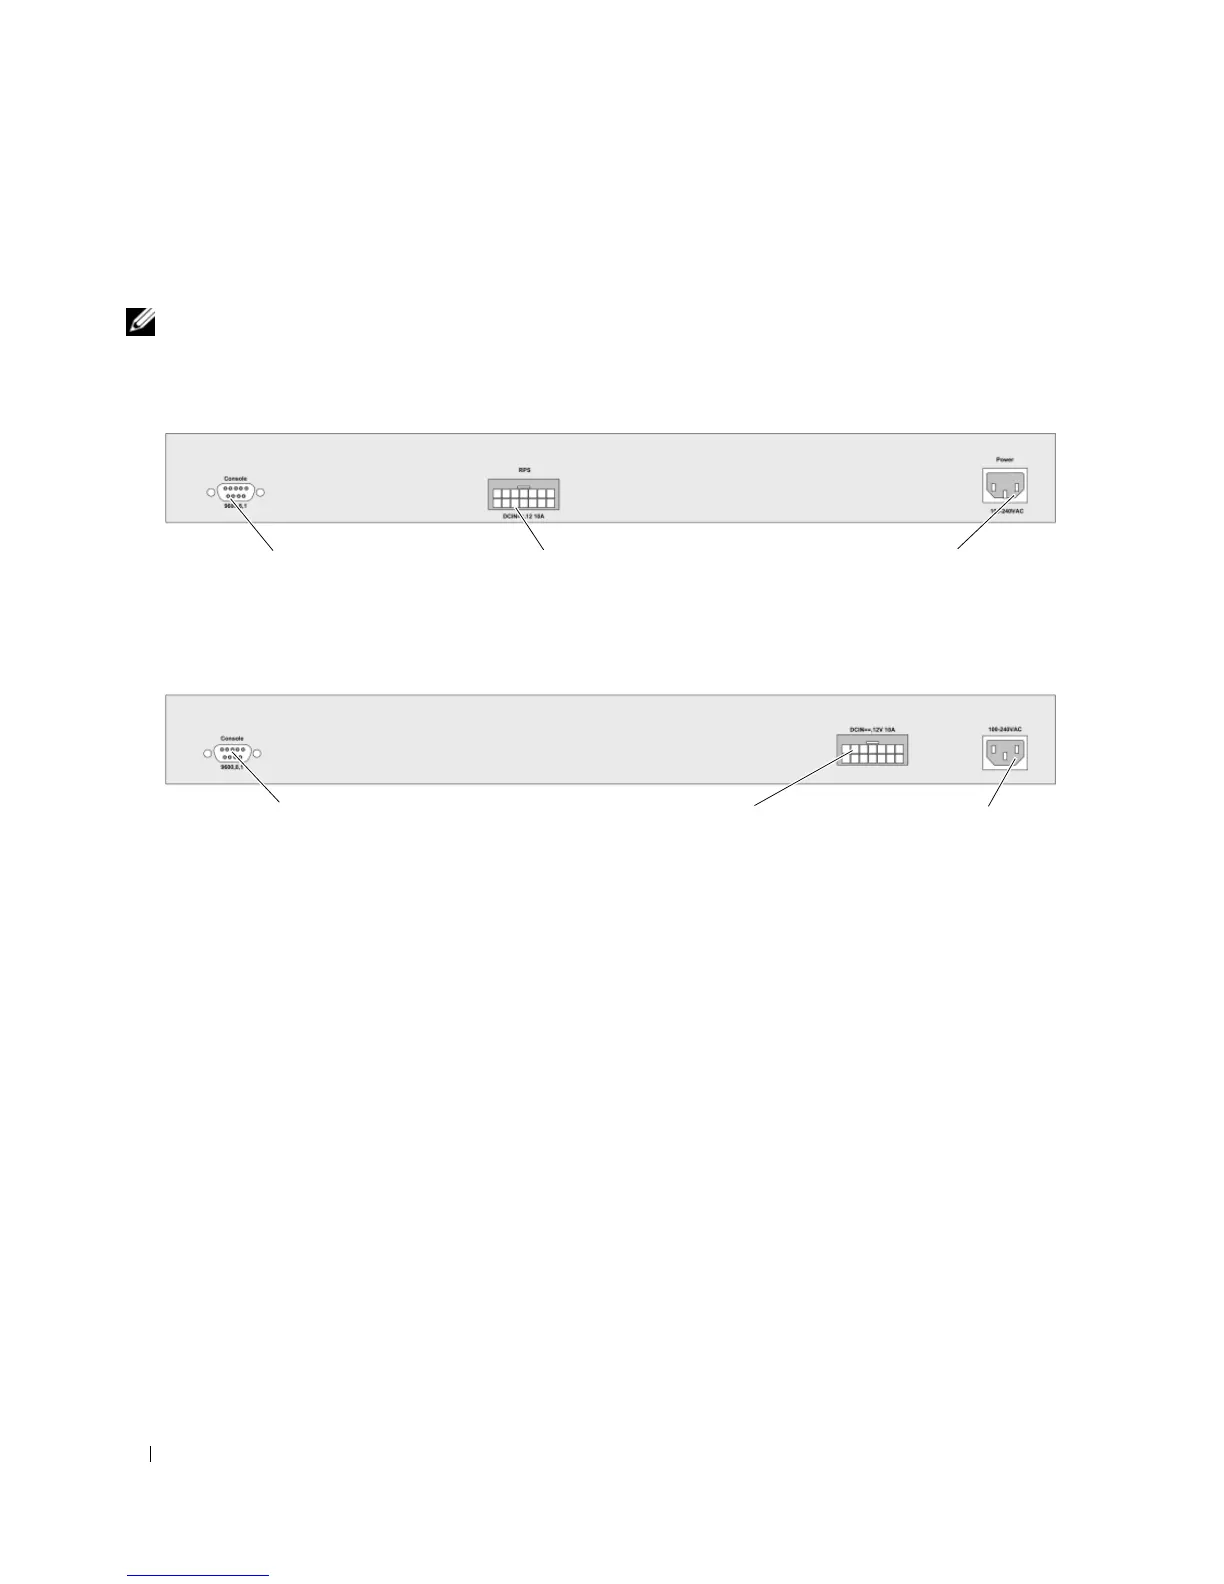
Figure 3-4. Back-Panel Power Connector
After connecting the device to a power source, confirm that the device is connected and operating
correctly by examining the LEDs on the front panel.
Installing a Stack
Overview
Each device can operate as a stand-alone device or can be a member in a stack. Up to eight devices or up
to 384 ports are supported per stack.
All stacks must have a Master unit, and may have a Master Backup unit, with any other devices
connected to the stack as Members.
Console Port
RPS Connector
Console Port
PowerConnect 3524/3548 Rear View
EPS Connector
Power Connector
Power Connector
PowerConnect 3524P/3548P Rear View
 Loading...