NOTE: Ensure latching features on processor retaining clip and cold plate are aligned during assembly.
NOTE: The numbers on the image do not depict the exact steps. The numbers are for representation of sequence.
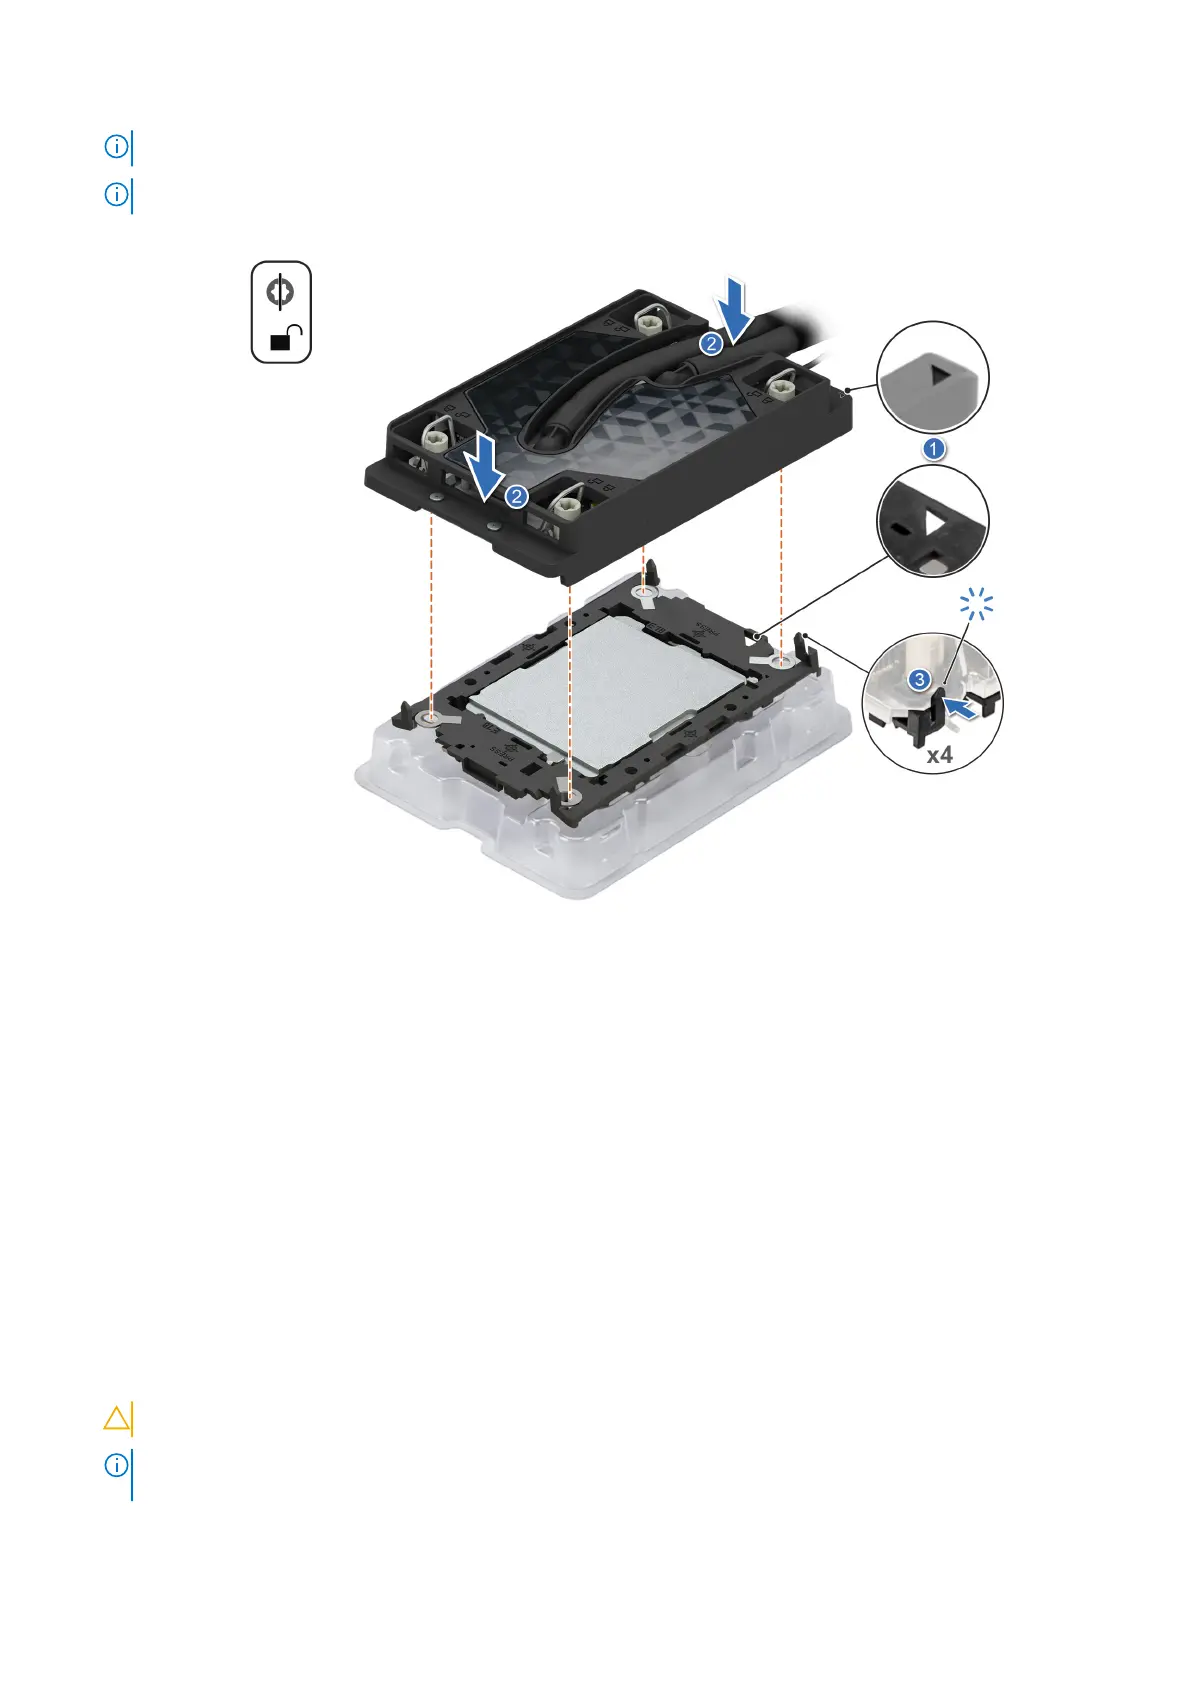
Figure 86. Installing the cold plate onto the processor
Next steps
1. Install a liquid cooling cold plate with leak sensor.
2. Follow the procedure listed in After working inside your system.
Installing a liquid cooling cold plate
Prerequisites
1. Follow the safety guidelines listed in Safety instructions.
2. Follow the procedure listed in Before working inside your system.
Steps
1. Set the Anti-Tilt wires to the unlocked position on the cold plate (inward position).
2. Align the pin 1 indicator of the cold plate to the system board, and then place the cold plate assembly unto the processor
sockets.
CAUTION: To avoid damaging to the tubes, do not press down on the tubes.
NOTE: Ensure that the processor and cold plate is held parallel to the system board to prevent damaging the
components.
110 Installing and removing system components