Accessories Moisture Meter User Manual 4.0
Wire Preparation
Thread the cable through the hood body, (complete with back & grommet).
You can’t do this after soldering on the D socket!
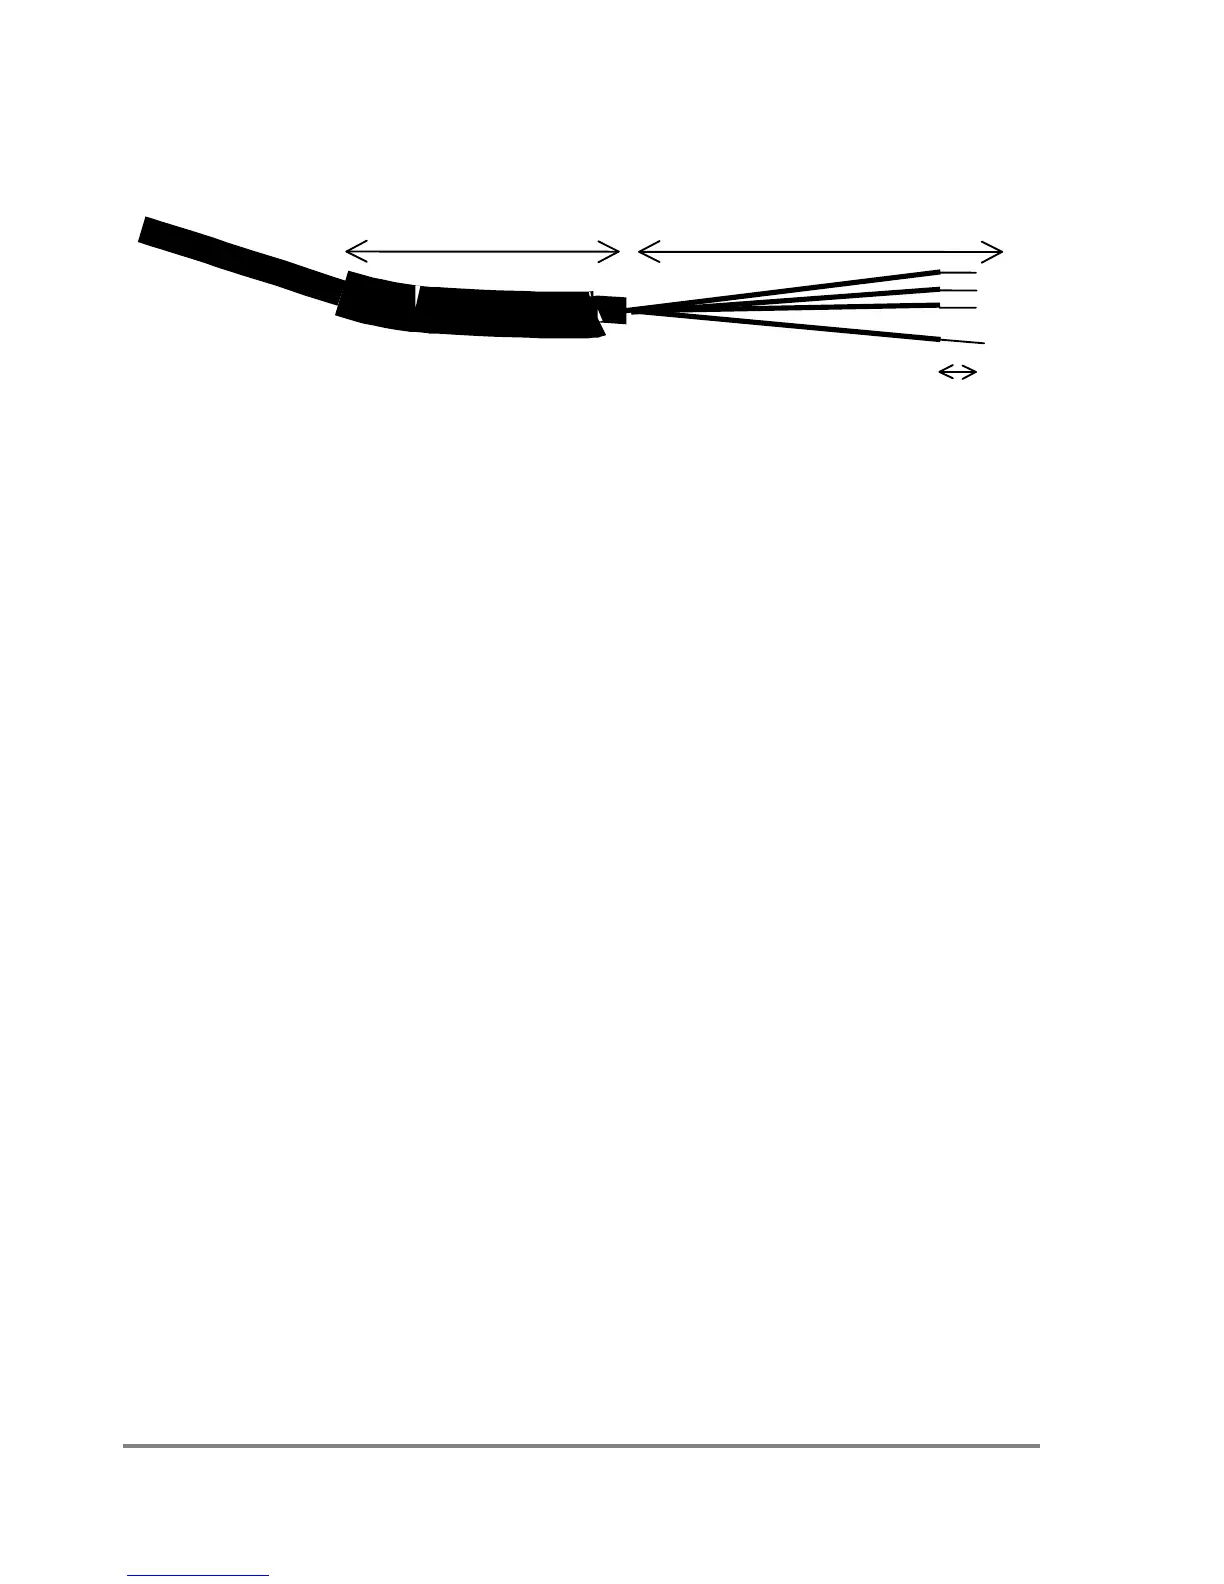
Strip away the cable sheath & screen, taking care not to damage the insulation of the
individual wires (or cut back the wires, if already stripped) to give 40mm free wire
length.
The remaining cable sheath needs to be undamaged for a waterproof connector: a
cut in the sheath allows water to pass inside & along between the wires.
The end of the cable sheath needs to be clean to seal to the heat-shrink:
Place the adhesive heat-shrink sleeving, supplied, near the end of the sheath, as
shown.
With a PR1 cable, leave about 8mm cable sheath protruding for the cable clamp.
With an ML1 or ML2 cable place the heat shrink to reach the end of the sheath.
Thoroughly heat the heat shrink, preferably with a heat-gun, to shrink it and melt
the glue inside, to seal to the cable, without melting the cable. Allow to cool. The
heat-shrink’s diameter should now be between 8.0 & 10.5mm, to fit & seal to the
gasket in the hood.
Strip back the wire-ends about 3mm for soldering.
 Loading...