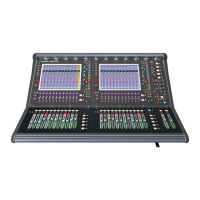
SD12 - Getting Started
1-16
1.5 Software Conguration
The SD12 has a default setup which means that the new user need not get involved in conguring the desk at this stage. However, here
is a brief overview of how the different displays are used in putting together a session. Each of the master displays introduced below are
described fully within the rest of the manual.
The Files > Templates display is used for loading pre-congured session templates.
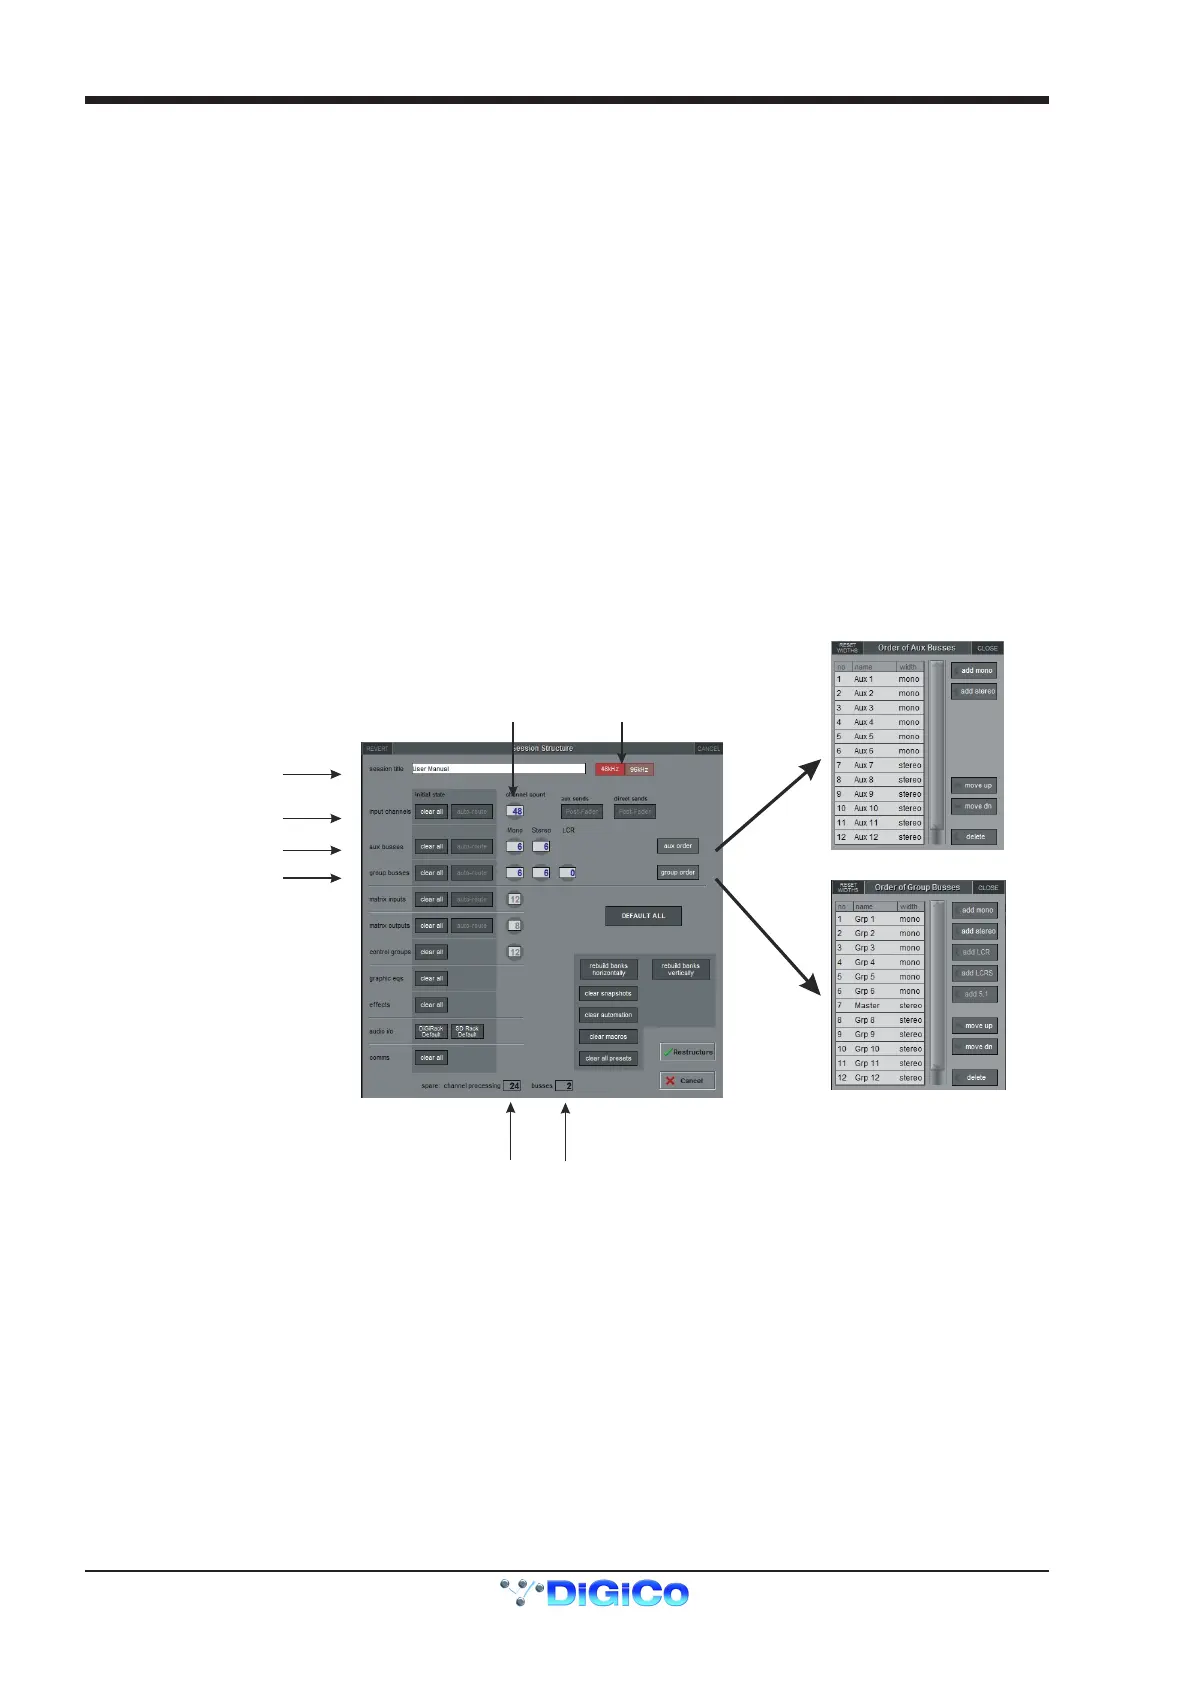
The Files > Session Structure display is used for conguring how the console’s audio channels are to be divided between channel
types, and where the format of the channels is dened
The Session Structure display can be used to automatically assign the channels to the worksurface. However, channels can also be
manually added to the worksurface using the Layout > Channel List display.
The Setup > Audio IO display is used to congure the physical I/O connected to the SD12, including conguring and naming the sock-
ets of the option cards installed in racks, and the setting of pads and phantom power.
1.5.1 Templates ................................................................................
If any templates have been created, they provide an easy starting point for sessions which are already customised to your context. To
load a session template, open the Session Templates display by selecting the Templates option at the top of the Files menu. Now
touch the template you wish to load from the list shown, and press OK.
1.5.2 Session Structure Overview ..................................................
When starting a new session from scratch, it is important to decide how many of each type of channel is required. While changes to ses-
sion structure can be made once a session has been started, it is best to try and set these parameters before conguring the session.
The structure will set items such as the number of input channels, the number and type of aux channels and group channels available
Total number
of unallocated
processing
Total number
of spare
busses
Touch number’s to
edit with pop-up
keypad or touchturn
Set number of Input Channels
Set number and type of Aux
Set number and type of Group
Set Order of Aux and
Group busses
Enter Session title
Select session
sample rate
Begin by setting the sample rate at the top of the panel. There are a total of 72 input channels available and 36 busses (plus a Master
buss which can be stereo or LCR).
Channel resources can be split into input or output channels in almost any conguration. The default conguration is :
48 input channels (Input channel formats are dened within each channel, not within the Session Structure)
6 Mono Aux busses & 6 Stereo Aux busses
6 Mono Group busses & 6 Stereo Group busses
12 Matrix Inputs and 8 Matrix Outputs
12 Control Groups
Note that a Talkback channel is also assigned to the control surface, though it isn't congurable within the Session
Structure and is therefore not displayed there.
To adjust any of the channel allocations, touch on the associated channel count box, and either enter a number using the pop-up num-
ber keypad, or adjust using the assigned touch turn controller.
Clear All Buttons : When changing routing, you have the option of clearing any non-default routing or processing (EQ, dynamics etc)