31
SD12 - Getting Started
1-31
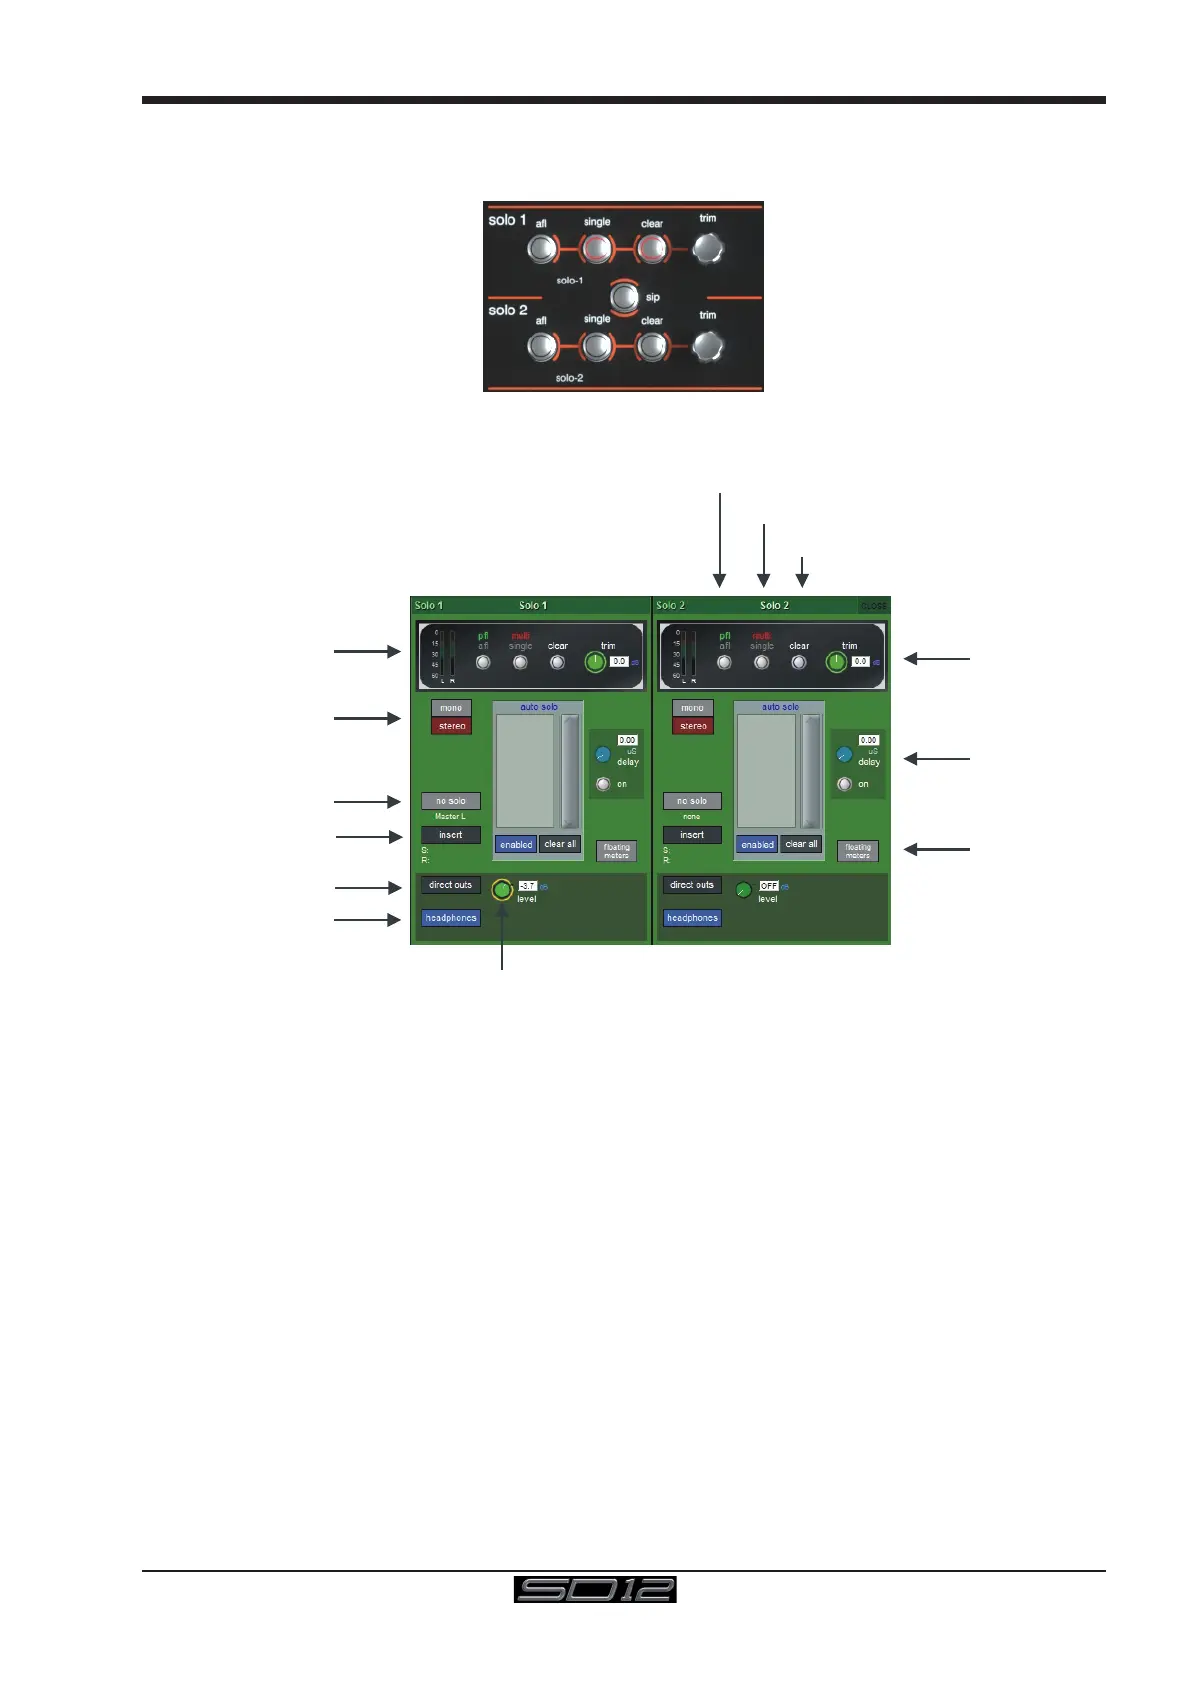
1.13 Solo Setup
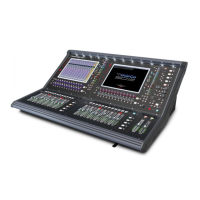
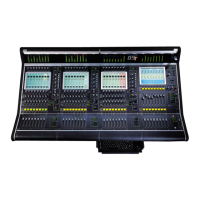
The SD12 Solo panel is accessed from a button at the top of the Master Screen. Some of the controls on this panel are duplicated on
the worksurface right hand section
There are two solo busses and each solo button on the console can be independently assigned to use Solo1, Solo2 or Solo 1+2.
Therefore, if the console was being used for Stage monitors, the rst solo buss could feed “In-Ear” monitors, and the second solo buss
could feed a wedge.
Solo Trim
Solo Delay
Direct Out Level
Solo Level Meter
Buss Format Switch
No solo source select
Insert routing
Direct Out routing
Headphones On / Off
Clear
multi / single solo mode
pfl / afl solo mode
Floating Meter
activation
The following functions are available independently for each solo buss :
- Mono / Stereo Switch
- No Solo source routing: The source for solo buss when no channel is in solo mode.
Note that the No Solo source does not show on Solo meters
- Insert Point with both internal and external routing capability
- Direct Out routing (eg. for feeding a wedge)
- Assignment of Direct Out level control to master fader or speaker volume pot
- a or p mode
- single or multi solo mode
- Delay
- Level Trim
- Auto solo mode: If a channel is set to Auto Solo, it will automatically solo when another channel is soloed. The Auto Solo function of
each solo buss can be enabled and disabled as required.
- Solo meters can be displayed on the Master or Overview screen by pressing the oating meters button below the solo delay area in
either side of the Solo panel.