9
SD12 - Getting Started
1-9
1.3.2 Layers and Banks ...................................................................
The SD12's worksurface is divided into Layers and Banks. Each Bank contains twelve channels, and the channels which are currently
active on the control surface are dened using the fader bank and bank layer buttons to the right of the Channel Strip section’s fader
NOTE: There is also a Master Screen Assign button above the Layer and Bank buttons on the right section which is
used to switch the right hand section to diplay the Master Screen
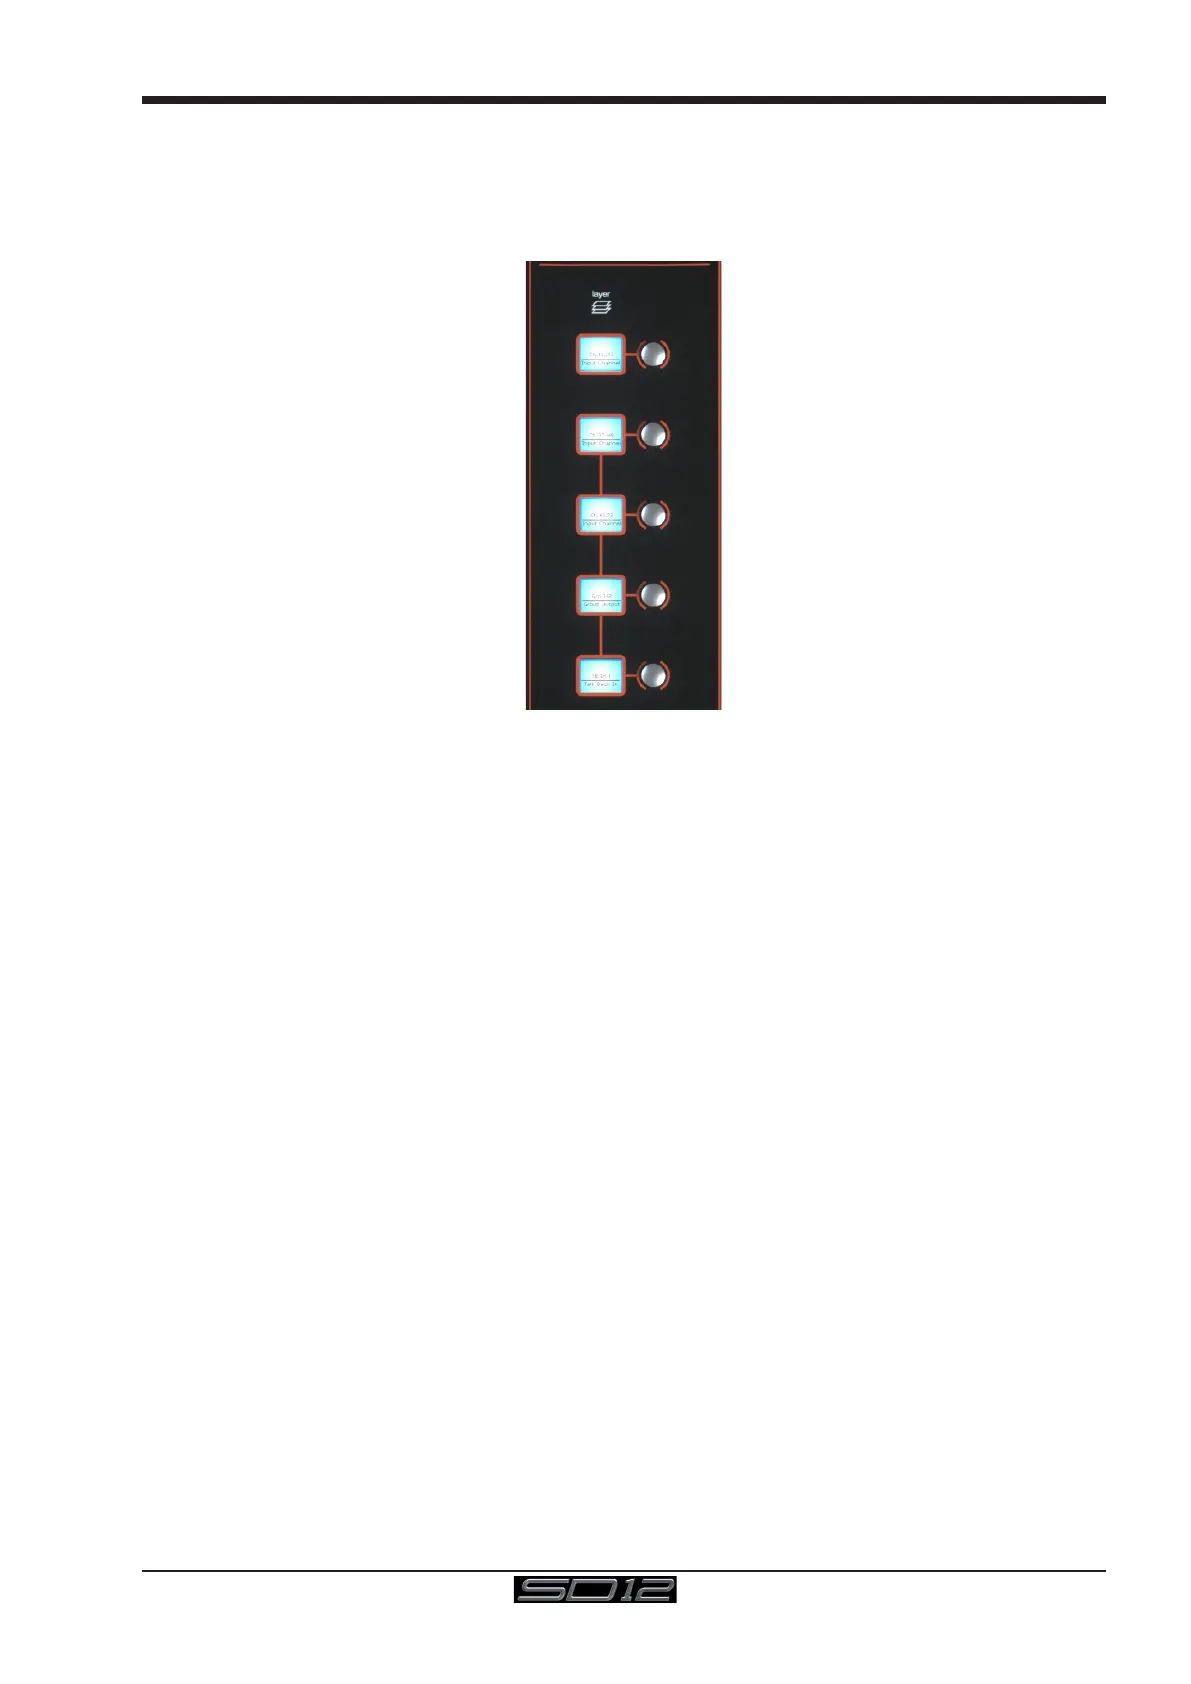
A ‘bank’ is a set of twelve faders, and a ‘layer’ contains up to four ‘banks’. There are up to 3 ‘layers’ in each section of the desk
Pressing the bank layer button, located above the fader bank buttons, toggles between layers.
To access a bank of faders within that layer, press the appropriate fader bank button. To switch both sections of the console to the
same bank level, press and hold one of the fader bank buttons.
The specic channels which are contained within each Bank are dened in the Layout > Fader Banks display. By default, the Input
channels will be assigned to Layer 1 on the left and right sections of the console. The different output channels will be assigned to Layer
2. Control Groups will be assigned to Layer 2. These bank assignments can be customised by the user and saved in a session at any
time. Holding any bank or layer button down for a couple of seconds will switch both worksurface sections to the same bank level or
layer.