29
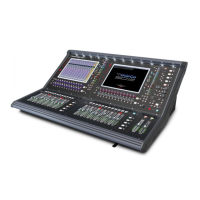
DiGiCo SD12
2-29
2.1 DMI Cards
The Digico SD12 has two option slots on its rear panel for the installation of DMI cards (see below)
These cards come in a variety of I/O types.
2.1.2 Fitting DMI Cards ....................................................................
Note: DMI cards are NOT hot swappable and therefore they should NEVER be tted or removed from the SD12 while
the console is powered on.
To t a DMI card:
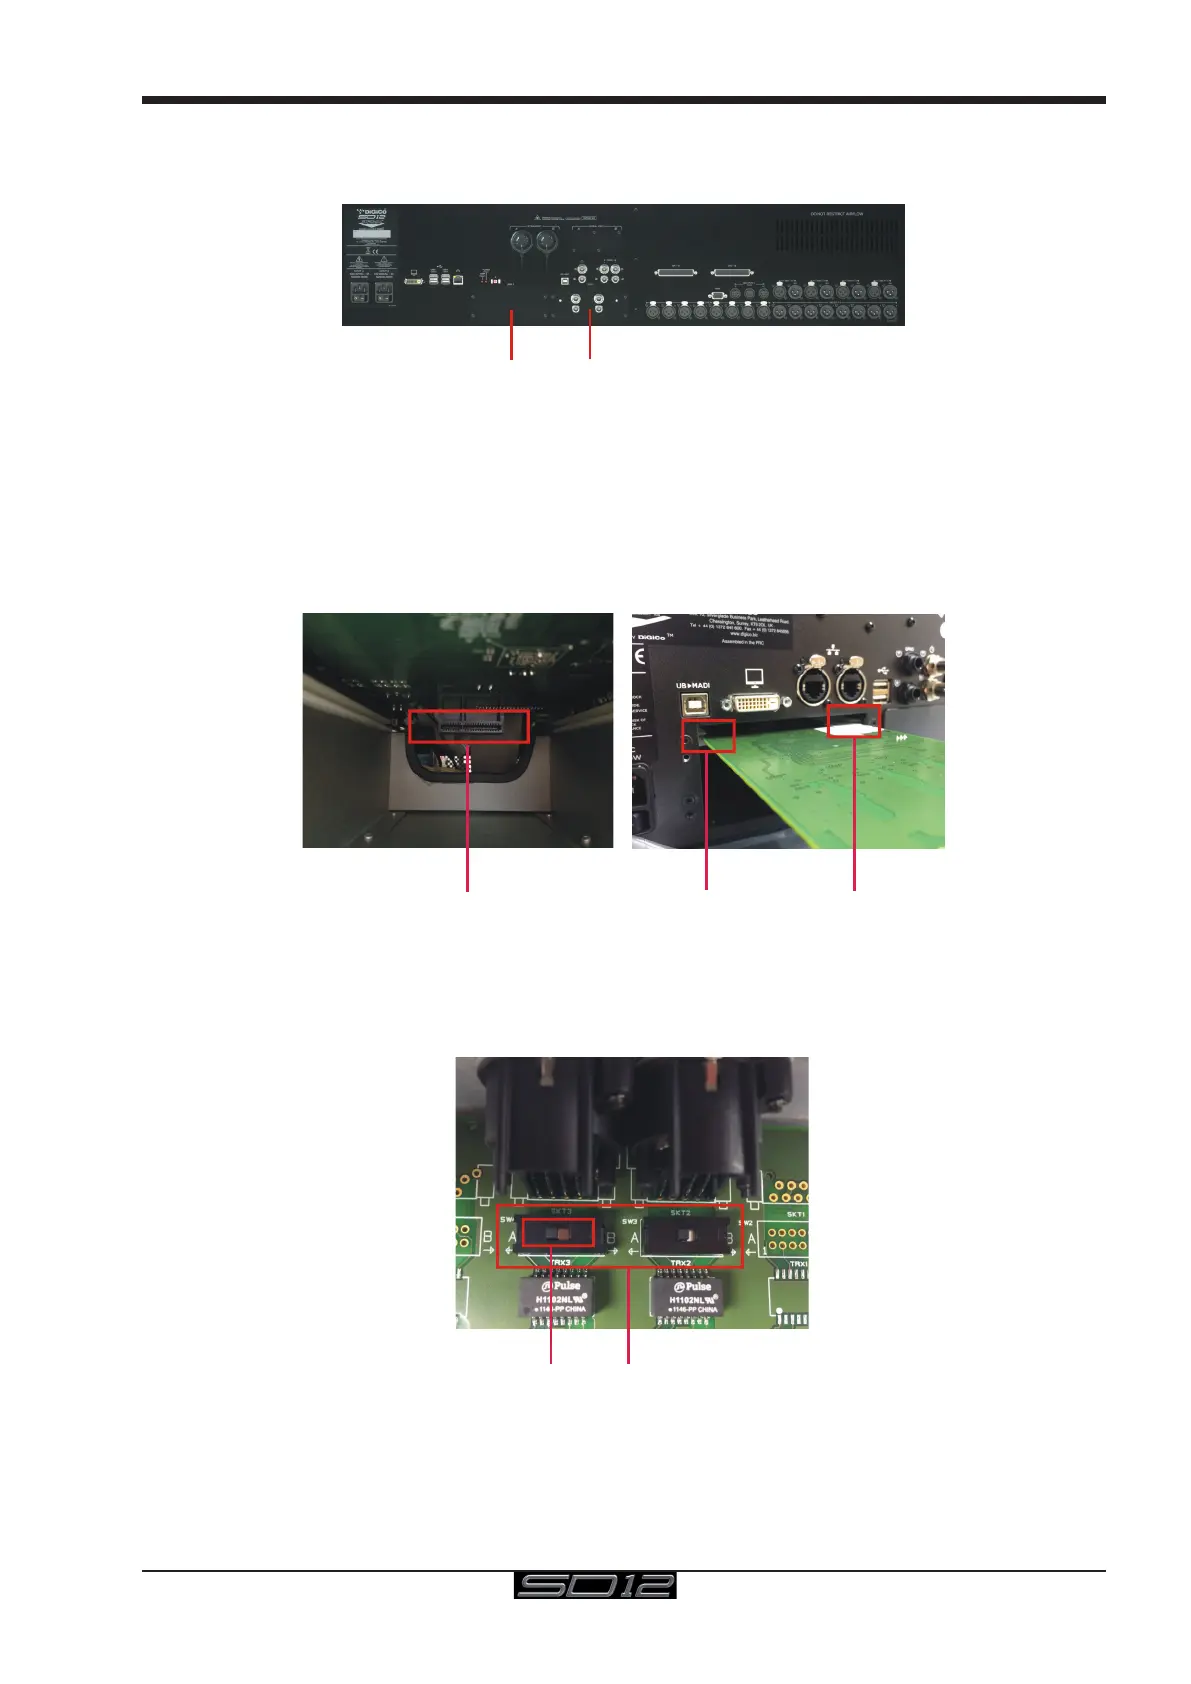
1) Remove the four screws from the console blanking plate and this will expose a hole in the rear panel with an internal connector and a
white slider on each side of the hole. Keep the four screws safe in order to secure the card in place.
DMI Internal Socket
Card fits in slider grooves
Note: Before tting the DMI card, carefully examine the internal connector as in some cases this may have a protective
cover that must be removed before tting the card. If the cover is present, please remove it before proceeding
Note: With MADI DMI C there are 2 internal switches that must be set to the A position for use in the SD12.
Please check these switch positions (as picture below) before tting the card.
MADI DMI C internal switches
Position A for console use
2) Carefully slide the DMI card in the hole using the while slider grooves as a guide and then ensure that it pushes into the internal con-
nector correctly with a click.
3) Replace the 4 tting screws.