Digital Projection
E-VISION LASER 5000 SERIES USER MANUAL REV A JANUARY 2018
48
7. Press the Menu button on the projector.
8. Select Settings2→ Advanced1 → Network
9. In Network, input the following example:
DHCP: Off
IP Address: 10.10.10.10
Subnet Mask: 255.255.255.0
Gateway: 0.0.0.0
DNS Server: 0.0.0.0
10. Press (Enter) / to confirm settings.
Open a web browser
(for example, Microsoft Internet Explorer with Adobe Flash Player 9.0 or higher).
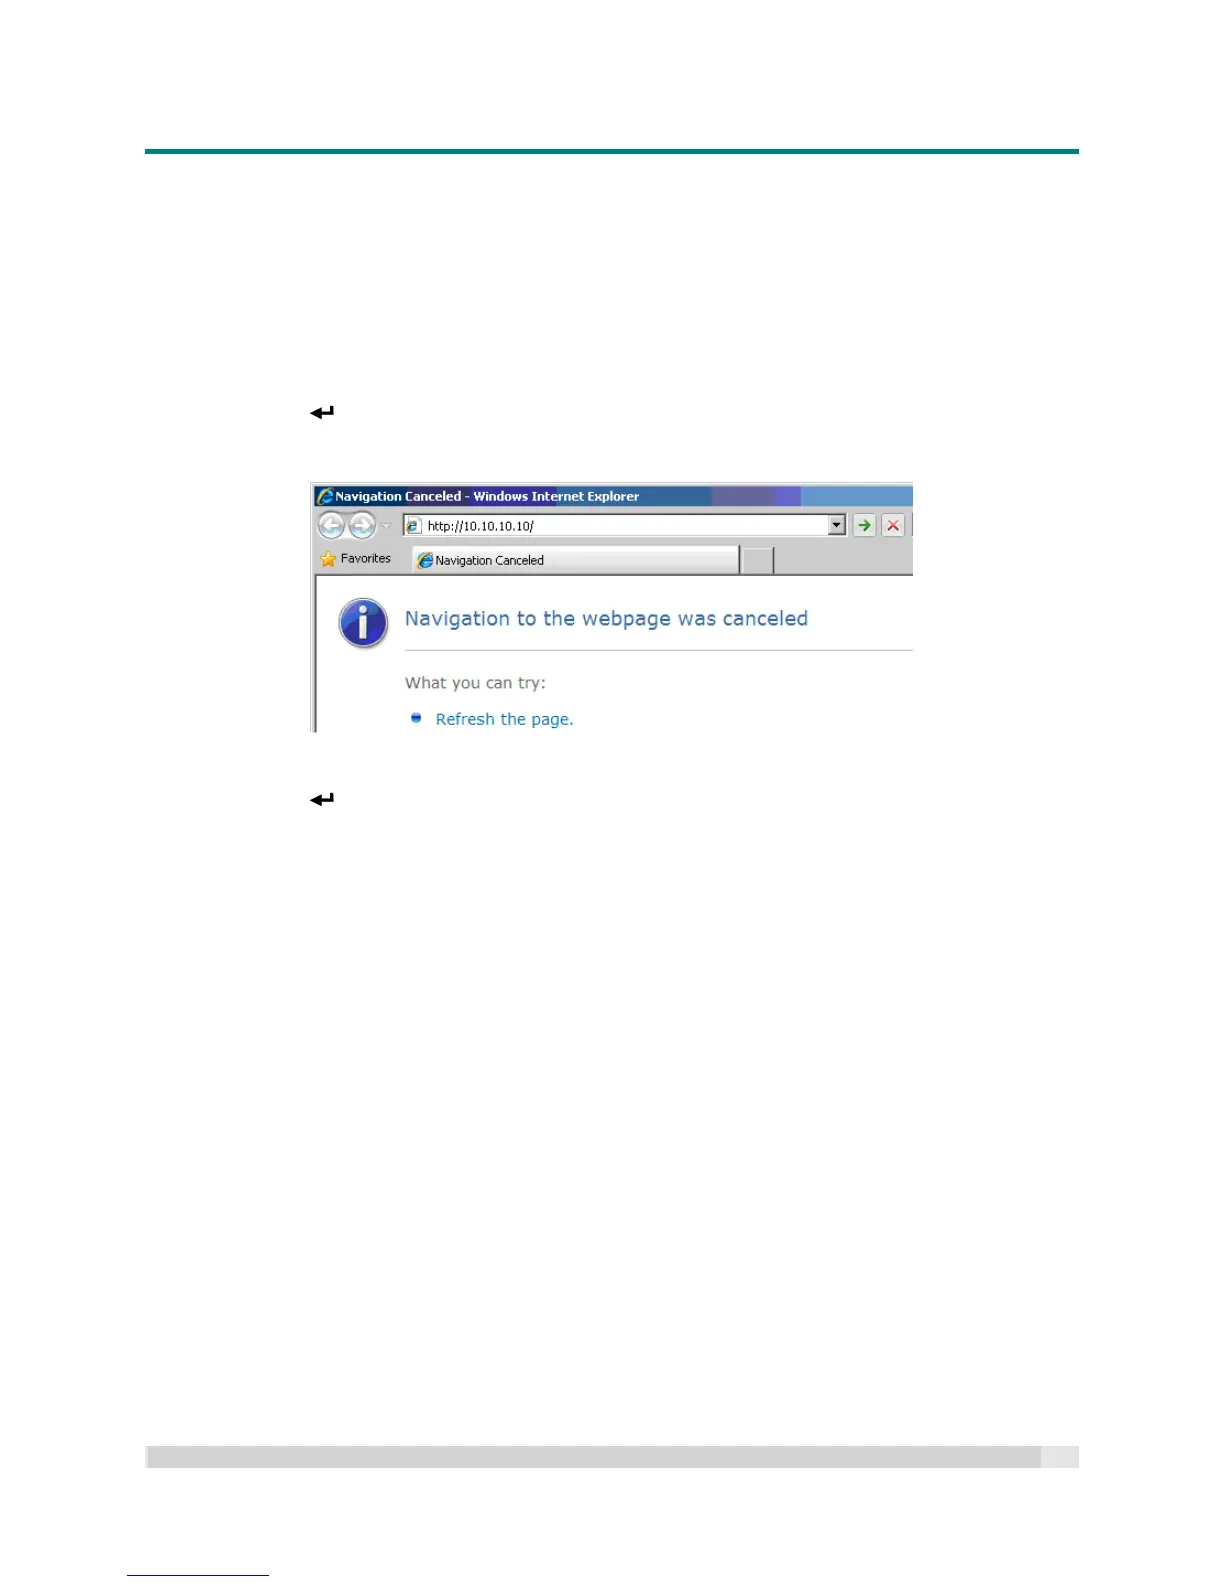
11. In the web browsers address bar, input the IP address: 10.10.10.10.
12. Press (Enter)
The projector is now setup for remote management.
The projectors served webpages various functions display as follows within the browser.

 Loading...


