page 15
Digital Projection M-Vision Laser 18K Series
Installation and Quick-Start Guide
POSITIONING THE SCREEN AND PROJECTOR
Rev D October 2019
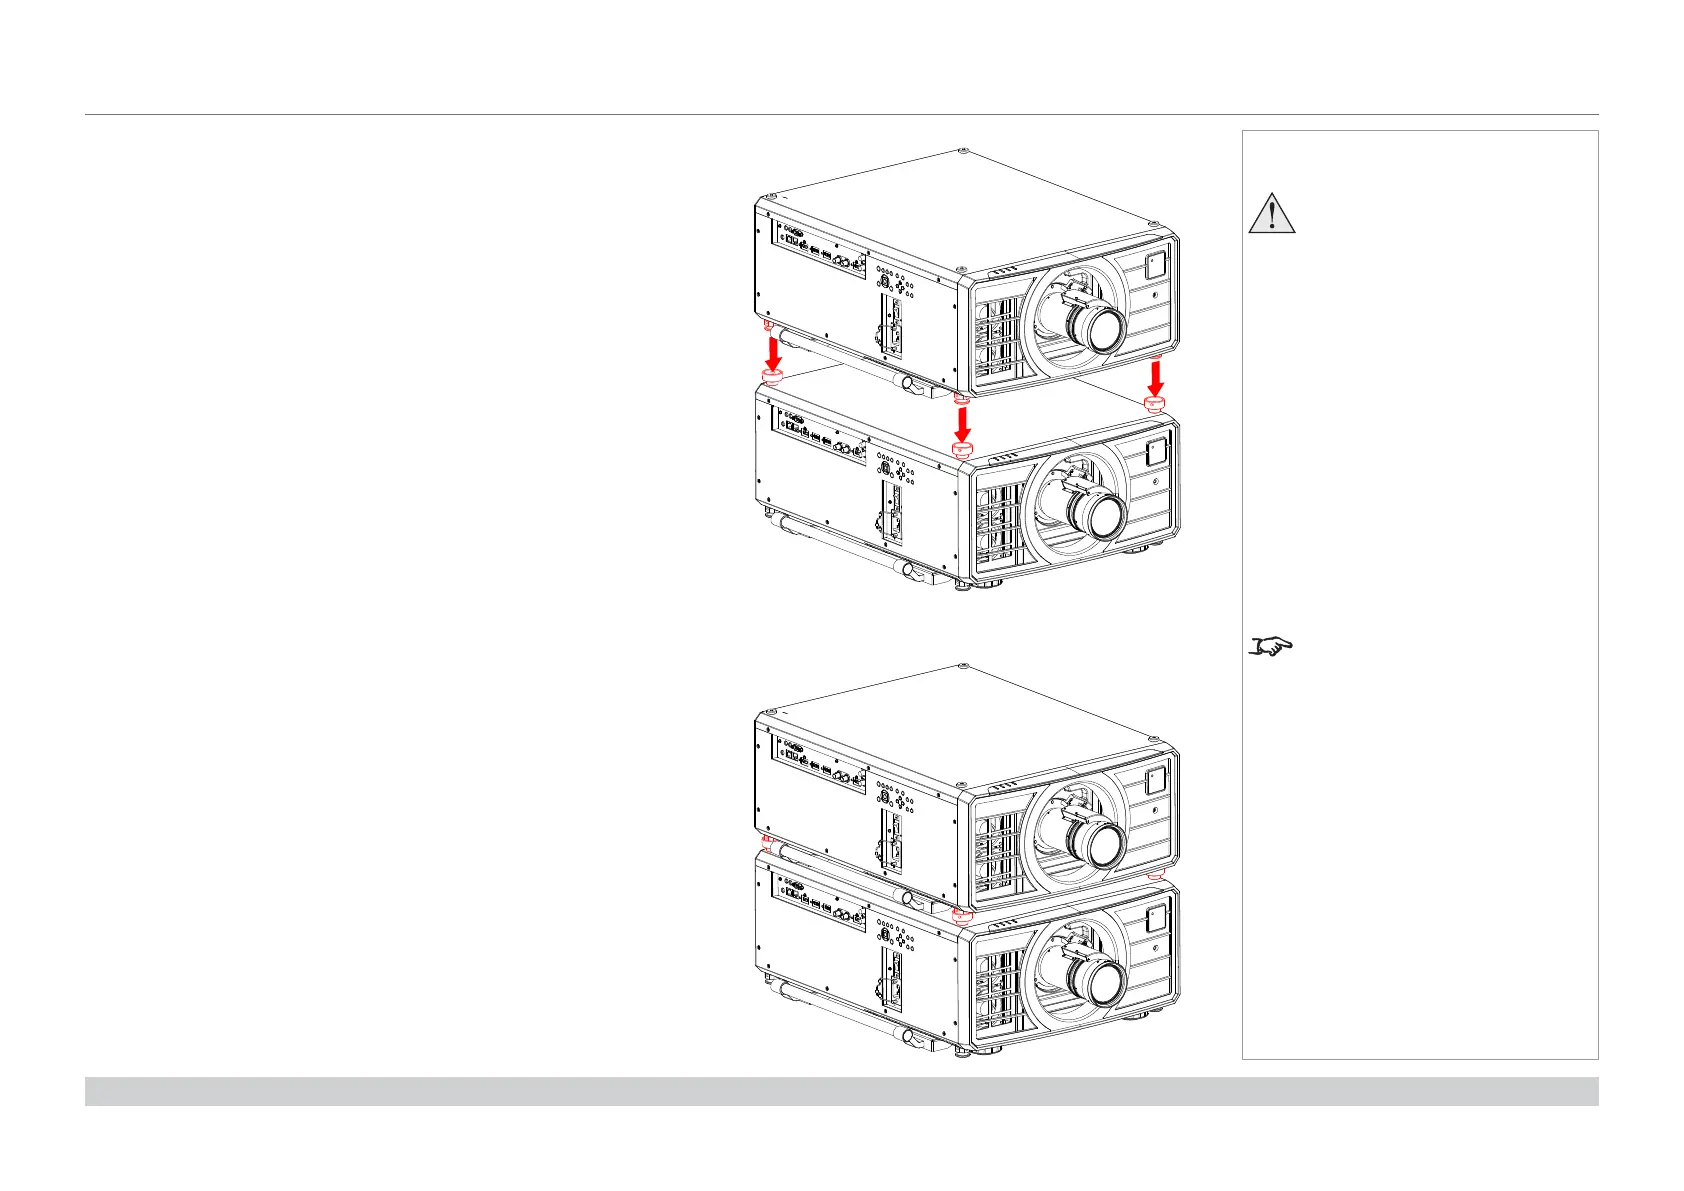
Stacking instructions continued
2. Remove the four adjustable feet of the top projector.
3. Slide the top projector over the bottom projector so the stacking feet are
coupled with the stacking tops on the bottom projector.
Notes
When stacking projectors, the stack
MUST be vertical, to ensure that the
stresses are distributed to all four
chassis corners.
Do not stack more than two
projectors.
Do not use the provided eye bolts to
suspend more than one projector.
The eye bolts must not be used with
stacks as they can carry the weight of
one projector only.
Do not use the lifting handles when
stacking. The handles will carry the
weight of one projector only.
Use only the provided screws with
a torque of 25-30 kgf cm (2.45 - 2.94
Nm).
It is the customer’s responsibility to
ensure that the assembly is carried
out securely.
The stacking kit is provided in the
box as standard in some regions. It
is also available to order separately.

 Loading...


